The information contained here are property of DIGITAX Automotive Electronics Italy, and extremely confidential. Any disclosure, copying, distribution to third
party is strictly prohibited.
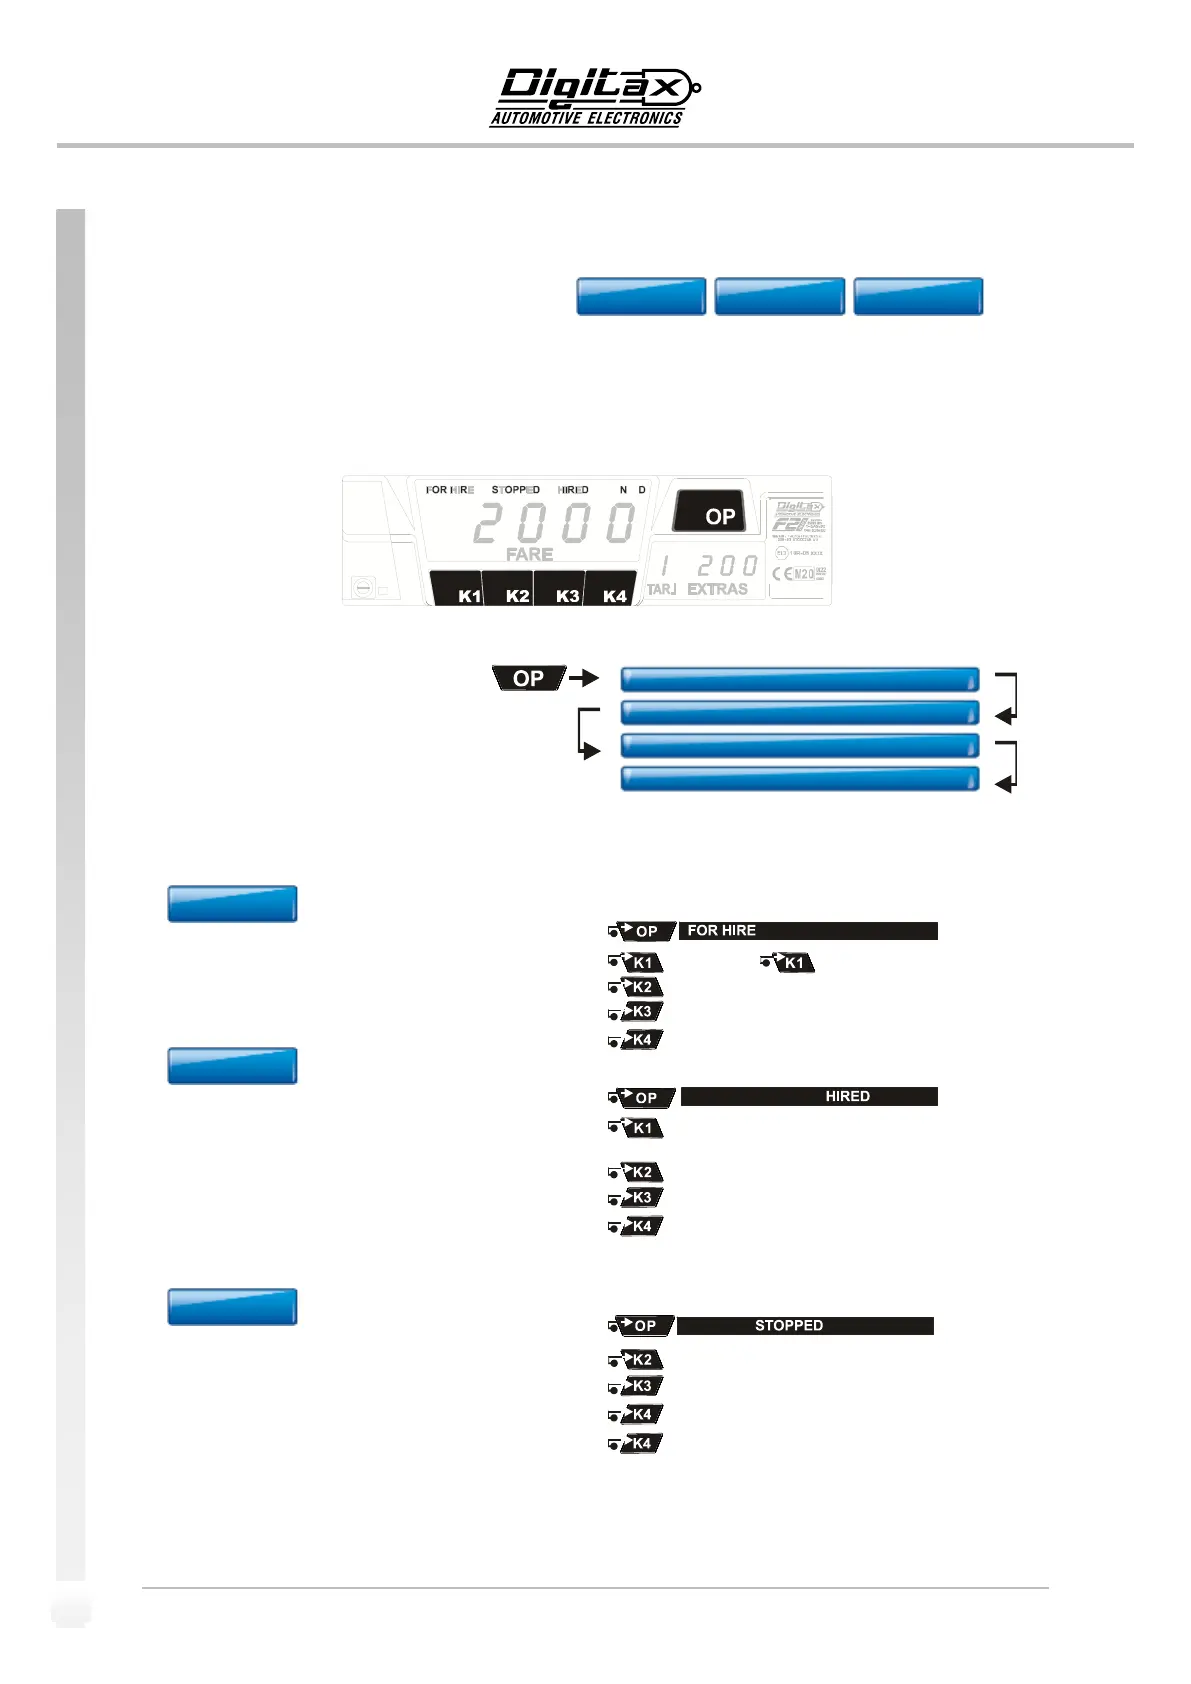
For Hire-Stopped-Hired
The Operative Mode
The taximeter works with 3 main statuses:
In any status, it is possible to have different functions active by pressing one of the 5 taximeter’s
buttons:
OP - K1 - K2 - K3 - K4
In FOR HIRE position, the following sequence
can be obtained by pressing the OP button:
FOR HIRE - STOPPED - HIRED and corresponding button’s functions
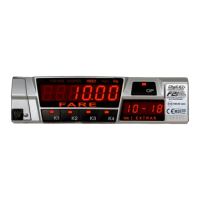
It’s the position selected by the Taxi Driver when the vehicle is
parked or it moves without any passenger on board.
• The left display is turned off, or shows FOR HIRE
• The right one shows the clock.
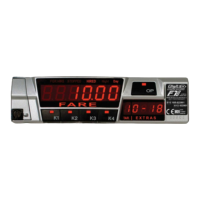
Once the taxi starts the trip, the Taxi Driver selects the
Hired position by pressing OP button.
The “Taxi” roof sign turns off and the taximeter starts the
fare calculation by distance or time.
• The left display shows the tariff value
• The right one shows: in the left digit the tariff number,
in the right ones the clock.
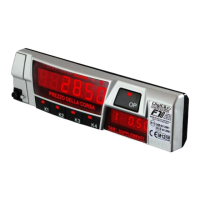
At the end of the trip, the Taxi Driver has to select the
Stopped position to calculate the final fare.
He does it by pressing the OP button. The waiting time is
thus blocked.
• The left display shows the final fare
• The right one shows the total extras
Chrono start Chrono Pause
Shows the clock in the right display
Shows the date in the left display (Day - Month)
Shows the year in the left display
Change the tariff (if enabled).
The current tariff is shown in the left digit of the right display
Insert the Extra n° 1 (if enabled)
Insert the Extra n° 2 (if enabled)
Insert the Extra n° 3 (if enabled).
Insert the Extra n° 4 (if enabled)
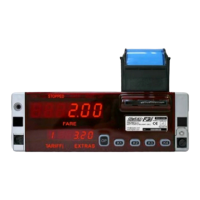
Adds the Extras to the fare
Splits the final fare
• The left display shows the normal fare
• The right one shows the total extras.
 Loading...