6
Selectalocationthatwillallow
accessibility to the Airblade
TM
and proper clearance from
surroundings and floor. Make
sure that the unit is installed in
compliance with all building
codes and/or regulations.
Position the mounting template
provided on the wall where the
Airblade
TM
hand dryer is to be
installed.
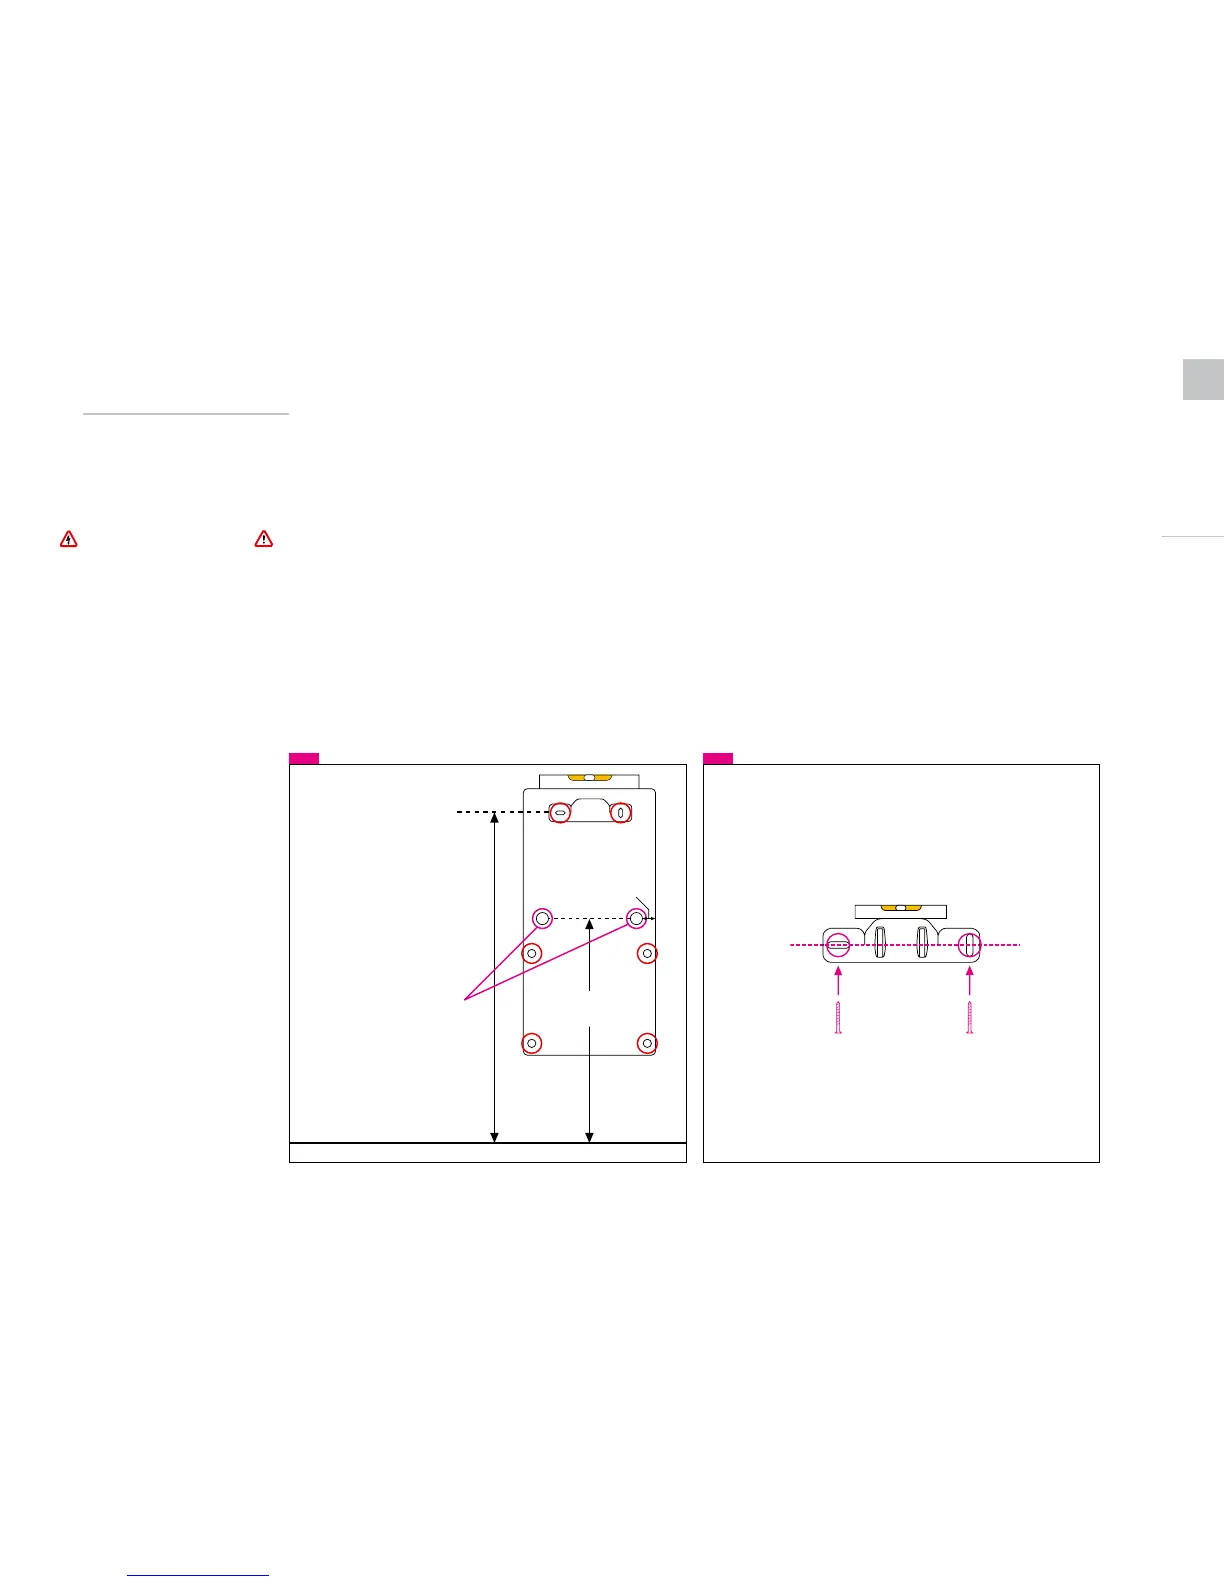
Recommended heights are shown
in
Fig 1
, but may need to be
adjusted for each individual
installation.
Mark the 6 mounting holes as
highlighted in
Fig 1
.
Verify marks are level and in the
correct locations.
Drill holes where marked.
Electrical supply connection
2”
Bracket mounting height:
39” adult male height
36” adult female height
32” child/wheelchair user height
29.75”adult male height
26.75”adult female height
22.75”child/wheelchair user height
Floor
Positioning
Installation Procedures
Fig 1
There are two electrical entrance
locations available to ease with
the installation of the Airblade
TM
hand dryer. Mark only one of
the electrical supply locations
illustrated in
Fig 1
and drill the hole
large enough to accommodate
the incoming flexible metal conduit
and supply cable.
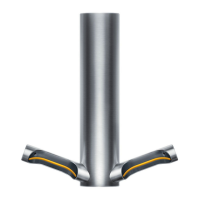
Mounting Bracket
Fig 2
Ensure that marks are level and
in the correct location as illustrated
in
Fig 2
.
Securelyfastenthemounting
bracket to the wall.
Recommended minimum anchor
size of 0.25"
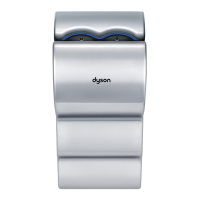
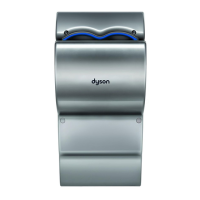
Dyson Airblade
TM
hand dryer
ENG
WARNING: Before
beginning any installation
work you must confirm the
following:
Make sure that the electrical
supply has been disconnected or
switched off before attempting
installation to avoid the risk of
electrical shock or electrocution.
Ensure no pipe work (gas, water,
air) or electrical cables, wires or
ductwork are located directly
behind the drilling area.
Bracket mounting height:
39” adult male height
36” adult female height
32” child/wheelchair user height
Electrical supply connection
Floor
29.75”adult male height
26.75”adult female height
22.75”child/wheelchair user height
 Loading...