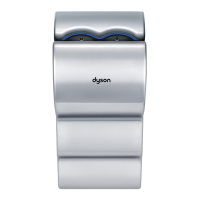
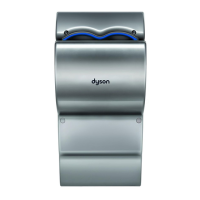
Dyson Airblade
TM
hand dryer
8
Connecting to the
Electrical Supply
CAUTION: Risk of electric
shock! Do not remove
casing or attempt repair
unless unit is being
serviced by qualified
service personnel.
If casing is removed or
handled improperly the
internal components of
the Dyson Airblade
TM
may
cause harm or become
permanently damaged.
Connect to the electrical supply
using approved flexible or solid
conduit and electrical fittings.
Ensure that the flexible or solid
conduit and the electrical cable
is of sufficient length to make
the necessary connection to
the backplate and that sufficient
length to reach the terminal block.
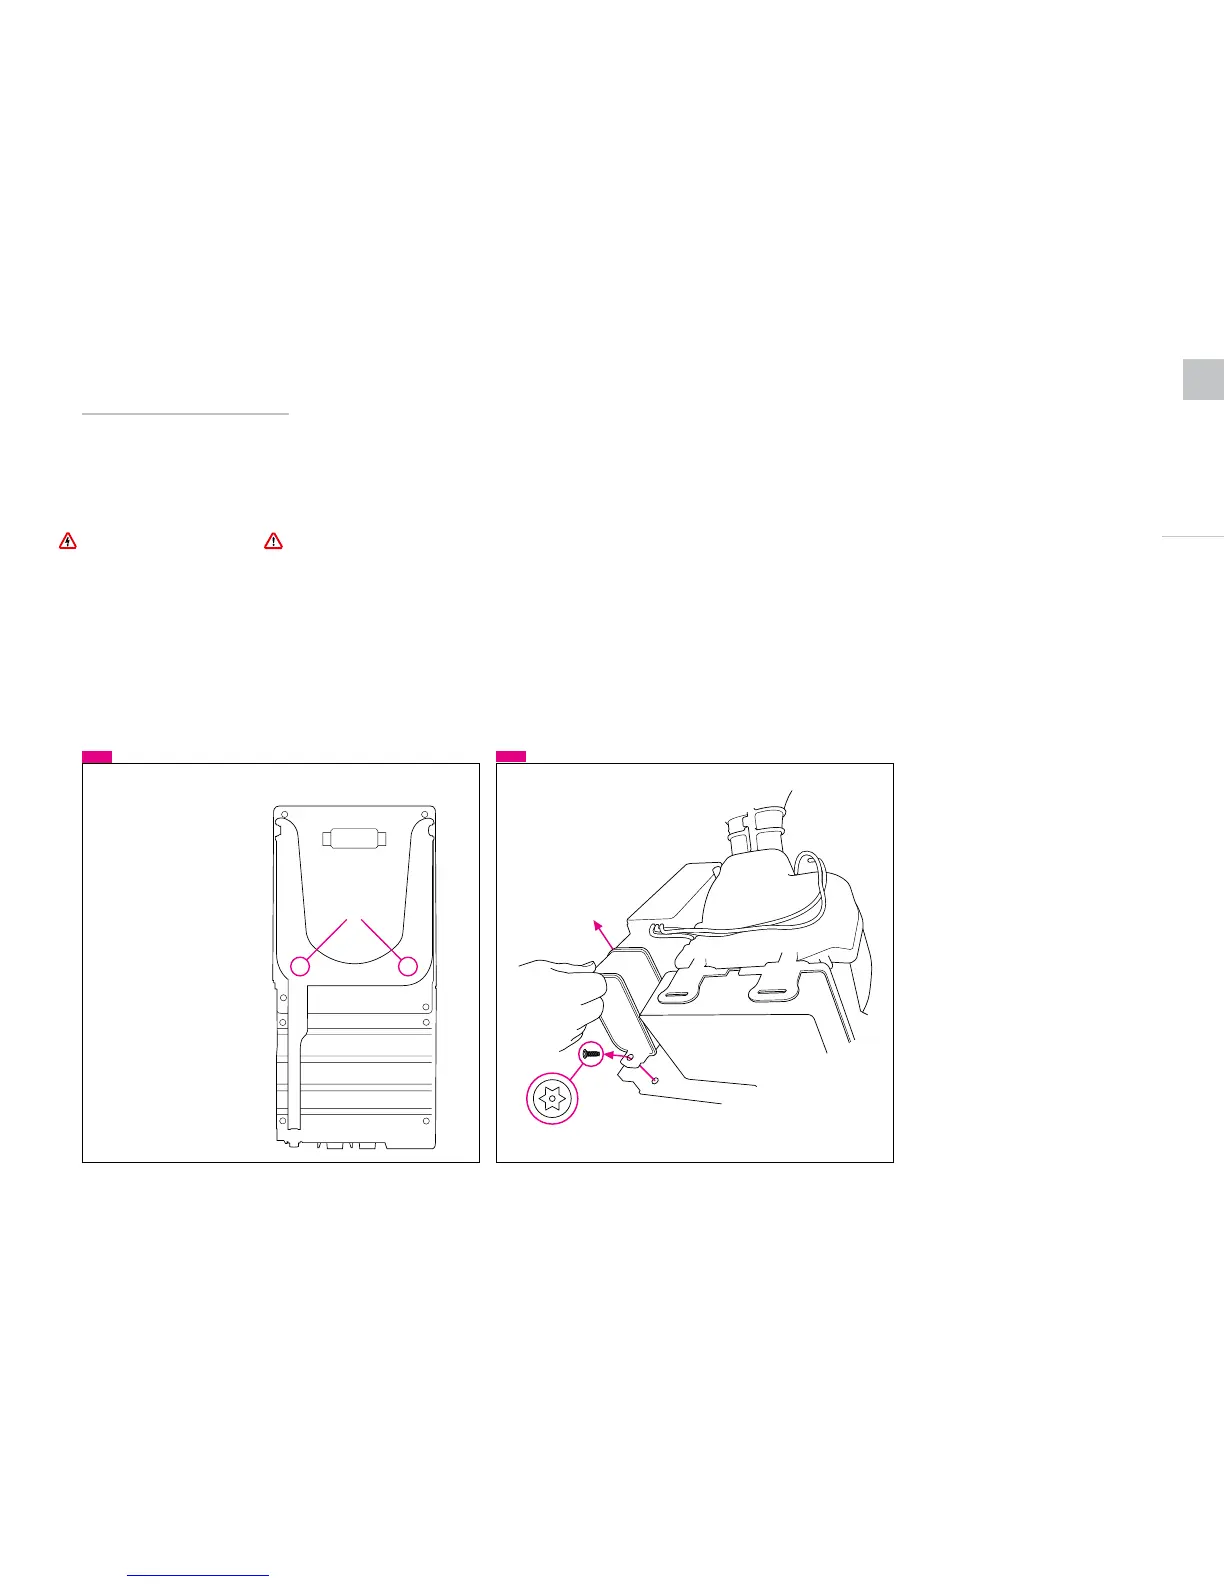
Step 1.
Using a flat-head screwdriver, pry
the appropriate metal knock-out
from backplate in one of the
locations pictured in
Fig 7
.
Step 2.
Install electrical entrance fitting
into knock-out.
If mounting in knock-out 1:
Lay the unit flat on its back.
Remove the T-25 Torx screw at the
bottom of the PCB housing, tilt the
PCB housing up and pull
downward as illustrated in
Fig 8
.
Pull outward of gasket and turn the
PCB Housing clockwise and set off
to the side. Route the incoming
supply wires to the terminal block
and secure them into the proper
locations as illustrated in
Fig 9
.
Installation Procedures
View from Back
Reconnect the PCB Housing in the
opposite order as it was removed.
Proceed to step 3.
If mounting in knock-out 2:
Route the incoming supply wires
to the terminal block and secure
them into the proper locations
as illustrated in
Fig 9
.
Fig 8
Fig 7
 Loading...