Eaton 9PX Lithium-Ion User Guide P-164001006—Rev 02 19
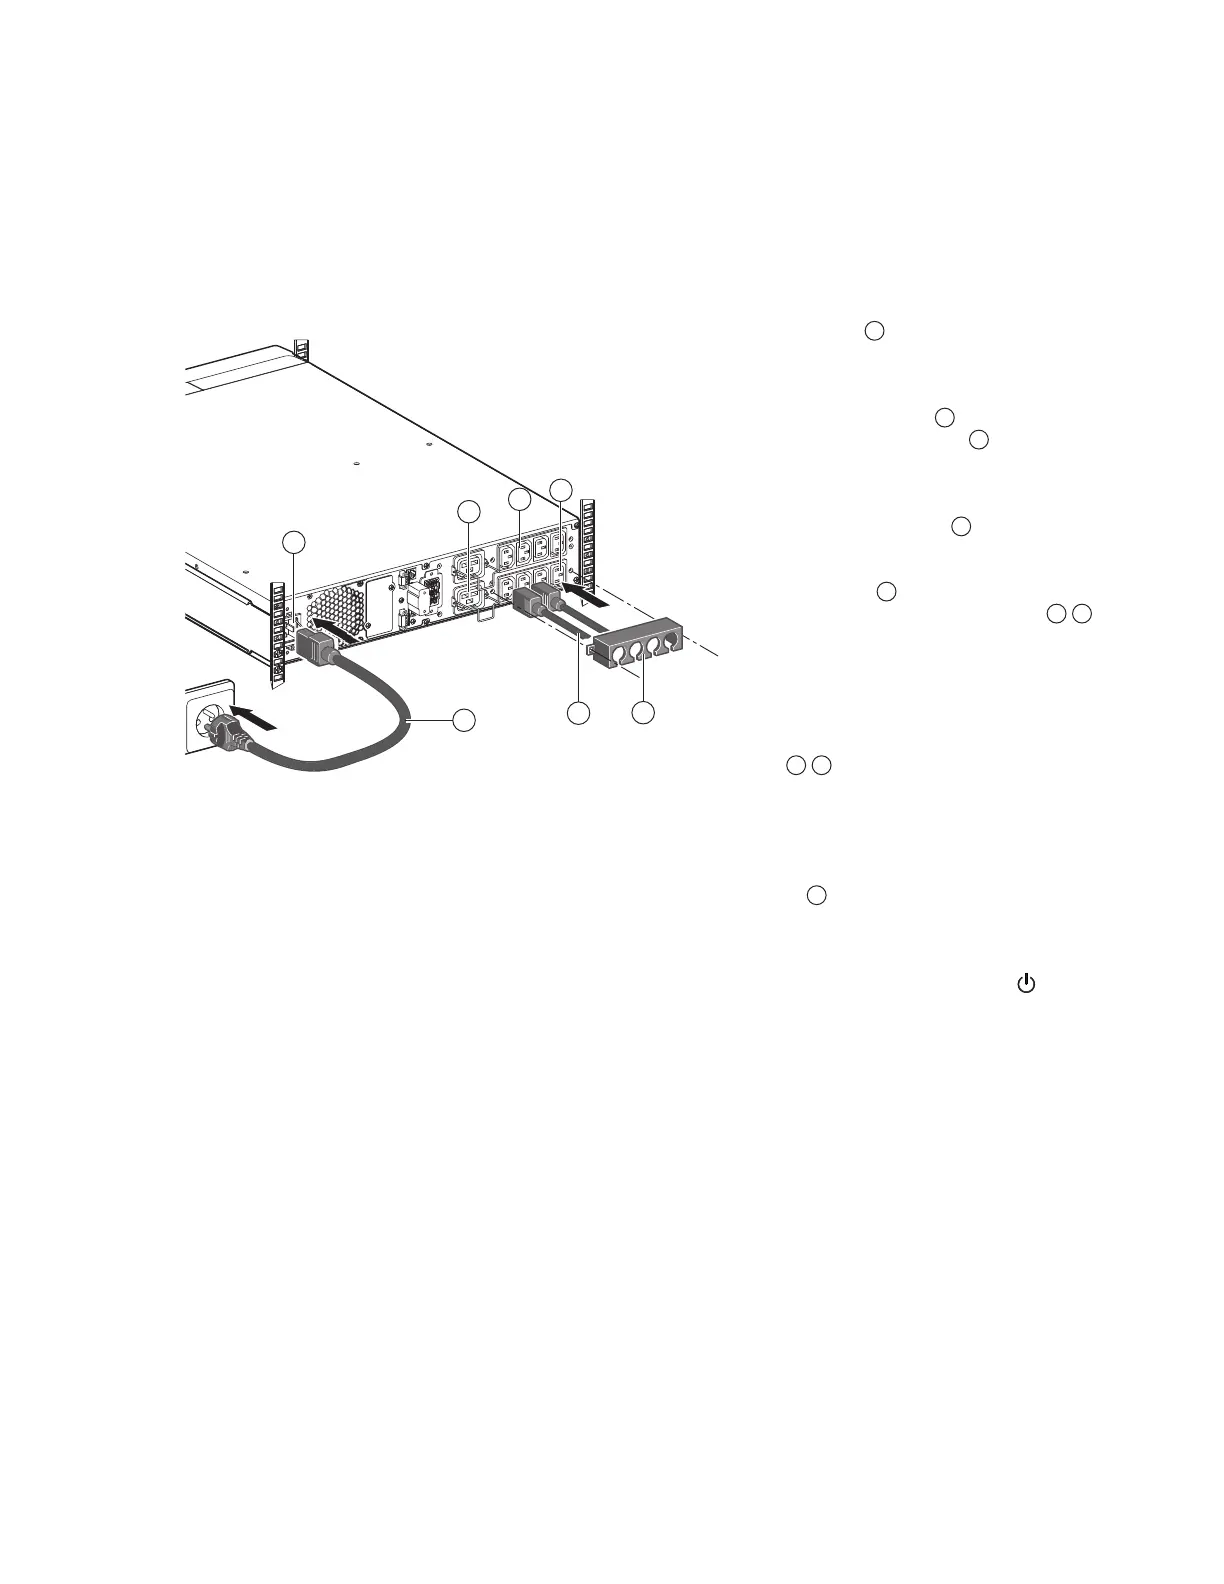
33..77 UUPPSS CCoonnnneeccttiioonn wwiitthhoouutt HHoottsswwaapp MMBBPP MMoodd uu llee
Check that the indications on the name plate located on the back of the UPS correspond to the AC-power
source and the true electrical consumption of the total load.
15
1
16
19
7
6
5
1. 1500I: connect the UPS input
socket
1
to the AC-power source
using the cable of the protected
equipment.
9PX 2200I / 3000I: connect the
supplied cable
15
(250 V -
16 A) to the socket
1
, then
to the AC-power source.
2. Connect the loads to the UPS
using the cables
16
.
It is preferable to connect the
priority loads to the outlets
marked
5
and the non-priority
loads to the outlets marked
6 7
that can be programmed.
For the 9PX 2200I / 3000I models,
connect any high-power devices
to the 16 A outlet.
To program shutdown of outlets
6 7
during operation on battery
power and thus optimise
the available backup time,
please check the in/out settings.
3. Fit the connection securing syste
19
that prevents the plugs from
being pulled out accidentally.
Note. The UPS charges the battery as soon as it is connected to the AC-power source, even if the
is not pressed.
Once the UPS is connected to the AC-power source, eight hours of charging are required before the
battery can supply the rated backup time.
UPS Connection without Hotswap MBP Module
 Loading...