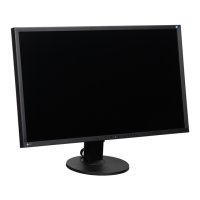
●
Rear
12
11
10
9
14
13
8
7
16
17
19
15
18
6
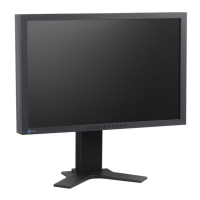
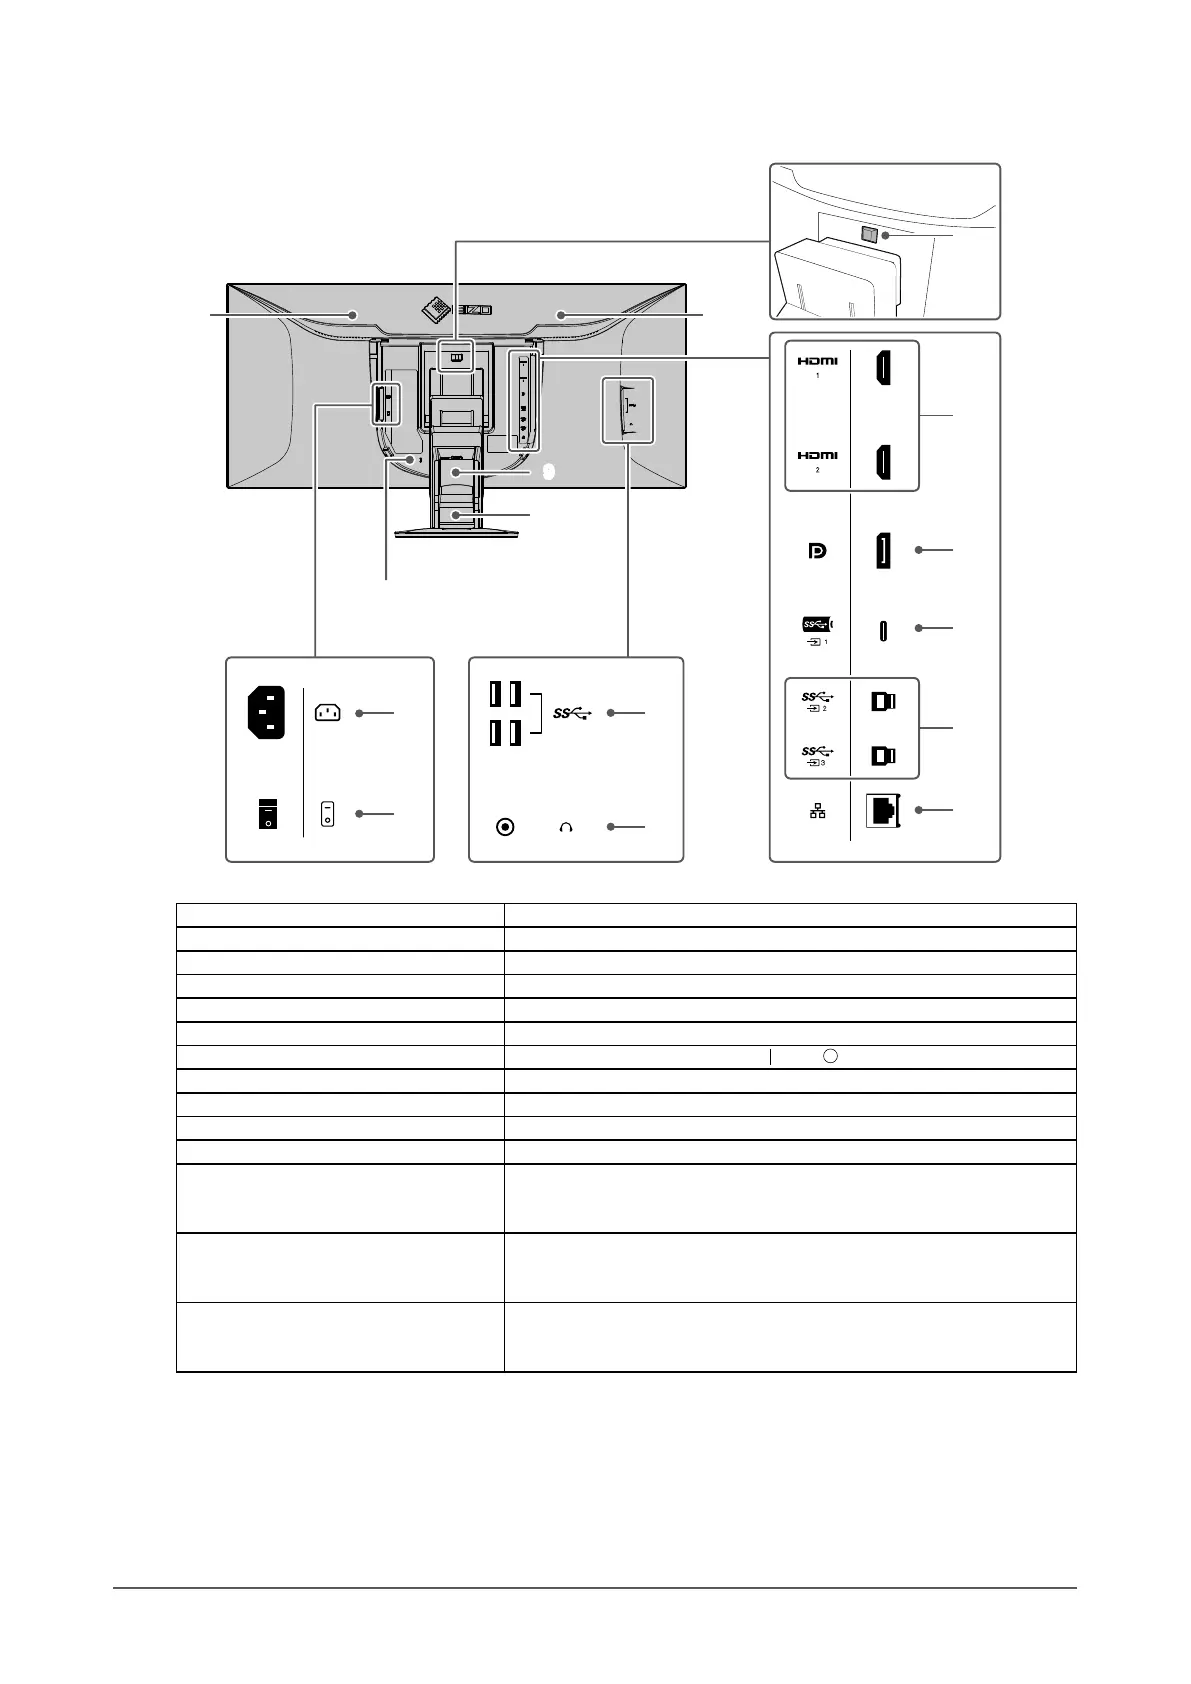
6. Handle This handle is used for transportation.
7. Security lock slot Complies with Kensington’s MicroSaver security system.
8. Lock button Use this button to remove the monitor from the stand.
9. Cable holder Stores the cables.
10. Stand
*1
Adjusts the height and angle (tilt and swivel) of the monitor.
11. Power connector Connects the power cord.
12. Main power switch
Turns the main power on or o.
: On, : O
13. USB-A connector (downstream) Connects to a peripheral USB device (page 44).
14. Headphone jack Connects to headphones.
15. HDMI connector Connects to a PC with HDMI output.
16. DisplayPort connector Connects to a PC with DisplayPort output.
17. USB-C connector (upstream) Connects to a PC with USB-C output. This also transmits the
USB signal that is necessary for using software that requires USB
connection or when using the docking station function (page 44).
18. USB-B connector (upstream) Connect the USB cable when using software that requires USB
connection. This makes it possible to connect USB devices such as a
mouse or keyboard to the monitor and use them from multiple PCs.
19. LAN port (RJ-45) When using a network connection with the docking station function
(page 44), this connects to a network hub or router with a LAN
cable.
*1 By removing the stand from the monitor, it is possible to attach the monitor to a dierent stand or arm.
9
Chapter 1 Introduction
 Loading...