Loading...
Do you have a question about the Emerson MICRO MOTION 1500 and is the answer not in the manual?
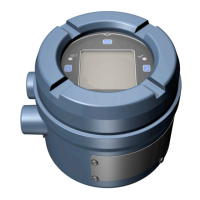
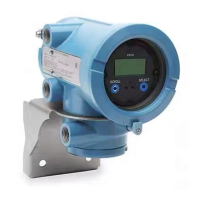
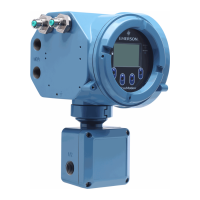
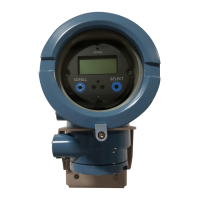
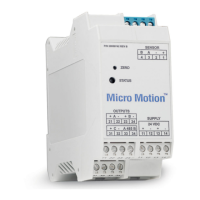
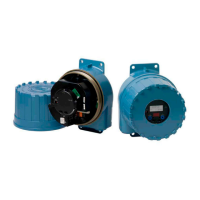
| Category | Transmitter |
|---|---|
| Manufacturer | Emerson |
| Model | MICRO MOTION 1500 |
| Material | Stainless Steel |
| Communication Protocol | HART, Modbus |
| Power Supply | 24 VDC |
| Temperature Range | -40 to 85 °C (-40 to 185 °F) |
| Enclosure Rating | NEMA 4X, IP66 |
| Process Connection | Flanged |
| Output Signal | 4-20 mA |
Provides an orientation to the manual's content and procedures for transmitter operation.
Crucial safety guidelines to protect personnel and equipment during operation.
Essential tools like ProLink II required for transmitter configuration and use.
A worksheet for recording necessary sensor, application, and configuration data.
Introduction to ProLink II as a tool for transmitter configuration and data access.
Lists necessary hardware and software for establishing ProLink II connection.
Detailed steps for establishing PC communication via RS-485 or service port.
Outlines the procedures for the initial flowmeter setup and power-up sequence.
Steps for powering the flowmeter and checking the initial status.
Essential procedure for ensuring accurate mA signal output compensation.
Procedure to set the flowmeter's zero reference point for accurate measurement.
General outline of essential configuration steps for initial transmitter installation.
Adjusting the transmitter to compensate for unique sensor characteristics.
Setting up input/output channels (A, B, C) for desired functionality.
Selecting and configuring appropriate units for process variables.
Setting up the analog output for data reporting or valve control.
Covers daily operation, monitoring, and data access for the transmitter.
Accessing real-time measurements using ProLink II software.
Monitoring device health and alerts via LED or ProLink II.
Managing and viewing accumulated flow data over time.
Introduction to optional configuration parameters for advanced setup.
Guides on creating custom units for mass and volume flow measurements.
Setting damping values to smooth measurement fluctuations and improve stability.
Adjusting the speed at which the sensor reports process variables.
Defining how flow rate is reported and affects totalizers.
Introduction to the configuration process for the filling application.
Step-by-step guide for setting up the filling and dosing application.
Optimizing fill accuracy by compensating for valve closing time.
Overview of operating the filling and dosing application.
Details on using the Run Filler window for application control.
Detailed explanation of the ProLink II Run Filler interface and controls.
Explains how a discrete input can trigger specific fill control functions.
Illustrates fill sequences involving pausing and resuming the process.
Introduction to pressure effects on sensors and compensation methods.
How the transmitter compensates for pressure changes on sensor readings.
Details on providing flow and density correction factors for pressure adjustments.
Introduction to procedures for evaluating and adjusting measurement performance.
Comparison of different methods for assessing and improving performance.
Procedure for assessing the integrity of the sensor tubes.
Steps and procedures for calibrating density measurements.
A guide to diagnosing, categorizing, and resolving transmitter issues.
Troubleshooting steps for a transmitter that shows no signs of power.
Steps to resolve issues preventing communication with the transmitter.
Diagnosing and resolving issues with mA output, discrete outputs, and inputs.
Understanding status alarms and identifying their possible remedies.
Procedures to check for and identify common wiring faults.
Introduction to default values and valid ranges for transmitter parameters.
A reference table for common transmitter settings and their defaults.
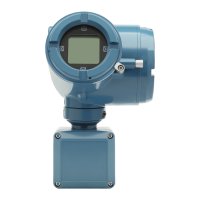
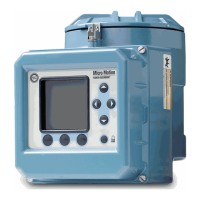
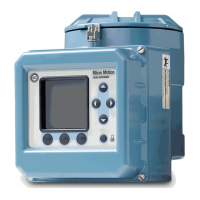
Illustrations of flowmeter installation architectures and components.
Visual representations of two common Model 1500 transmitter installation methods.
Essential diagrams detailing transmitter and core processor connections.
Introduction to ProLink II menu flowcharts for navigation.
Visual representation of ProLink II operating menus.
Documentation of the change history for the Model 1500 transmitter software.
Details on software updates, new features, and adjustments over versions.