Using the Projector on a Network
53
h
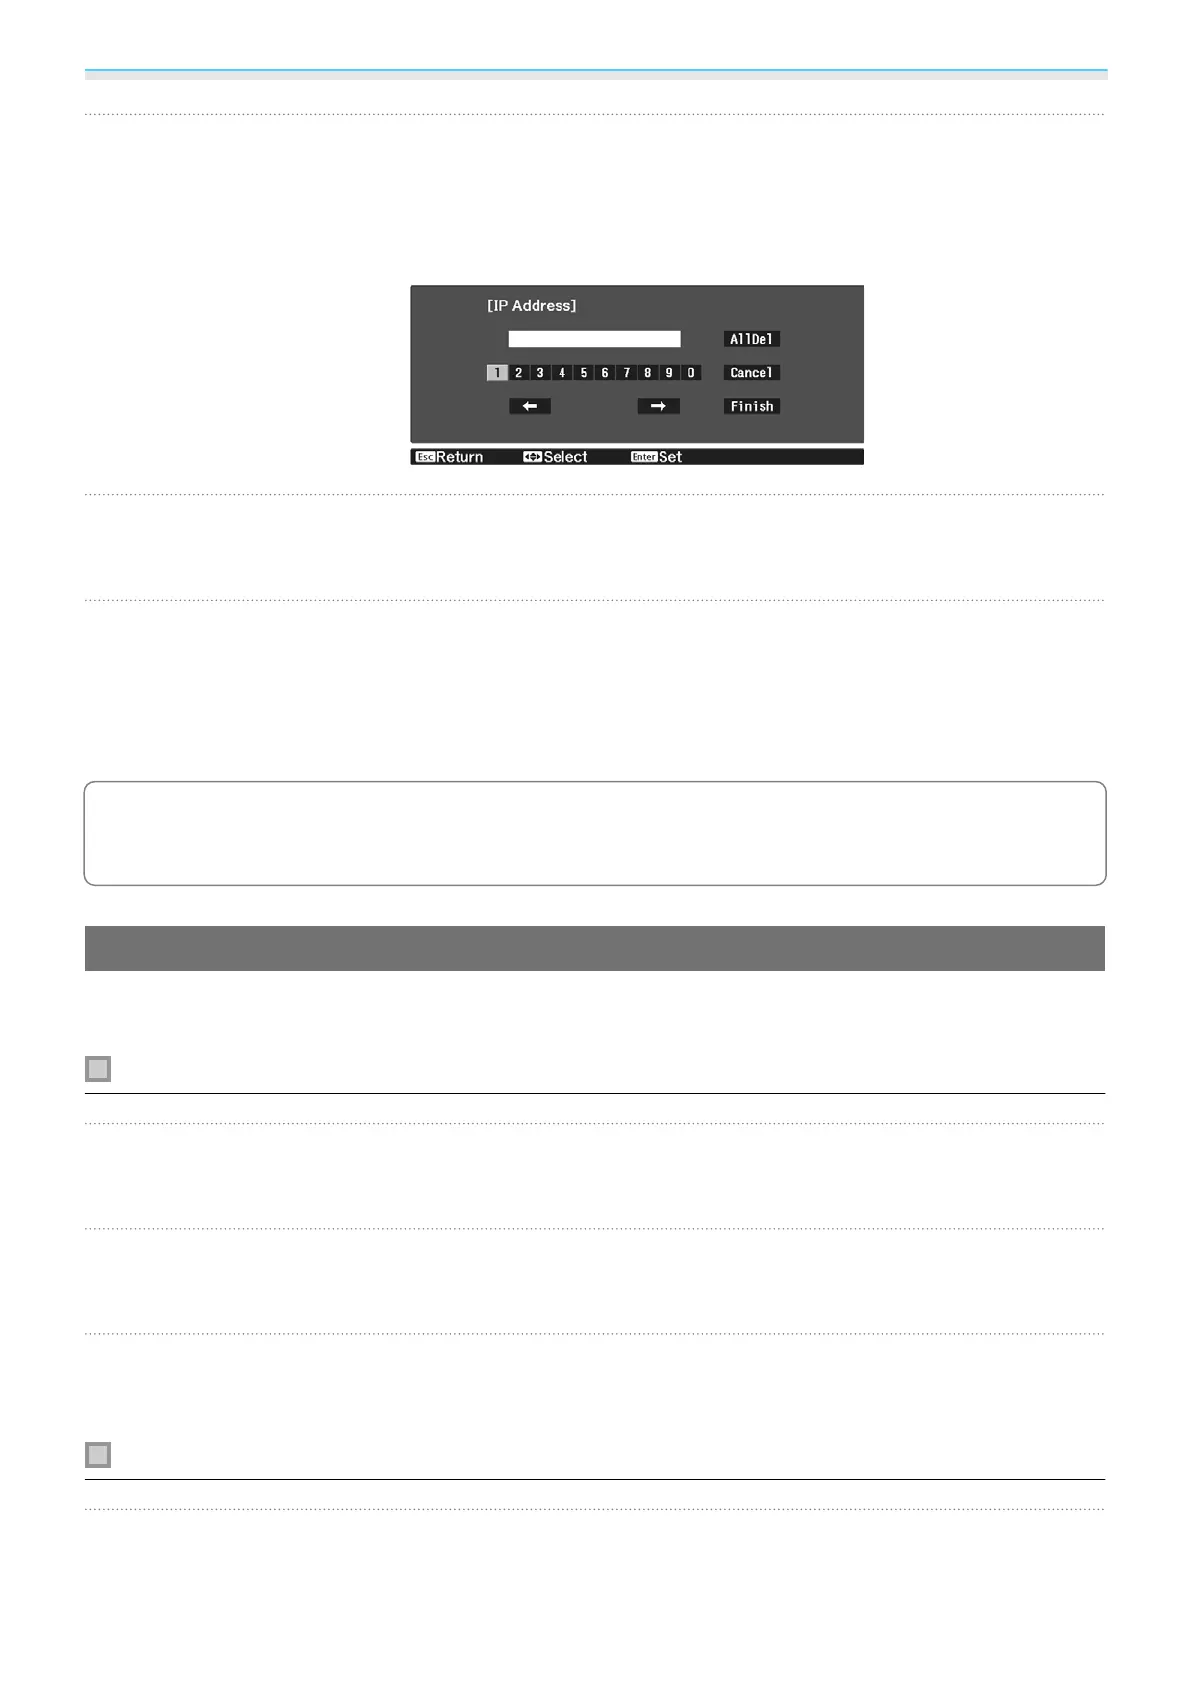
Assign an IP address to the projector as necessary.
•
If your network uses DHCP, select IP Settings to set the DHCP setting to On.
•
If you are not using DHCP, select IP Settings to set the DHCP setting to Off, and then enter the projector's IP
Address, Subnet Mask, and Gateway Address.
i
When you have finished making settings, select Complete and follow the on-screen
instructions to save your settings and exit the menus.
j
Press the [LAN] button on the remote control. The settings are complete when you see the
correct IP address on the LAN standby screen.
When you have finished making wireless settings for your projector, you need to make wireless settings on
the connected device. Then start the network software to send images to your projector through a wireless
network.
c
To prevent the SSID and IP address from being displayed on the LAN standby screen or the Home
screen, set SSID Display and IP Address Display to Off.
s
Network - Network Configuration -
Wireless LAN p.69
Selecting the Computer's Wireless LAN Settings
Before connecting to the projector, select the correct wireless network on your computer.
Selecting wireless network settings in Windows
a
To access your wireless utility software, double-click the network icon on the Windows
taskbar.
b
When connecting in Advanced connection mode, select the network name (SSID) of the
network the projector is connecting to.
c
Click Connect.
Selecting wireless network settings in OS X
a
Click the AirMac icon on the menu bar at the top of the screen.
 Loading...