Configuring Epygi QX IP PBXs with BINARY NETWORKS
3.1 Configuration for Making Outgoing Calls through BINARY NETWORKS
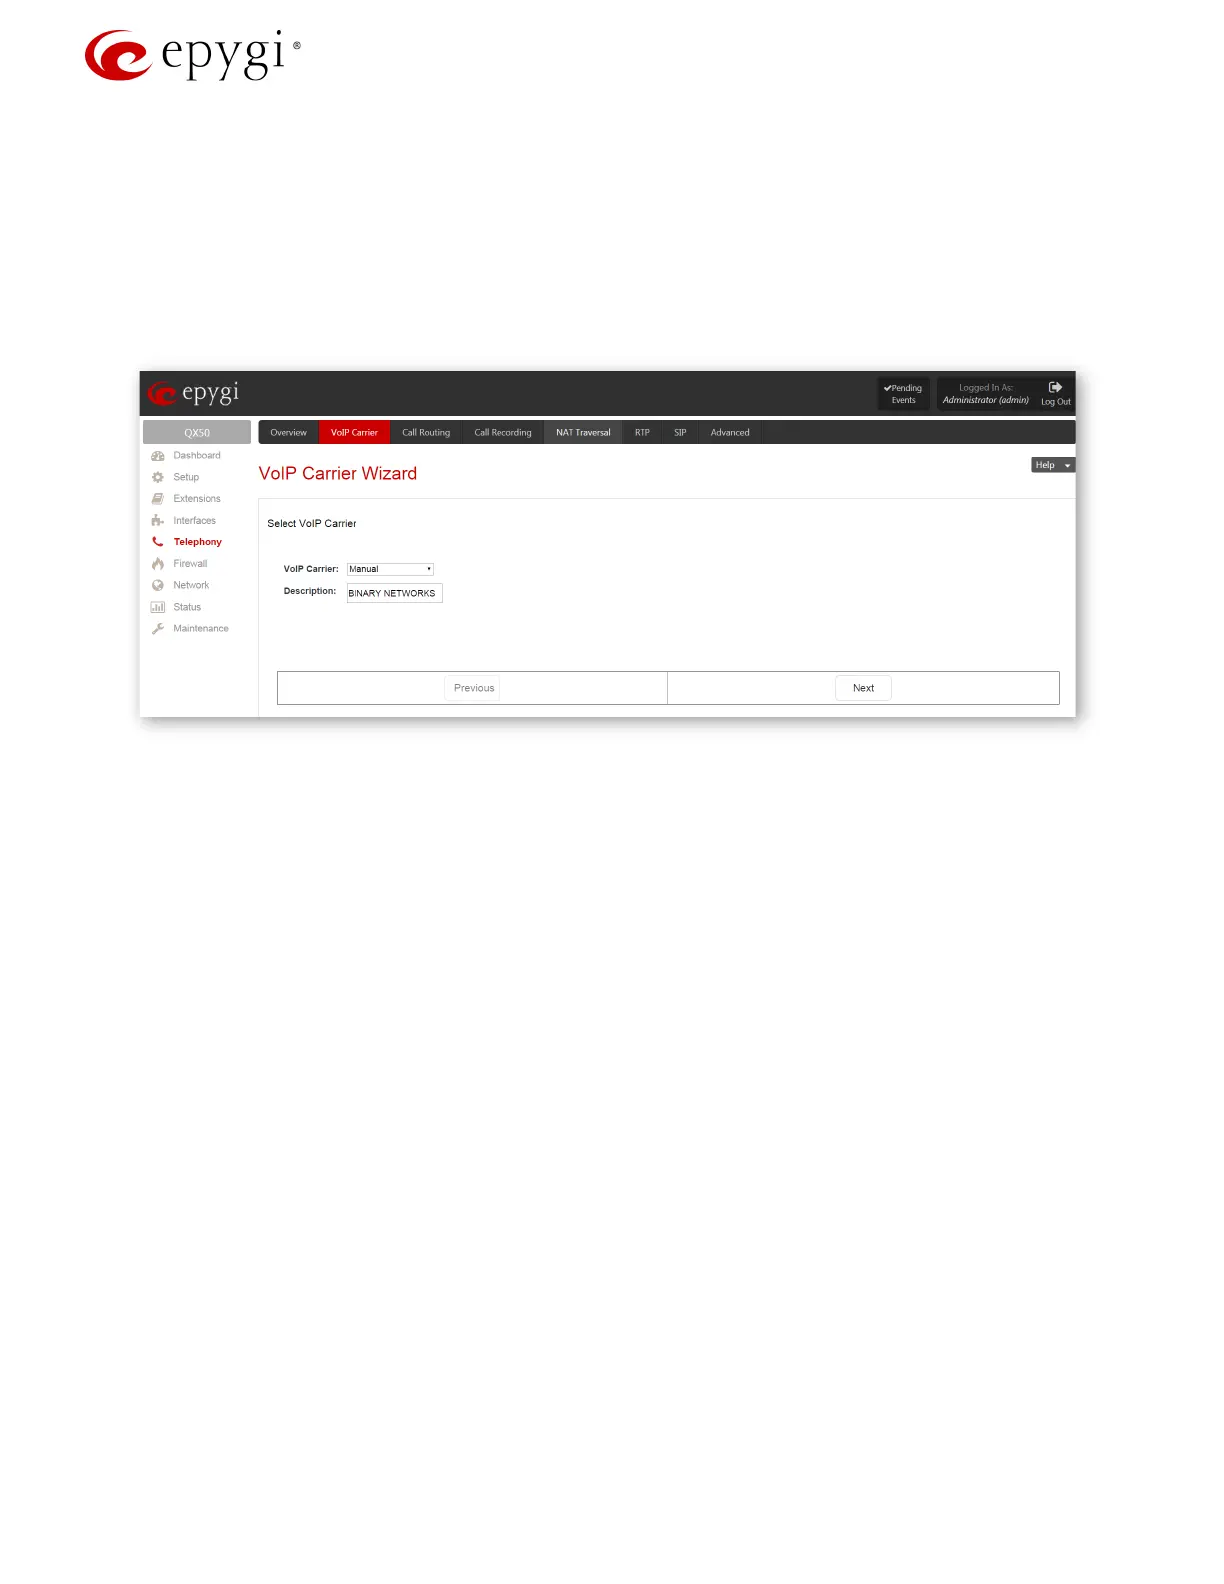
Configure the provided account on the IP PBX as follows to make outgoing calls.
1. Go to the TelephonyVoIP Carrier Wizard menu, pass through the wizard by inserting the below listed
parameters to create a new extension and configure it with the
BINARY NETWORKS SIP trunks:
Select Manual for VoIP Carrier
Description – BINARY NETWORKS (optional)
Press Next (Figure 1).
Figure 1: VoIP Carrier Wizard- Page 1
2. Insert the following parameters in the next opened page:
Account Name - the provided account (in this case it coincidences with one of the DID
numbers)
Password and Confirm Password fields
SIP Server – sip.binaryvoice.com.au
SIP Server Port – 5060
Enable Use RTP Proxy service and press Next (Figure 2).
Revision 1.0 5 1-Oct-15
 Loading...