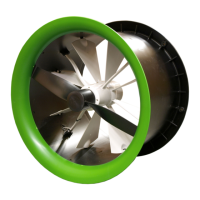
2. Installing the AT(M)
Install the AT(M) and associated components as follows:
1. Mount the AT(M) (see (p. 3))
2. Connect the AT(M) (see (p. 5))
3. Install the protective screen (see (p. 6))
If the AT(M) is installed at heights less than 2.5 m above the floor and/or the AT(M) is within reach
of animals/humans then placement of a protective screen is necessary. Contact with rotating parts
of the AT(M), can cause serious to fatal injuries as result.
4. Test the AT(M) (see (p. 7))
The open position of the damper is factory adjusted. The closed position is automatically
calibrated during power up.
2.1 Mount the AT(M)
Mount the AT(M) in or on a solid structure with sufficient load-bearing capacity. Insufficient insight
into load-bearing capacity of the structure can cause the fall of the AT(M) with serious to fatal
injuries as a result.
Take into account the correct airflow direction.
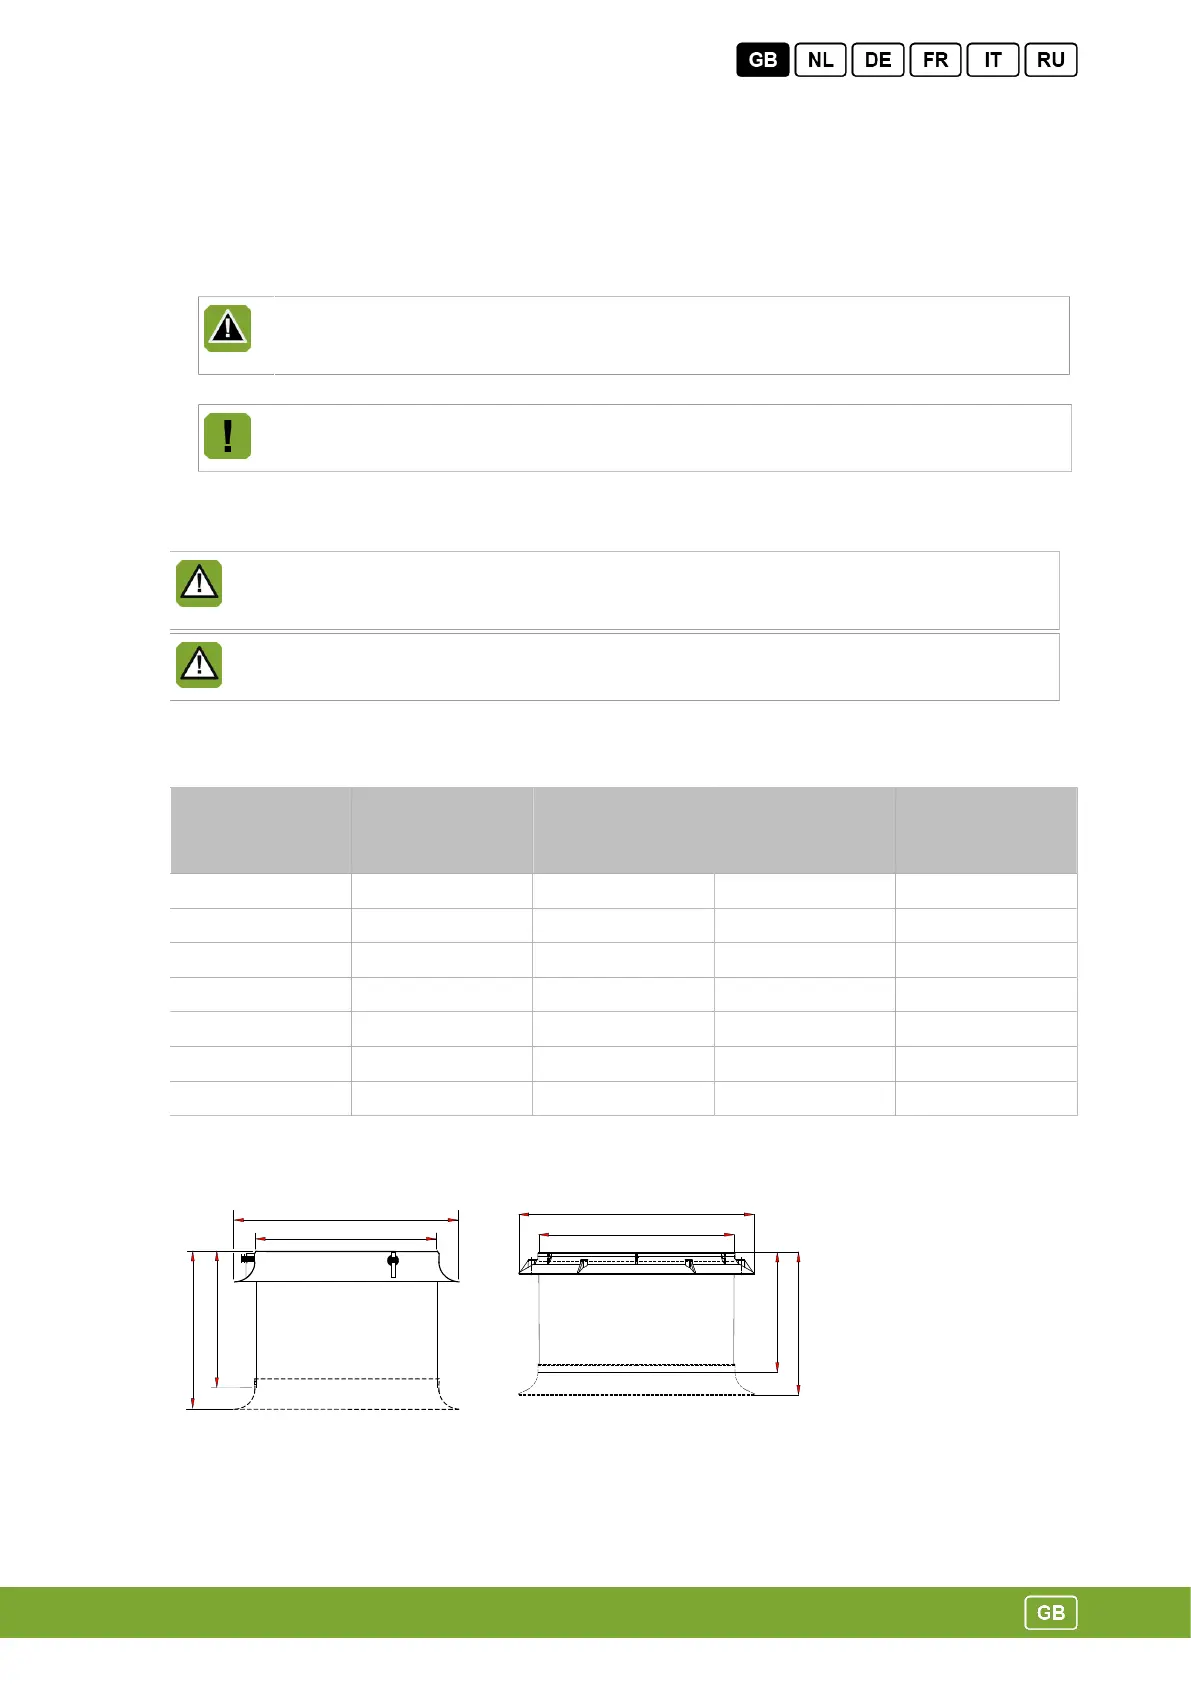
Take the dimensions of various types of AT(M) into account when installing.
Type Ø A
mm
(inch)
B
mm
(inch)
Ø C
mm
(inch)
D
mm
(inch)
..35 440 (17.3) 393 (15.5) 362 (14.3) 350 (13.8)
..40 502 (19.8) 398 (15.7) 412 (16.2) 350 (13.8)
..45 565 (22.2) 404 (15.9) 462 (18.2) 350 (13.8)
..50 628 (24.7) 410 (16.1) 512 (20.2) 350 (13.8)
..56 702 (27.6) 418 (16.5) 572 (22.5) 350 (13.8)
..63 775 (30.5) 571 (22.5) 650 (25.6) 500 (19.7)
..80 985 (38.8) 595 (23.4) 813 (32.0) 500 (19.7)
35 - 56 63 - 80
3
 Loading...