Advanced Thermal Solutions SC2500 User Manual
DCO65U-E SC2500 User Manual Page 11
5. Starting with the camera
This part explains in detail all steps to be followed before using your camera for
the first time.
5.1. Mounting the camera
Ensure you that the camera is posed on a stable surface or correctly screwed
on the tripod.
5.2. Installation of the software on the computer
Software is pre installed on the computer
See software manual for installation instruction
Install frame grabber drivers, VirCAM acquisition drivers, Camera Command
software CIRRUS & Altair software.
5.3. Connecting the camera
Connect the power cable on connector with the red reference mark.
Connect the Ethernet cable between the camera and the computer.
If required connect the camera to a video monitor in order to control the
image. Use a cable BNC 75 ohms or S-video which you will connect to the
camera by using the video adapter provided with the camera (blue reference
mark)
5.4. Powering the camera
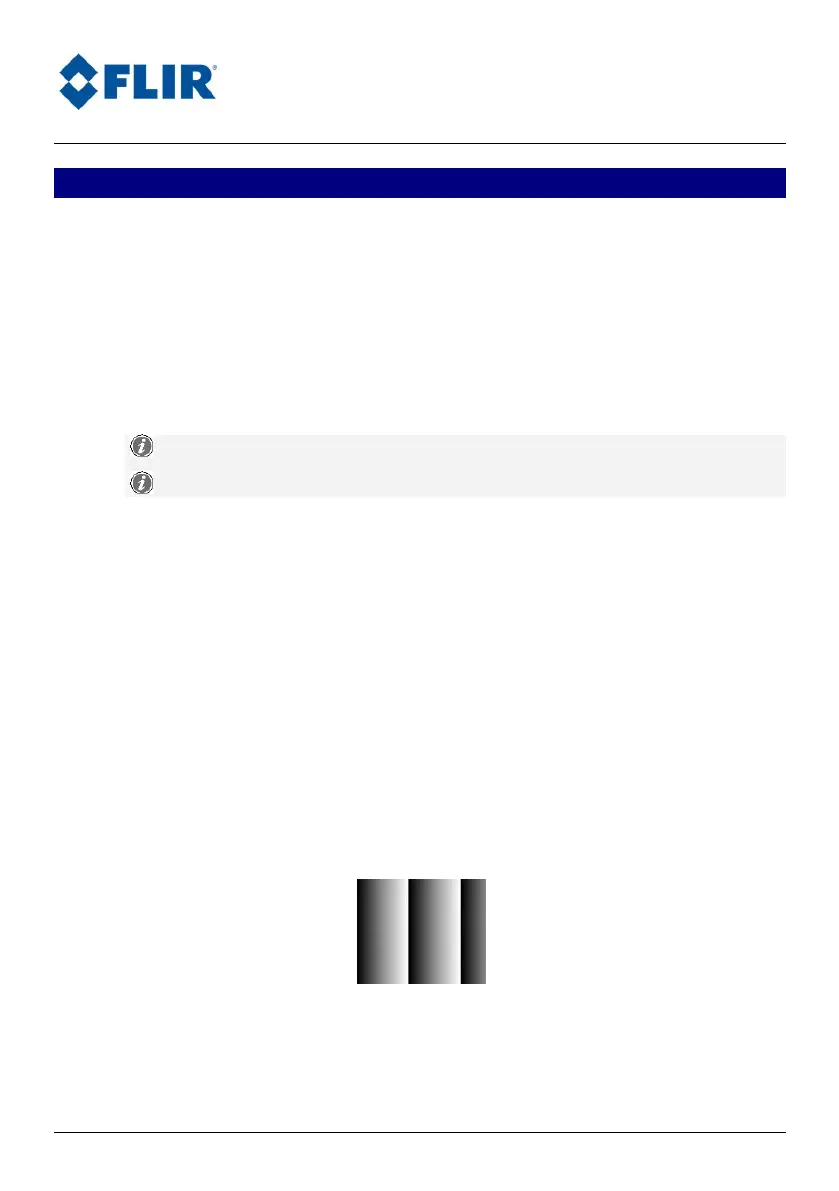
The camera is turned on by pressing the ON/OFF button. After a few seconds,
3s typically, the system displays a pattern on the video output.
Figure 1 : Pattern
It is necessary to wait about one minute so that the camera is ready to take
infrared images. The pattern is displayed during all this time.
The camera is turned off by pressing the ON/OFF button.
 Loading...