12
The accessory required for such installation is listed below:
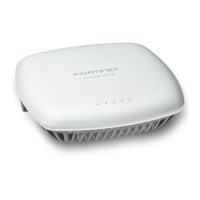
Vertically on a Wall
Installation
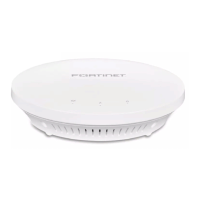
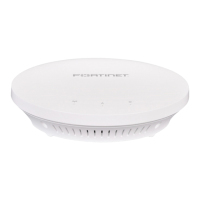
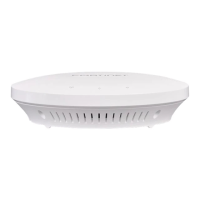
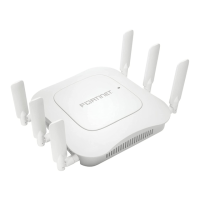
The AP832 ships with a metal bracket (650-00234) that can be used for wall mounting. This
bracket is used in conjunction with the plastic 15/16" T-Bar Adapter/Wall Mount bracket (650-
00232) that easily locks the AP into place.
The accessory required for such installation is listed below:
1. User should bench test this mounting hardware in order to familiarize with the locking
mechanism prior to actual installation.
2. Determine the desired location for mounting.
3. Use the wall mount bracket as a template for screw holes and cable cutout.
• User may need to cut a hole in the wall or ceiling in the cable cutout area in order to hide
the cables during installation.
• User may also use the optional RJ45 cable extension (840-00124 CBL-RJ45-ADAPT-
X5, comes in a 5 pack), if user do not want to cut a hole in the wall or ceiling.
4. Place the metal bracket against the wall. It should be oriented such that the indicator text
for wall-mounting is pointing upwards.
5. Attach the bracket to the wall using screws at the appropriate screw locations as indicated
in “AP832 Wall Bracket” on page 13. Recommend #6, #8 (M3, M3.5).
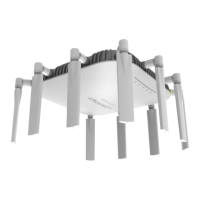
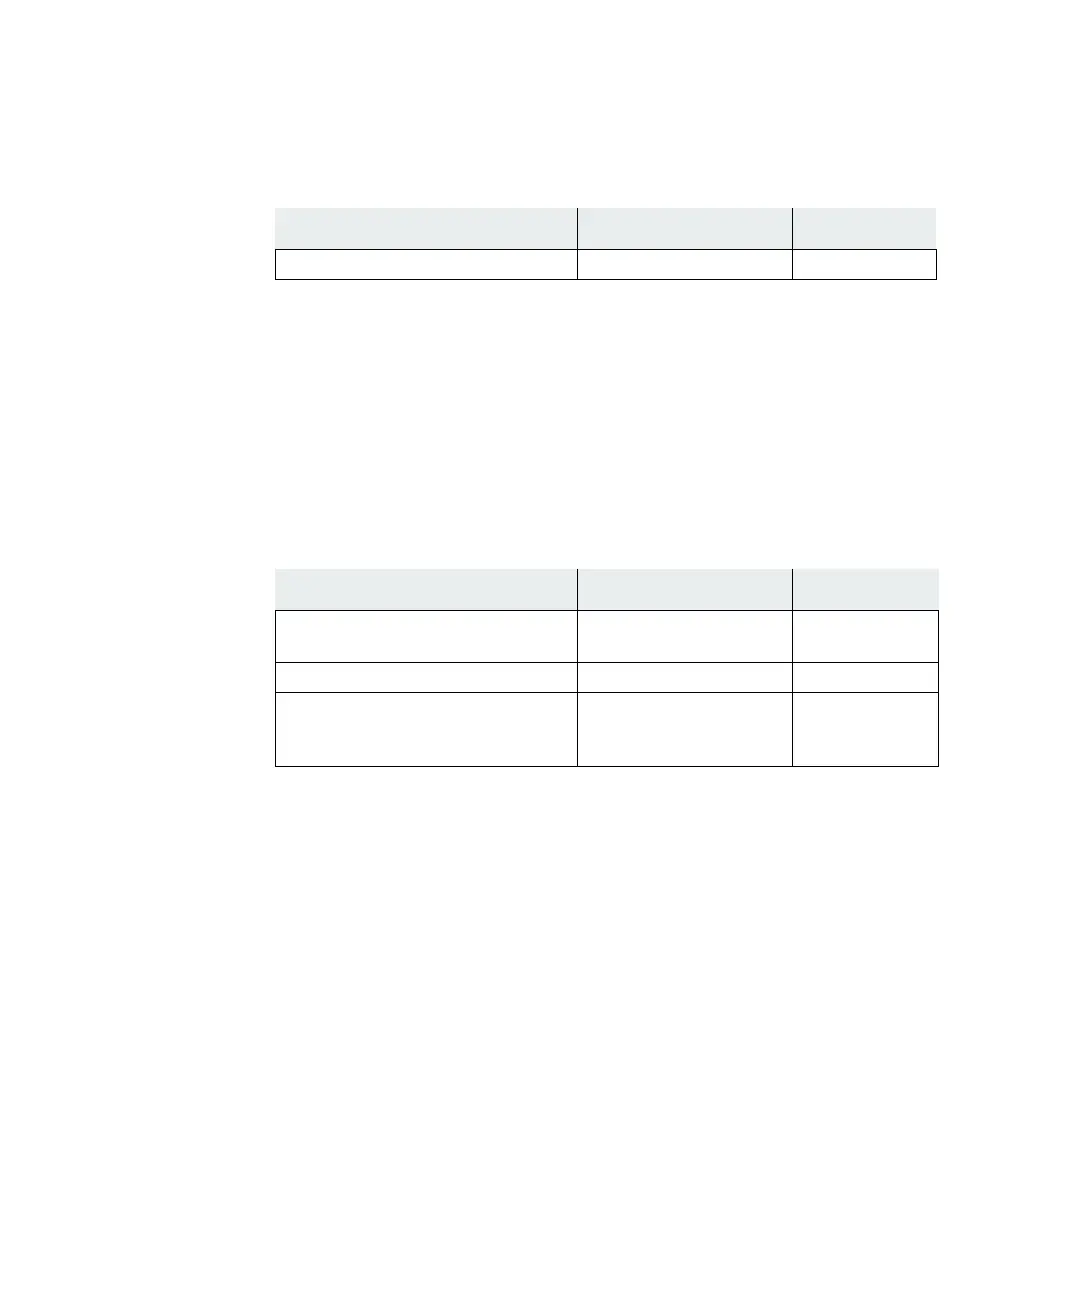
Item Model Number Quantity
Stands (Optional) MNT-FEET-SET-X5 1 (set)
Item Model Number Quantity
15/16" T-bar & wall-mount combo
adapter (650-00232)
1
Wall-mount bracket (650-00234) 1
Wall-mount hardware kit (4 spac-
ers, M3x10 & M3x30 screws)
(840-00126)
1
 Loading...