5 Scan
320
Scan
5
File Name (Specifying a Name for the File to be Sent)
When using the E-mail, Scan to PC, Network Scanning, or Store & Send Link service,
you can specify a name for the file to be sent.
Auto Name
The file name is "img-xxx-yyy.zzz" (where xxx is the date and time, yyy is the page
number, and zzz is the extension).
The extension depends on the setting in [File Format].
z
When [TIFF] is selected in [File Format]: tif
z
When [JEPG] is selected in [File Format]: jpeg
z
When [PDF] is selected in [File Format]: pdf
z
When [XPS] is selected in [File Format]: xps
z
When [DocuWorks] is selected in [File Format]: xdw
To set the file name
1 Select [File Name].
2 Enter a file name using the displayed keyboard.
For information on how to enter characters, refer to "Entering Text" (P.68).
Note • When each page is saved as one file, the page number is added to the end of each file
name.
• Up to 128 characters can be entered as a file name for the Scan to PC service.
• Up to 28 characters can be entered as a file name for the E-mail service.
• Up to 28 characters can be entered as a file name for the Store & Send Link service.
• Up to 40 characters can be entered as a file name for the Network Scanning service.
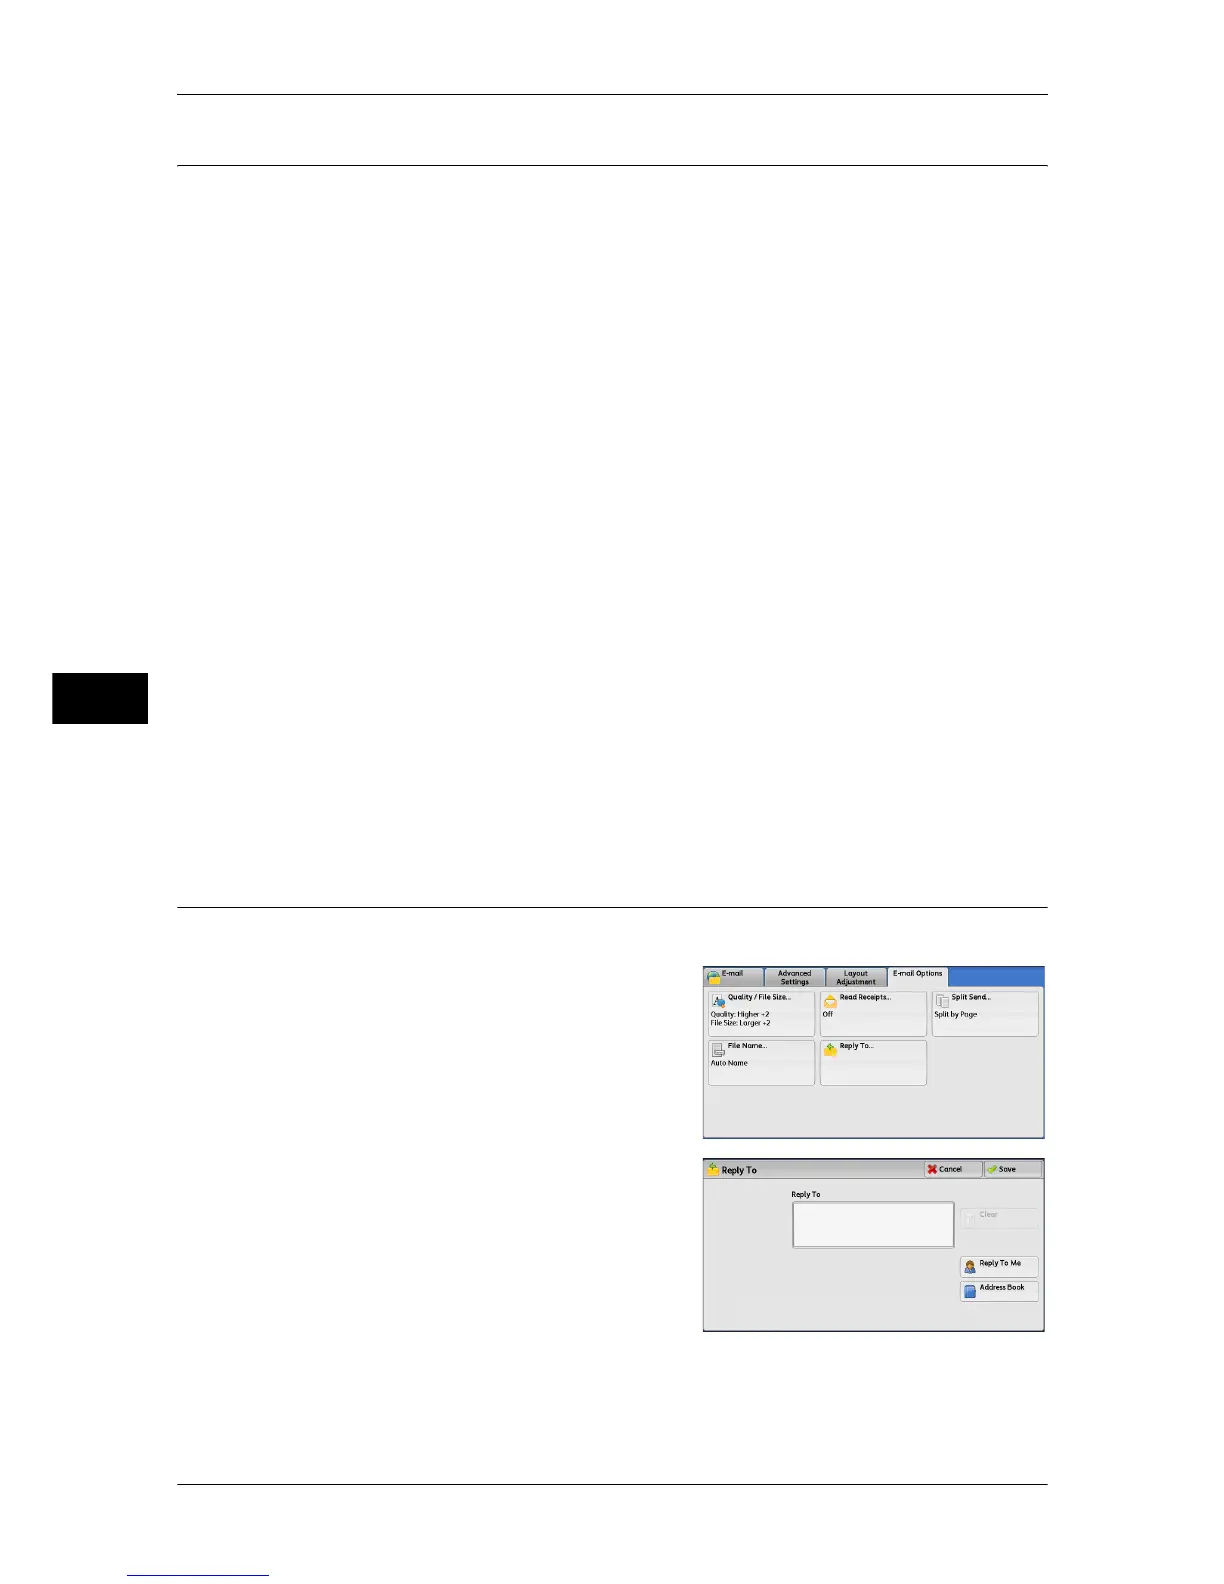
Reply To (Specifying a Reply Address)
When using the E-mail service, you can specify the address for reply.
1 Select [Reply To].
2 Enter an address for reply.
Reply To
Select the [Reply To] box to display the keyboard screen on which you can enter an
address for reply.
 Loading...


