4. HOW TO INSTALL OPTIONAL EQUIPMENT
4-2
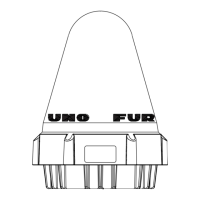
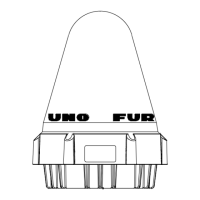
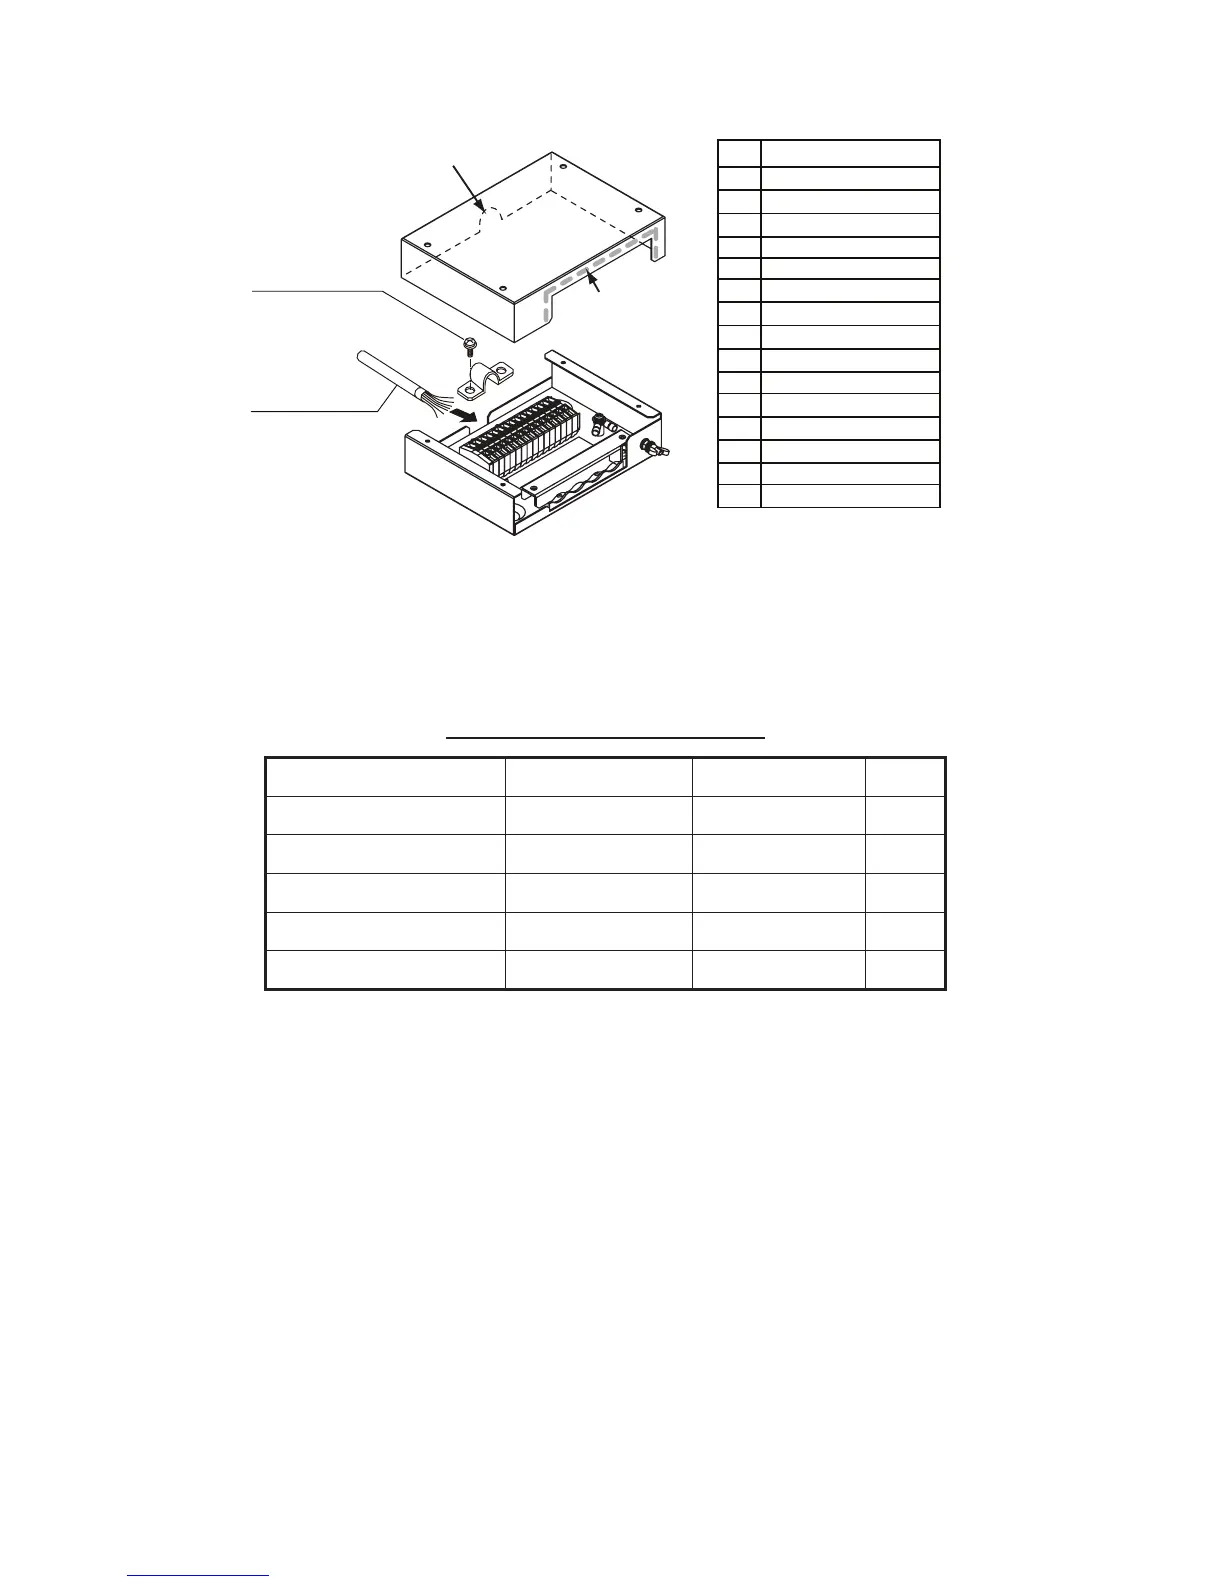
4.2 Waterproofing Kit OP16-61 (for IC-219)
Note: When the communication unit is mounted on a bulkhead, the rear panel (
the side with connectors) should be downward for waterproofing.
OP16-61 (Code No.: 001-180-110)
Name Type Code No. Qty
Binding Screw #4-4OUNCX3/16 000-176-619-10 2
Dsub Cover 16-023-4532 100-373-520-10 1
D-sub Gasket 16-023-4513 100-368-120-10 1
LAN Packing 2 16-023-4512 100-368-110-10 1
LAN Waterproof Plate 16-023-4531 100-368-180-10 1
Attach the grommet
to this notch.
Cable assy.
XM-FD-361
Attach the cover
gasket to here
(reverse side).
Pan head screw
(M4x8, 2 pcs.)
# Color
1 Blue
2 Brown
3 Purple
4 Gray
5 -
6 Green
7 Yellow
8 Orange
9 Pink
10 Light-green
11 White (w/black dots)
12 White (w/red dots)
13 Black
14 Red
15 Light-blue
 Loading...