190-01182-02 GTR 225/GNC 255 TSO Installation Manual
Rev. B Page 4-5
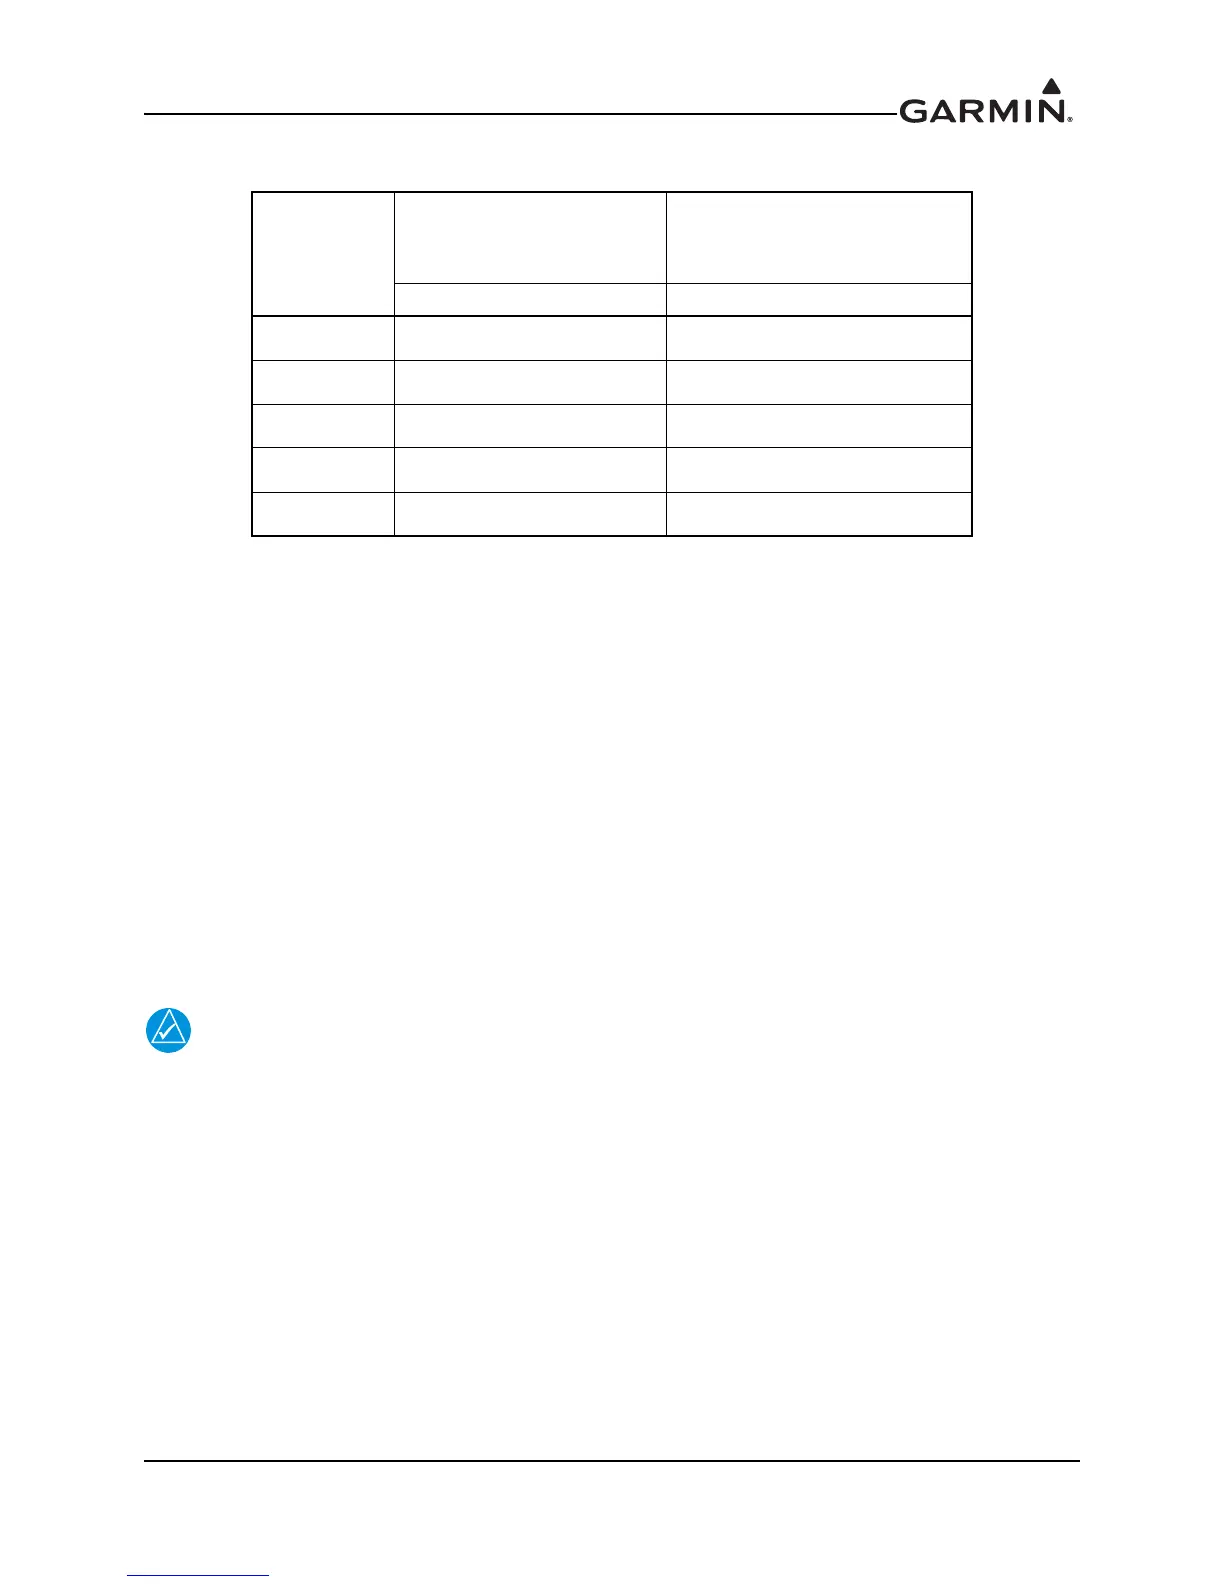
Table 4-4. Socket Contact Part Numbers
[1] For configuration module pins, ensure that the crimp tool is set to crimp 28 AWG wire
(indenter setting of ‘4’).
[2] Contacts listed are not to be used for configuration module wiring. Use the contacts supplied
with the configuration module when installing configuration module wires in P1001.
[3] Non-Garmin part numbers shown are not maintained by Garmin and are subject to change
without notice.
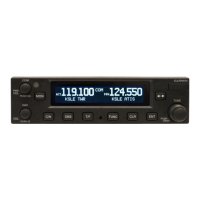
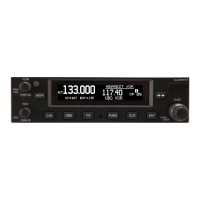
4.7 Equipment Mounting
4.7.1 Rack Installation
Use the dimensions shown in Figure C-1 to prepare the mounting holes for the GTR/GNC unit. You may
also use the GTR/GNC unit mounting rack itself as a template for drilling the mounting holes.
1. Figure C-1 shows outline dimensions for the avionics rack for the various GTR/GNC units. Install
the rack in a rectangular 6.32” x 4.60” hole (or gap between units) in the instrument panel. The
lower-front lip of the rack should be flush with, or extend slightly beyond, the finished aircraft
panel.
If the front lip of the mounting rack is behind the surface of the aircraft panel, the
GTR/GNC unit connectors may not fully engage. See Figure C-7 for more information.
Ensure that no screw heads or other obstructions prevent the unit from fully engaging in
the rack (see the “Connector Engagement Test,” Section 6.3). Exercise caution when
installing the rack into the instrument panel. Deformation of the rack may make it difficult
to install and remove the GTR/GNC unit.
2. Install the rack in the aircraft panel using ten #6-32 flat head screws and ten self-locking nuts. The
screws are inserted from the inside through the holes in the sides of the rack.
3. To attach the backplate to the rack, align the backplate so that the backplate screw heads pass
through the keyed holes in the back of the rack.
4. Slide the backplate to the right (viewing from cockpit) until it clicks into place. Secure the back-
plate by tightening the four #4-40 screws.
Wire Gauge
Configuration Module
78-pin Connector (P1001)
P1001-P1005
28 AWG [1] 22-28 AWG [2]
Garmin P/N 336-00021-00 336-00021-00
Military P/N N/A M39029/58-360
AMP N/A 204370-2
Positronic N/A MC8522D
ITT Cannon N/A 010-2042-000
 Loading...