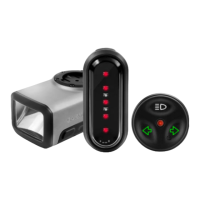
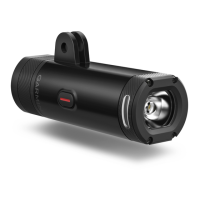
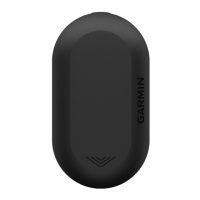
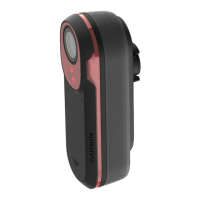
You can use the out-front mount to install both an Edge device and a headlight.
1. Select a secure location to mount the Edge device and headlight where they do not interfere with the safe operation of your bike.
2. Use the hex key to remove screw 1 from the handlebar connector 2.
3. If necessary, remove the two screws on the top of mount 3, rotate the connector, and replace the screws to change the orientation of the mount for an Edge
device.
4. Place a rubber pad around the handlebar:
• If the handlebar diameter is 25.4 mm, use the thicker pad.
• If the handlebar diameter is 31.8 mm, use the thinner pad.
5. Place the handlebar connector around the rubber pad.
NOTE: You should align the contours on the rubber pad with the grooves on the inside of the handlebar connector.
6. Adjust the mount on the handlebar so the headlight is mounted horizontally, parallel to the road.
7. Replace and tighten the screw.
NOTE: Garmin ® recommends a torque specification of 7 lbfin. (0.8 N-m). You should check the tightness of the screw periodically.
8. Align the notches on the top of the headlight with the tabs on the bottom of the mount.
9. Press up slightly and turn the headlight clockwise until it locks into place.
10. If installing an Edge device, align the tabs on the back of the Edge device with the notches on the top of the mount.
11. Press down slightly and turn the Edge device clockwise until it locks into place.
Tips for Installing the Taillight
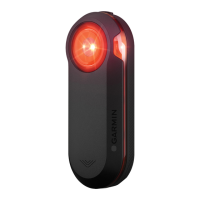
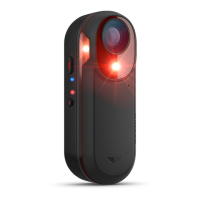
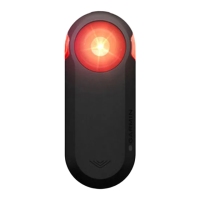
Select a secure location to mount the taillight where it does not interfere with the safe operation of your bike.
Then select the amount that best fits your bike.
Mount the device as high on the seat post as possible for optimal light visibility. Verify there is clear space (no obstructions) behind the device.
If you are using two taillights as turn signals, mount the devices at the same height and as far apart as possible on the seat stays of your bike.
NOTE: The turn signal feature is available on the Varia TL 300 only.
Installing the Seat-Post Mount
1. Use the hex key to remove screw 1from the seat-post connector 2.
2. Place a rubber pad around the seat post, if necessary:
• If the seat post diameter is from 27 to 28.6 mm, use the thicker pad.
• If the seat post diameter is from 30.4 to 31 mm, use the thinner pad.
• If the seat post diameter is from 31 to 31.8 mm, do not use a rubber pad.
3. Place the seat-post connector around the rubber pad.
NOTE: You should align the contours on the rubber pad with the grooves on the inside of the seat-post connector.
4. Replace and tighten the screw.
NOTE: Tighten the seat-post clamp until the mount does not slide on the seat post, or to a maximum torque specification of 3 lbs-in. (0.3 N-m). You should
check the tightness of the screw periodically.

 Loading...
