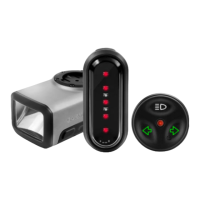
The status LED flashes blue. The device can be controlled by a paired wireless remote or Edge device.
2. Hold the device key for 2 seconds to turn off the device. The next time you turn on the device, it enters the last-used operating mode.
Operating Modes
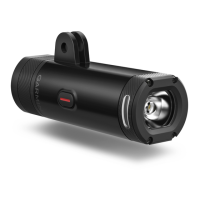
Varia HL 500
Smart mode (pairing)
Overdrive, high, medium, low, and flash
Varia HL 501 Smart mode (pairing) High, medium, and low
Varia TL 300
Smart mode (pairing)
High, medium, low, and flash
Varia TL 301 Smart mode (pairing) High and low
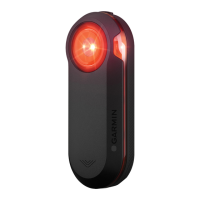
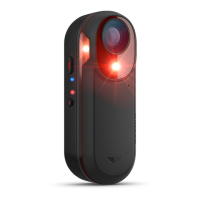
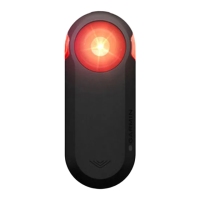
Bike Light Status LEDs
LED Activity Status
Solid red
An error occurred while charging.
The device shut down to prevent overheating.
Alternating blue and green The device is uploading settings from Garmin Express”.
Alternating blue and red An error occurred while uploading settings from Garmin Express.
Flashing green The battery is charging.
Solid green Charging is complete.
LED Activity Status
Flashing red The battery is low.
Flashing blue
The device is in smart mode and can be
controlled by a paired wireless remote or
Edge device.
Device Settings
You can remotely control your Varia devices and customize settings using your compatible Edge device. This section contains instructions for the Edge 1000
device. Other compatible Edge devices use similar settings.
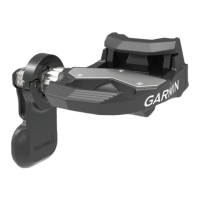
Pairing Varia Bike Lights with Your Edge 1000
Before you can pair the devices, you must update the Edge software.
1. Bring the Edge device within range (3 m) of the sensor.
NOTE: Stay 10 m away from other ANT+ ® bike lights while pairing.
2. Turn on the Edge device.
3. From the home screen, select > Sensors > Add Sensor > Search All.
4. Turn on the Varia device.
5. Select the Varia device key to enter smart mode. The status LED flashes blue.
6. Select your sensor.
When the sensor is paired with your Edge device, the status icon appears solid on the connections page.
Customizing Varia Device Settings with Your Edge 1000
Before you can customize Varia device settings with your Edge device, you must pair the devices (Pairing Varia Bike Lights with Your Edge 1000, page 3).
1. From your Edge device, select > Sensors > Lights.
2. Select an option:
• Select Enable to enable the light network.
• Select Network Options > Light Mode to set the light intensity mode for all lights in your network (Light Mode Settings, page 3).
• Select Network Options > Test Lights to check that each light in your network is set up correctly (Testing the Light Network, page 4).
• Select Network Options > Beam Angle to adjust the headlight beam angle automatically based on the rate of speed. Higher beam angles are used at high
speeds, and lower beam angles are used at low speeds.
NOTE: This setting appears when a headlight is paired with the device.
• Select Network Options > Turn Signal Setup to configure turn signals when using two taillights (Turn Signal Settings, page 3).
NOTE: This setting appears when two taillights are paired with the device. The turn signal feature is available on the Varia TL 300 only.
• Select a light to view device information and customize each light in your network (Light Network Settings, page 4).
Light Mode Settings
From your Edge device, select > Sensors > Lights > Network Options > Light Mode.
Auto: Automatically adjusts the light intensity based on the ambient light or time of day.
High Visibility: For Varia HL 500 and Varia TL 300, sets the light intensity to flash mode.
For Varia HL 501 and Varia TL 301, sets the light intensity to the brightest setting available.
Individual: This allows you to customize the light intensity and pattern mode for each light in your network (Light Network Settings, page 4).
Adjusting the Beam Angle During a Ride
Before you can adjust the beam angle during a ride, you must disable the automatic beam angle setting (Customizing Varia Device Settings with Your Edge 1000,
page 3).
1. Go for a ride.
2. Swipe the screen to view the bike lights data screen.
3. A selector + or -to adjust the headlight beam angle.
Turn Signal Settings
 Loading...