13
4. Use the directional keypad to select the fi le desired. Press and
release the ‘ok’ button to select. The video selected will start
playing immediately.
The following commands can be use during playback: Stop,
Fast Forward, Rewind and Play from Beginning.
5. Press and release the ‘menu’ button to exit.
NOTE: To return to a previous list of folders viewed on the
display, press and release the ‘OK’ button after highlighting
this icon whenever shown.
• Delete recorded videos
1. In single or sequential viewing mode, press the ‘ok’ button.
A list of folders stored on the memory card will appear on
the screen.
2. Use the directional keypad to select the folder named, ‘VIDEO’
and press and release the ‘ok’ button. A new list of folders
sorted by the date the video(s) were recorded will appear.
3. Use the directional keypad to select the folder desired.
Press and release the ‘ok’ button to select. A list of individual
video fi les will appear. The newest videos will appear near
the bottom of the list.
4. Use the directional keypad to select the fi le you want to
delete. Press and release the ‘stdby’ button to select.
A warning message will appear on the display requesting
confi rmation.
5. Use the directional keypad to select ‘Yes’. Press and release
the ‘ok’ button.
NOTE: Folders can also be deleted following the same procedure.
Instead of highlighting a fi le, simply highlight the folder.
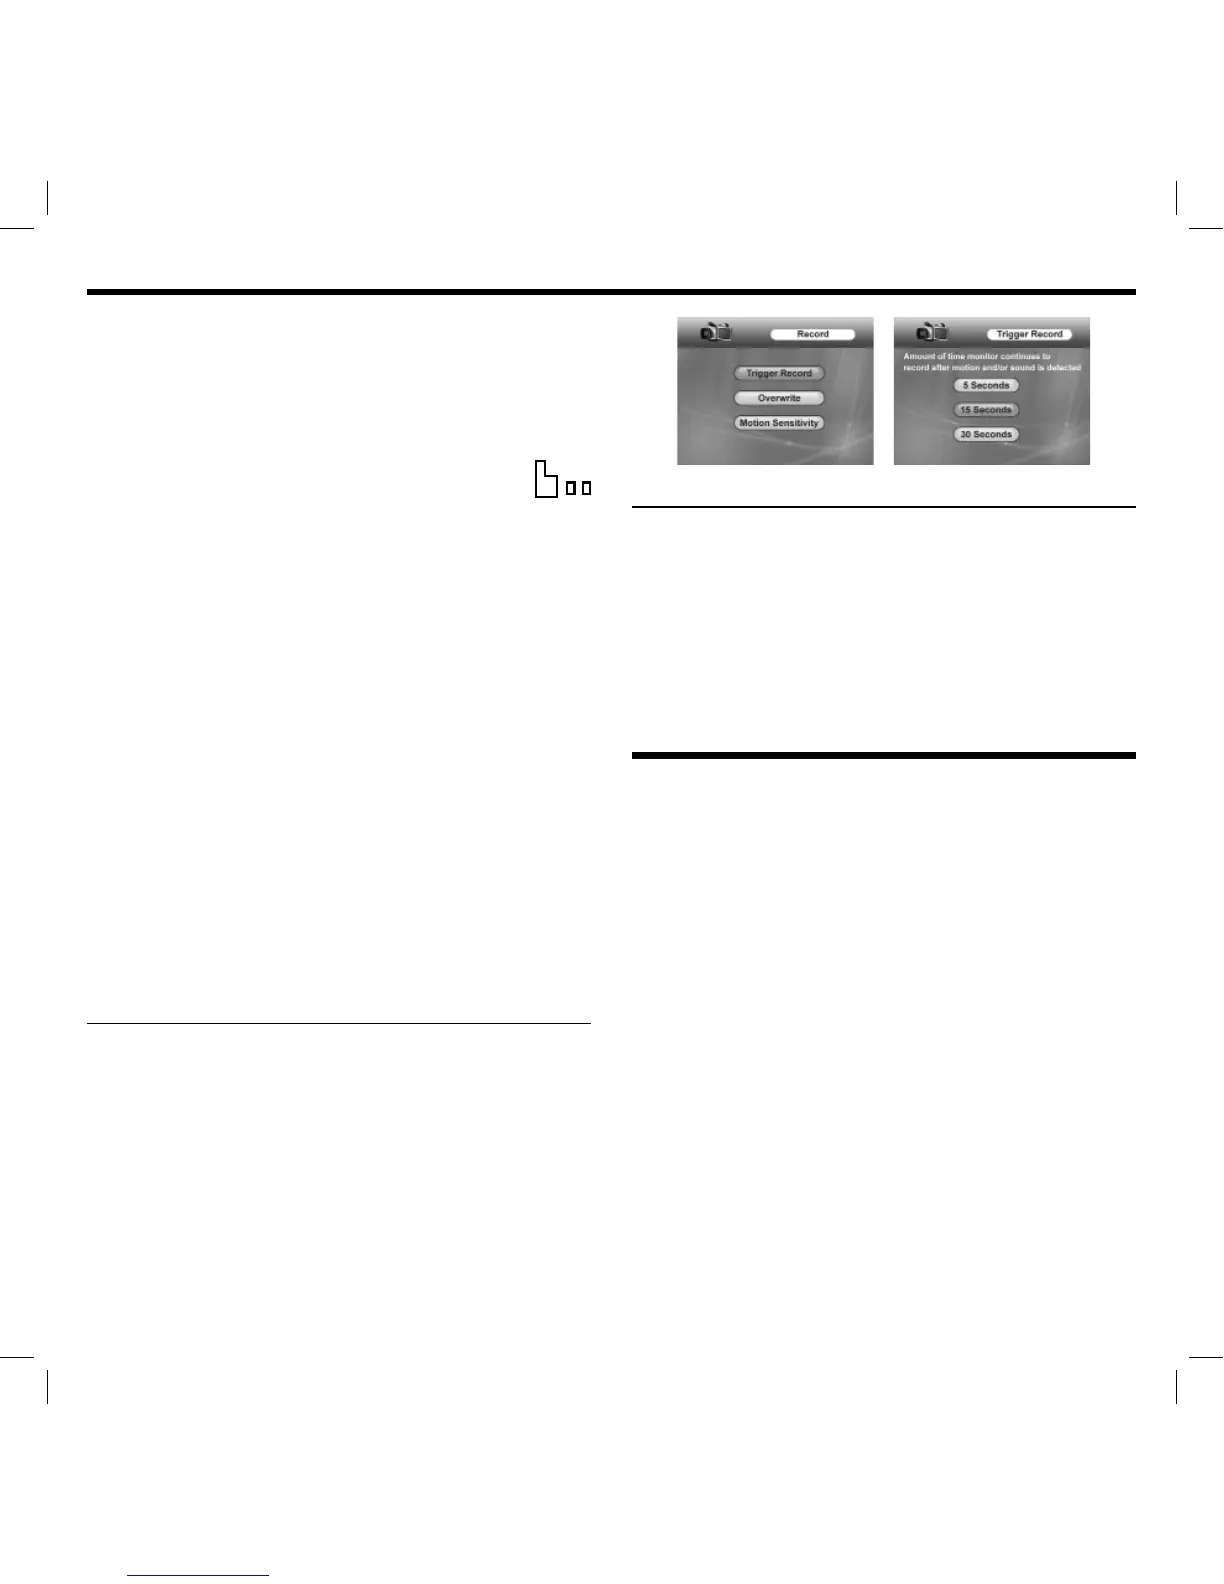
ADJUSTING THE AMOUNT OF TIME RECORDING CONTINUES
AFTER MOTION AND/OR SOUND IS DETECTED
1. Press and release the ‘menu’ button on the monitor.
Using the directional keypad, highlight the ‘Record’ option.
2. Press and release the ‘ok’ button. Using the directional
keypad, highlight the ‘Trigger Record’ option. Press and
release the ‘ok’ button.
3. Use the directional keypad to highlight ‘5 Seconds’,
‘15 Seconds’, or ‘30 Seconds’. Press and release the ‘ok’ button.
4. Press and release the ‘menu’ button to exit.
FORMATTING A MICRO SD
™
CARD
1. Press and release the ‘menu’ button on the monitor.
Using the directional keypad, highlight the ‘Settings’ option.
Press and release the ‘ok’ button.
2. Using the directional keypad, highlight the ‘Format’ option.
Press and release the ‘ok’ button. A warning message will
appear on the display requesting confi rmation.
3. Use the directional keypad to select ‘Yes’. Press and release
the ‘ok’ button. Press and release the ‘menu’ button to exit.
TROUBLESHOOTING:
FREQUENTLY ASKED QUESTIONS
1. ‘OUT OF RANGE’ appears on the display, camera is already
paired, and camera is next to the monitor.
Try sliding the monitor power switch to the ‘off’ position and
then back to ‘on’. This will cause the monitor to search for
the camera again. If monitor is still unable to locate camera,
perform the following steps to re-pair camera to monitor:
NOTE: Cameras are limited to one monitor at a time.
Re-Pairing the Camera
1. Follow the ‘Initial Setup’ procedures as indicated in the
beginning of the manual.
2. Press and release the ‘menu’ button on the monitor. Using the
directional keypad, highlight the ‘Pairing’ option. Press and
release the ‘ok’ button.
3. Using the directional keypad, highlight the camera number
desired. Cameras previously assigned can be overwritten.
Press and release the ‘ok’ button to save.
 Loading...