9
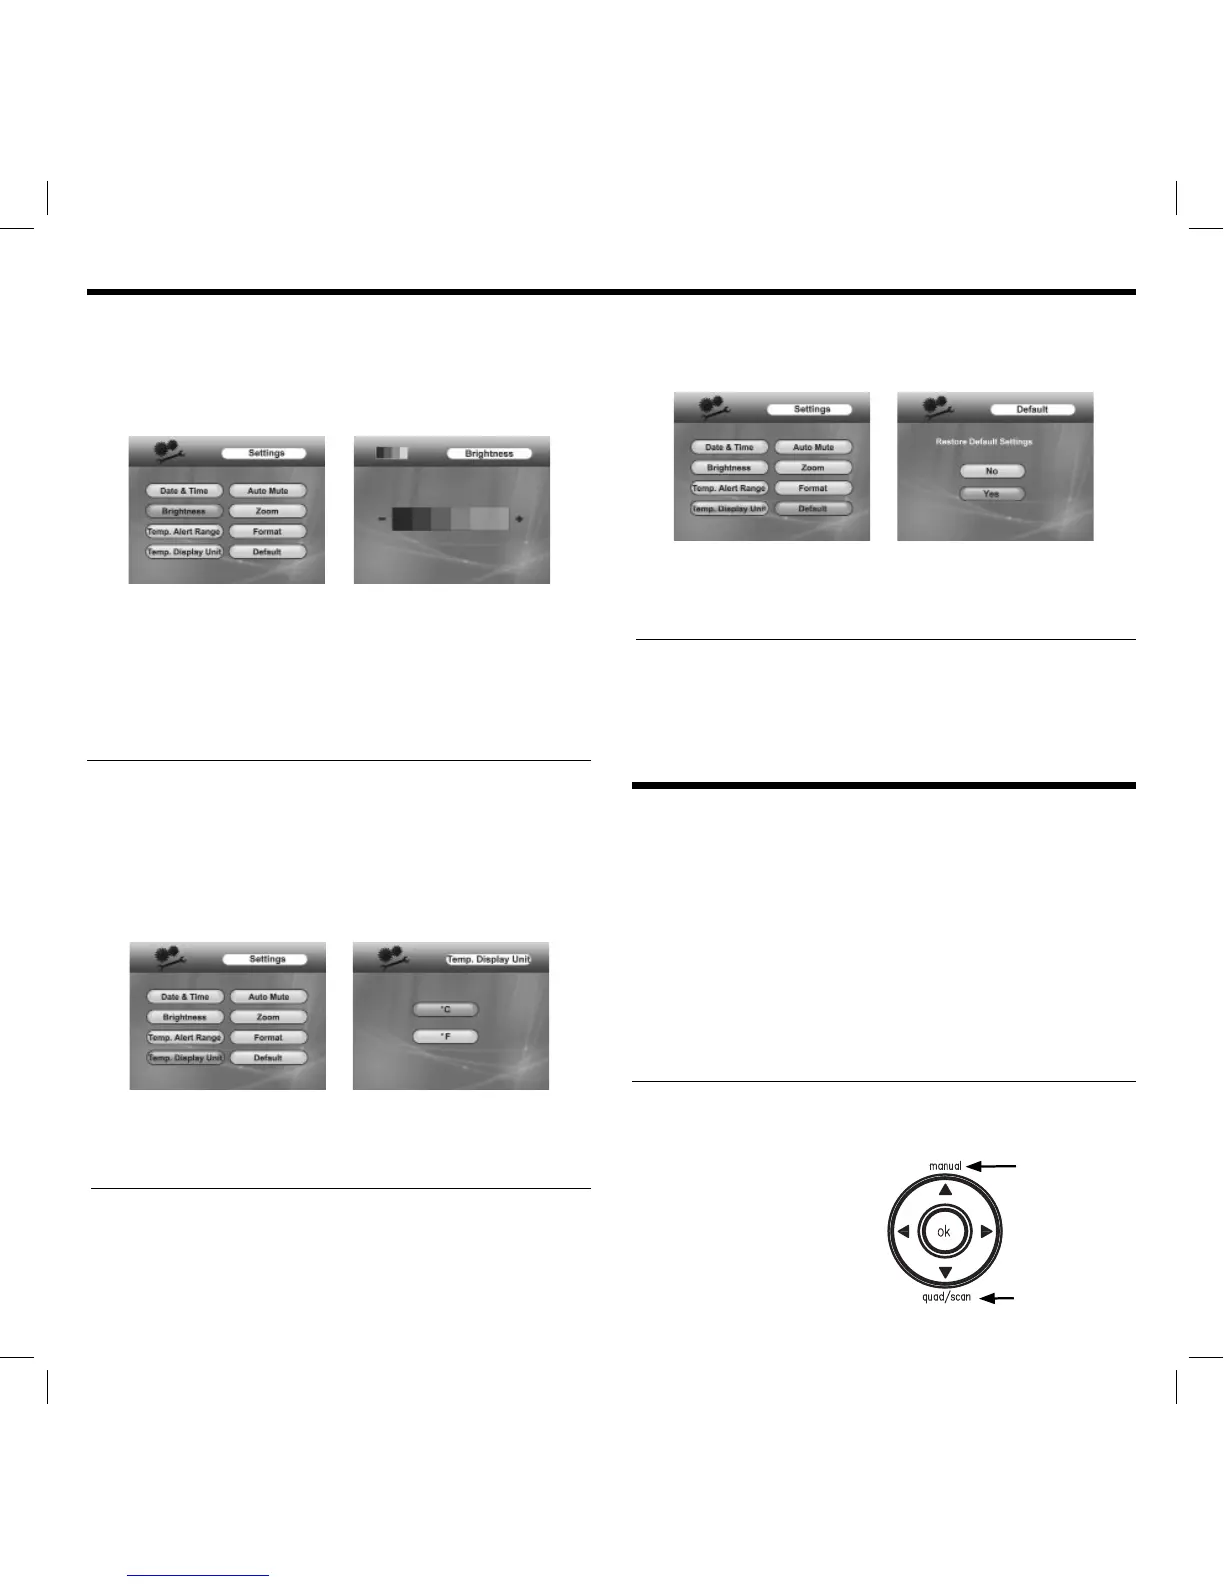
ADJUSTING THE BRIGHTNESS
1. Press and release the ‘menu’ button on the monitor. Using the
directional keypad, highlight the ‘Settings’ option.
2. Press and release the ‘ok’ button. Use the directional keypad
to highlight ‘Brightness’.
3. Press and release the ‘ok’ button. Adjust the volume using the
‘left’ and ‘right’ arrows on the directional keypad.
4. Press and release the ‘ok’ button to save. Press and release
the ‘menu’ button to exit and display changes.
NOTE: Changes will not be updated inside the menu screen.
ADJUSTING THE TEMPERATURE DISPLAY UNIT
1. Press and release the ‘menu’ button on the monitor. Using the
directional keypad, highlight the ‘Settings’ option.
2. Press and release the ‘ok’ button. Using the directional keypad,
highlight the ‘Temp. Display Unit’ option.
3. Press and release the ‘ok’ button. Use the directional keypad to
highlight either ‘C’ (Celsius) or ‘F’ (Fahrenheit).
4. Press and release the ‘ok’ button. Press and release the
‘menu’ button to exit.
RESTORING TO FACTORY DEFAULTS
1. Press and release the ‘menu’ button on the monitor.
2. Using the directional keypad, highlight the ‘Settings’ option.
3. Press and release the ‘ok’ button.
4. Using the directional keypad, highlight the ‘Default’ option.
5. Press and release the ‘ok’ button.
6. Use the directional keypad to highlight either ‘Yes’ or ‘No’.
7. Press and release the ‘ok’ button.
8. Press and release the ‘menu’ button to exit.
UPDATING THE FIRMWARE
Visit www.jascoproducts.com/support for the latest version of
the fi rmware available for download. Instructions provided on the
website.
ADVANCED FEATURES:
CONNECTING TO A COMPUTER
1. Insert the CD included with the contents of the packaging.
2. Follow the on-screen prompts to install the software.
Connect the included mini USB cable into the monitor
and computer.
3. The monitor will display, ‘USB PC Camera Mode’ on the screen.
NOTE: For instructions using the software, reference the electronic
version of the user manual included on the CD.
USING WITH ADD-ON CAMERAS (sold separately)
Follow the installation instructions listed in the manual that came
with the add-on camera.
More Viewing Modes:
1. Quad (Multi-Camera View)
• View all paired cameras
continuously at once.
manual
activates the single
viewing mode
quad/scan toggles
between multiscreen
and sequential viewing
modes
 Loading...