– 42 –
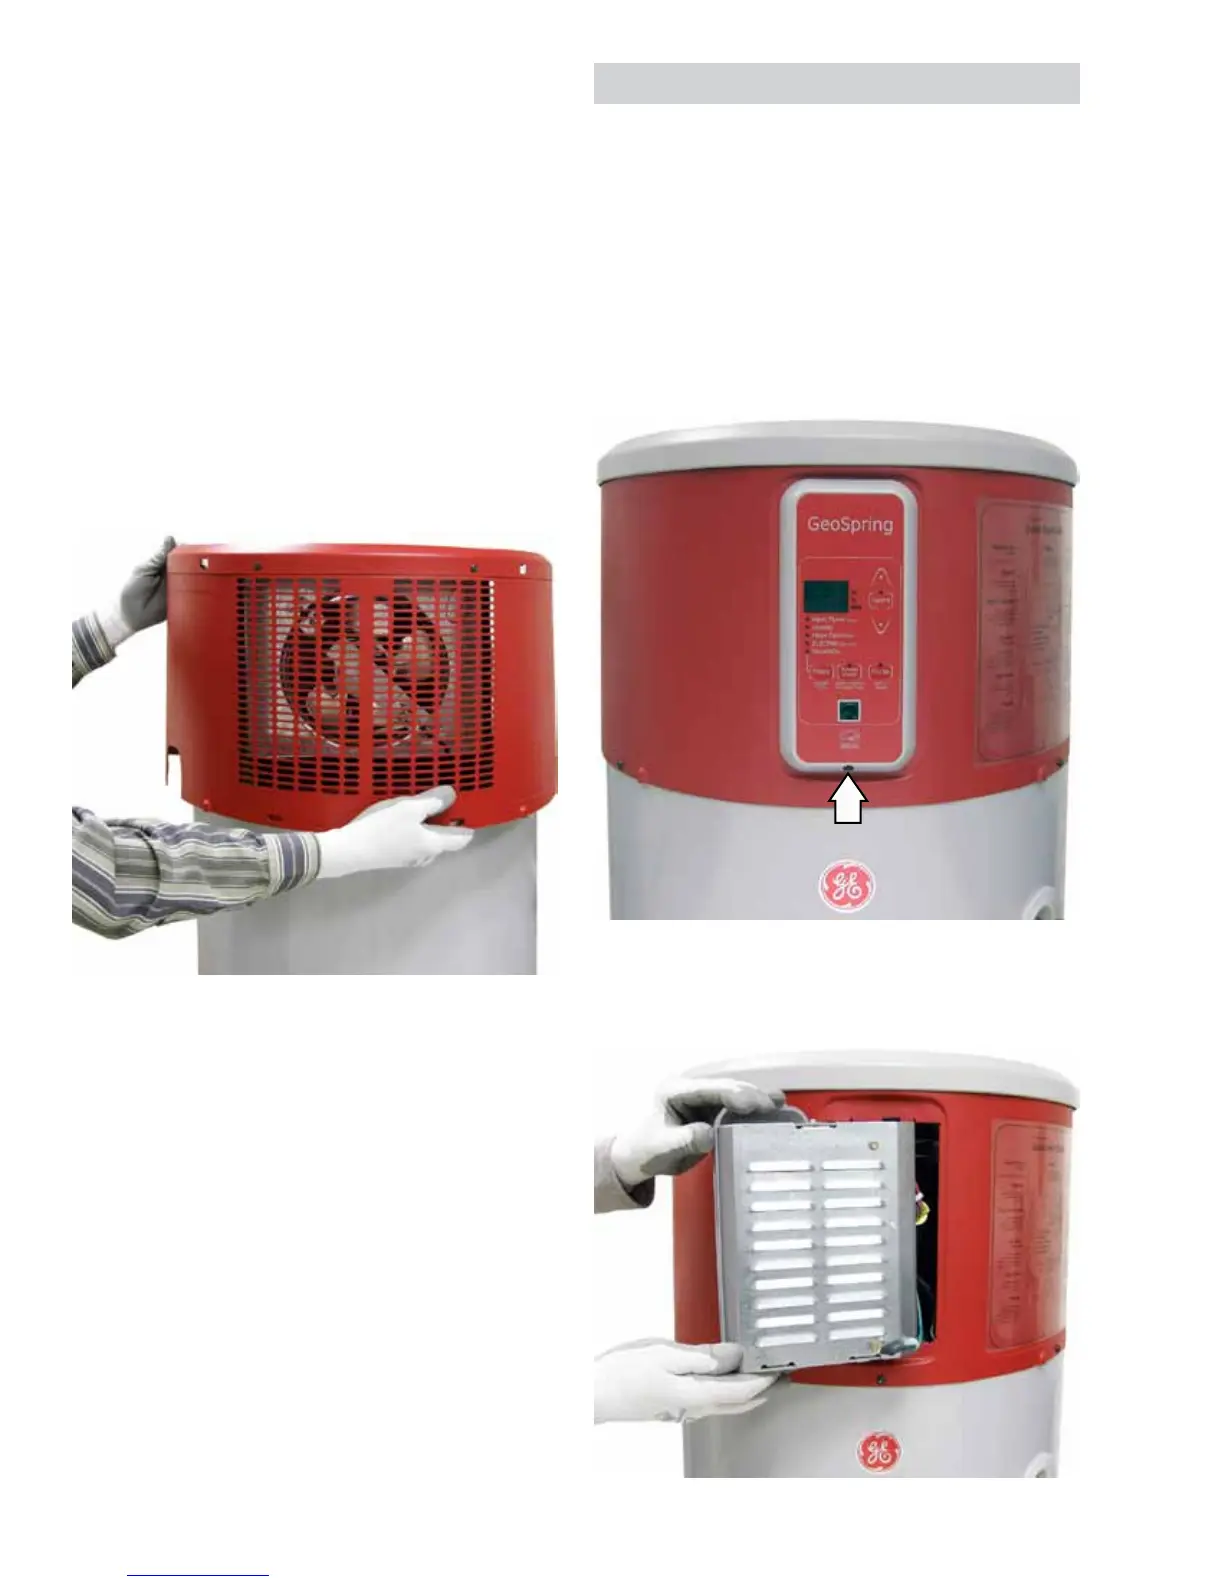
Note: The rear shroud cover and the rear shroud
can be removed as 1 assembly.
To remove the rear shroud cover and the rear
shroud as 1 assembly:
1. Remove the junction box from the rear shroud
cover, then remove the two T-20 Torx screws
from the top of the rear shroud cover. (See To
remove the rear shroud cover, this section,
then follow steps 1 thru 8.)
2. Remove the two T-20 Torx screws from each
front bottom corner. (See To remove the rear
shroud, this section, then follow step 2.)
3. Pull the bottom of the rear shroud out, then
remove the assembly from the water heater.
3. Pivot the control panel out approximately 130
degrees as shown below.
(Continued Next Page)
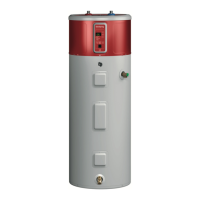
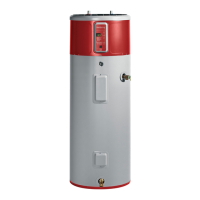
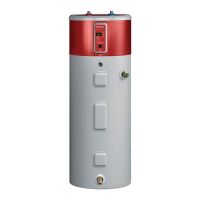
Control Panel
The control panel is attached to the front shroud
with a screw at the bottom and 2 tabs at the top
that grip the inside of the shroud.
To remove the control panel:
1. Remove the T-20 Torx screw from the bottom of
the control panel.
2. Push the panel down, then move the panel to
the right, approximately 1 inch.
 Loading...