Installation Instructions
13
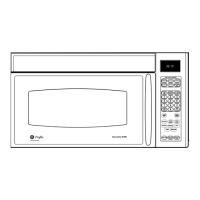
USE TOP CABINET TEMPLATE
FOR PREPARATION OF TOP CABINET
A2
RECIRCULATING 1RQ9HQWHG'XFWOHVV
P
o
p
c
o
r
n
C
o
n
v
e
n
i
e
n
ce
C
o
o
k
i
n
g
Expr
e
s
s
C
o
o
k
P
o
ta
to
St
ar
t
P
a
u
s
e
C
an
ce
l
O
f
f
Be
v
e
r
a
ge
R
eh
e
a
t
S
e
t
C
l
o
ck
T
u
rnt
a
b
l
e
S
ur
f
a
c
e
L
i
g
ht
V
e
nt
A
d
d
3
0
S
e
c
.
Po
we
r
L
e
v
e
l
0
8
5
2
7
4
1
9
6
3
C
o
o
k
Ti
me
D
e
f
ro
s
t
W
e
i
g
ht
/T
i
me
T
i
m
e
r
O
n
/O
f
f
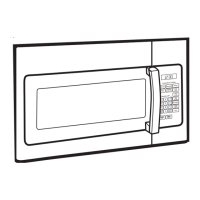
INSTALLATION OVERVIEW
A1. Attach Mounting Plate to Wall
A2. Prepare Top Cabinet
A3. Install Charcoal Filter (Supplied with AVM4160 and
JVM3160 models)
A4. Mount the microwave oven
A5. Installing/Replacing the Charcoal Filter Without
Access to Top Screws and the Unit Has Already
Been Mounted.
Read the instructions on the TOP CABINET
TEMPLATE.
Tape it underneath the top cabinet.
Drill the holes, following the instructions on the TOP
CABINET TEMPLATE.
CAUTION::HDUVDIHW\JRJJOHVZKHQ
GULOOLQJKROHVLQWKHFDELQHWERWWRP
You need to drill holes for the top support screws and
a hole large enough for the power cord to fit through.
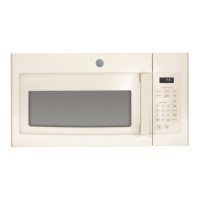
A
Place the mounting plate against the wall and insert
the toggle wings into the holes in the wall to mount
the plate.
NOTE: Before tightening toggle bolts and wood screw,
make sure the tabs on the mounting plate touch the
bottom of the cabinet or the horizontal level line when
pushed flush against the wall and that the plate is
properly centered under the cabinet.
CAUTION:%HFDUHIXOWRDYRLGSLQFKLQJ
ILQJHUVEHWZHHQWKHEDFNRIWKHPRXQWLQJSODWHDQG
the wall.
Tighten all bolts. Pull the plate away from the wall
to help tighten the bolts.
3
ATTACH THE MOUNTING PLATE
TO THE WALL
A1
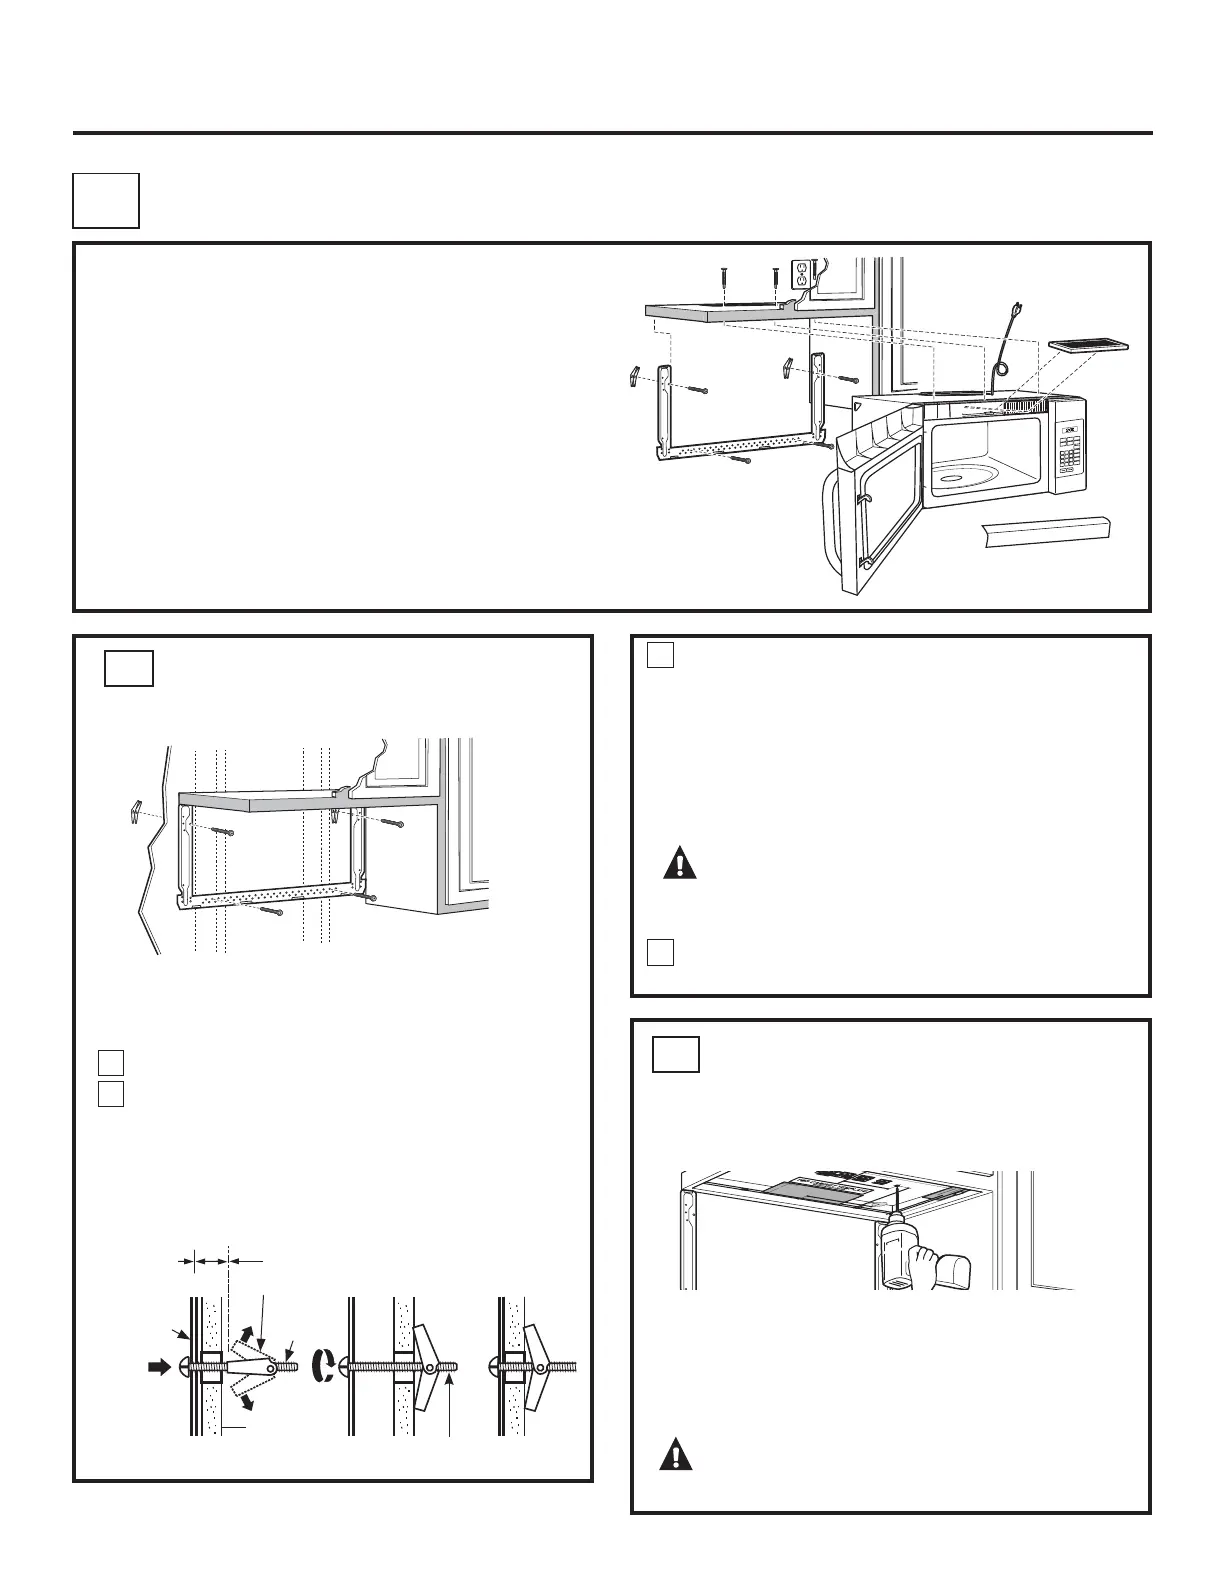
Attach the plate to the wall using toggle bolts. At least
one wood screw must be used to attach the plate to
a wall stud.
Remove the toggle wings from the bolts.
Insert the bolts into the mounting plate through
the holes designated to go into drywall and reattach
the toggle wings to
3
ø4s onto each bolt.
1
4
Wall
Mounting
Plate
Spacing for Toggles More
Than Wall Thickness
Bolt End
Toggle
Bolt
Toggle Wings
7RXVHWRJJOHEROWV:
2
 Loading...