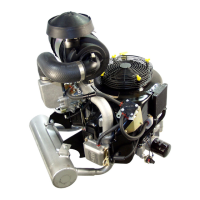
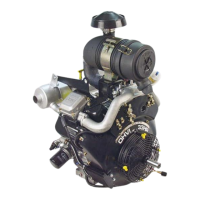
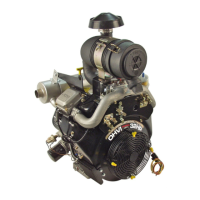
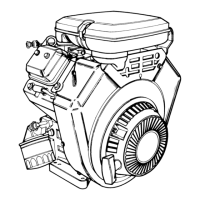
SECTION l0: CYLINDER & CRANKCASE
COVER
31,75rnm!O,1mm
[1.25'40.004 ]
CHECK PTO BEARING
The PTO bea
ng must
be
replaced i{ it
is damaged or if it
measures larger than 42.25mm
(1.663")
in diameter
(see
Figure 10"8).
The diameter
ofthe crankshaft may
al5o
make
it necessary
to replace the bea
ng.seeSection ll
forthe crankshaft mea-
surement details,
a4
smmao,1mm
h,752'10.004'l
o37.9mmi0.imm
[41.492'i0.004']
@41.1mmro.1
mm
1O1.618"r0.oo'l'l
Figure 10-7. Mag Bea ng Divel
INSTALL MAG EEAflING:
1. Place crankcase on a
press,
sea sidedown.
a. l\lake sure that the dankcase is supponed by the sea boss.
2.
set the
new
beaing
in
the crankcase
with the notch
up
and the oil
holes
lined up
with
the
passages
in the
crankcase.
3. carcfully
slide the
bushing driver into
the beaing and
press
the bearing in until it is 0.25-1.27mm
(.01-.05')
below the su.face,
4. Remove any material left in the oil
passage.
5. lnstall new
oiLseal
with
sealing
lip facing ln.
a, Press oil seal until flush with crankcase.
@45.1mm$.thm
[O1.2/6'10.004'l
041.9mmr0.1mm
[91.65't0.004']
Figurc t0-9. nO Beaing Divel
REVOVU\STALL
PTO BEAqING
The removaland installation
prccedure
for
the
PTO
bearing
is the same as for the mag bearing. See Figure 10-9 for the
bearing driver used in this
procedure.
!'
Figurc 1?-5. Che.k Mag Beaing
FiguE t0-8. Check PTO Beaing
10-3
 Loading...