gpelectric.com | [page 25]
7.1 TOOLS AND MATERIALS NEEDED
• Screwdriver.
• Multimeter
If the solar controller was purchased with a Go Power! RV Solar Power Kit the UV resistant
wire is included. For instructions regarding the Go Power! RV Solar Power Kit installation,
please refer to the installation guide provided with the kit
7.2 INSTALLATION AND WIRING
STEP 1: CHOOSE AN INSTALLATION LOCATION
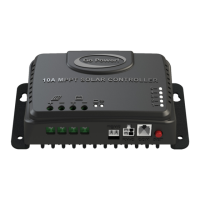
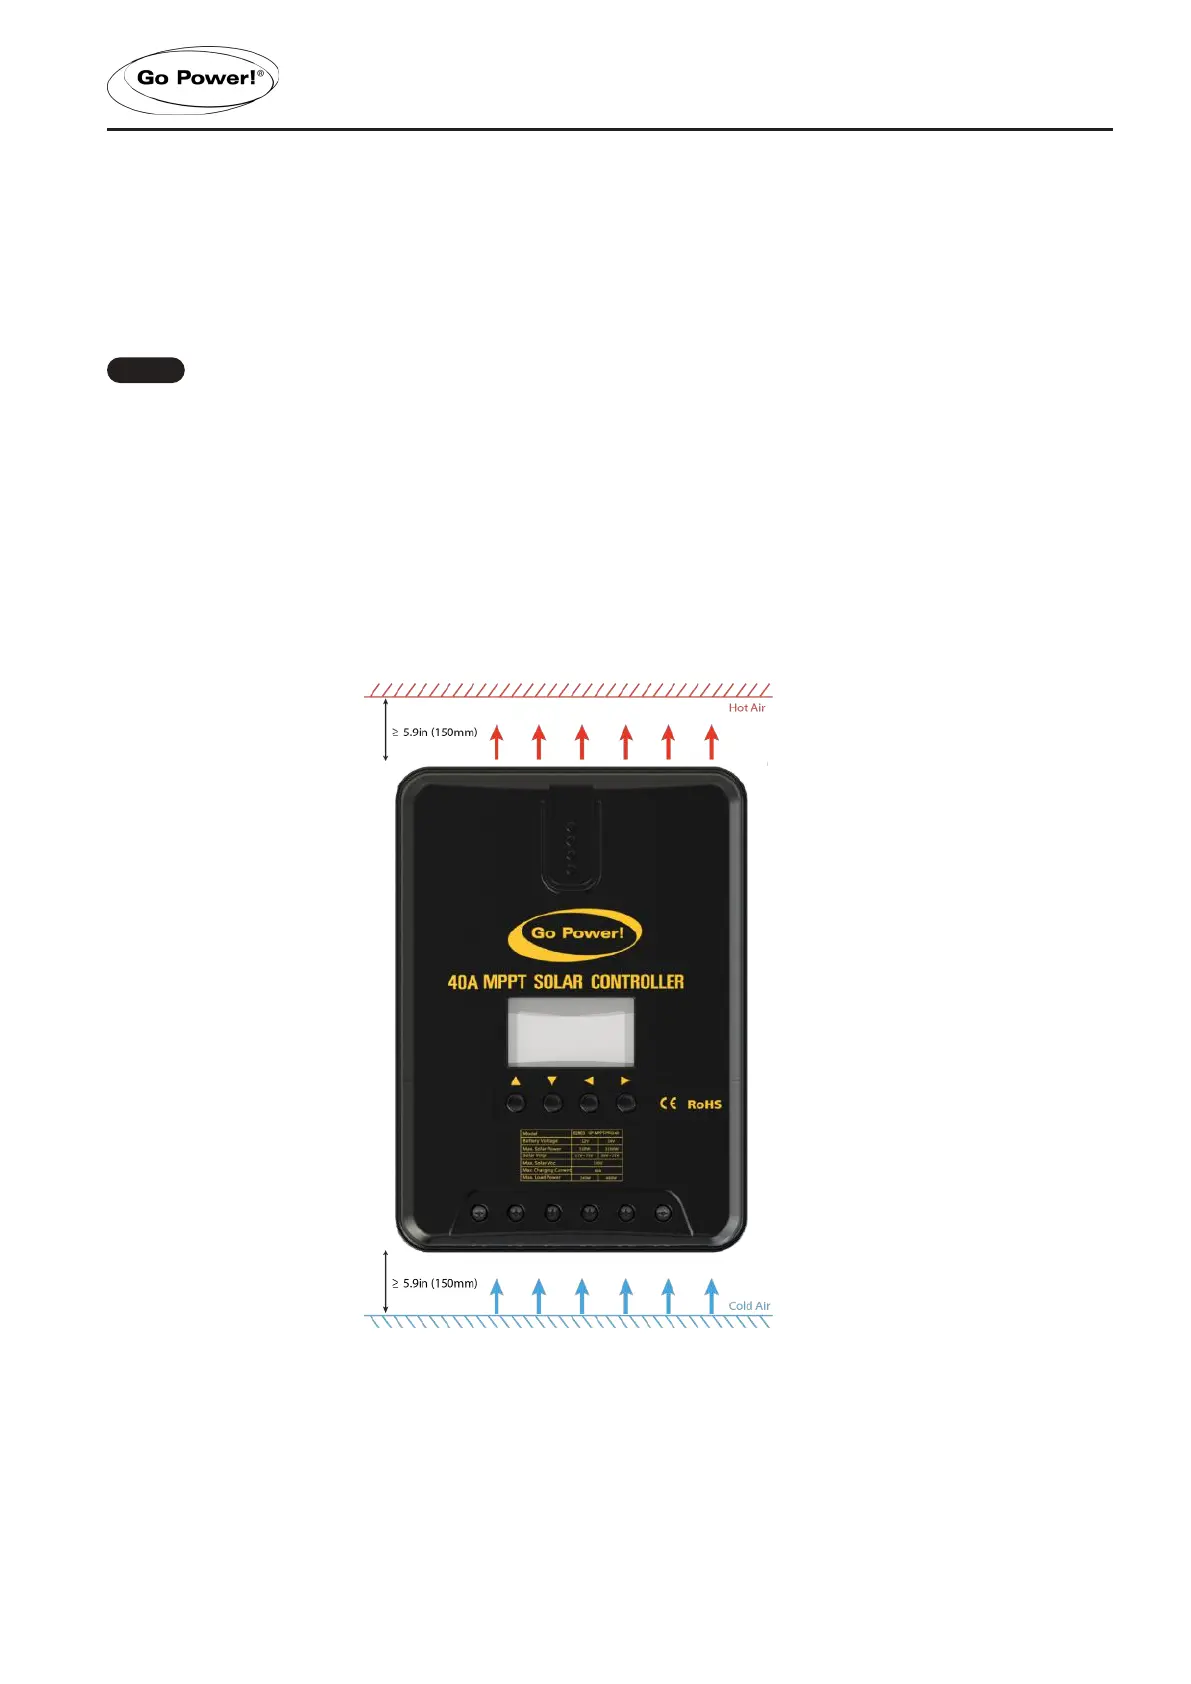
The GP-MPPT-PRO controllers are designed to be mounted vertically in a battery box with sucient ventilation and
should be as close to the battery as possible. Adequate space above and below the controller is vitally important to ensure
proper natural convection for heat dissipation as shown below. Avoid installing the controller in a place with direct sunlight,
high temperature, and/or water.
STEP 2: MARK THE MOUNTING POSITION ACCORDING TO THE MOUNTING DIMENSIONS OF THE CONTROLLER.
First, place the installation guide plate at a proper position and use a marking pen to mark the mounting points. Drill 4
mounting holes of the appropriate size at the 4 marks. Fix screws into the upper two mounting holes.
STEP 3: FASTEN THE CONTR OLLER
Align xed holes of the controller with the two pre-xed screws and hang the controller up. Then x the lower two screws.
7. INSTALLATION
Note
 Loading...