EasyManuals Logo
Home>HIKVISION>Security Camera>DS-2CC51A7N-VP

HIKVISION DS-2CC51A7N-VP User Manual

HIKVISION DS-2CC51A7N-VP
71 pages
To Next Page IconTo Next Page
To Previous Page IconTo Previous Page
Page #29 background imageLoading...
Page #29 background image
Day/Night High-definition Dome Camera·User Manual
16
16
2.2.4 Outdoor Wall Mounting
For the wall mounting, you have to purchase a wall mount.
Steps:
1. Secure the wall mount to the wall.
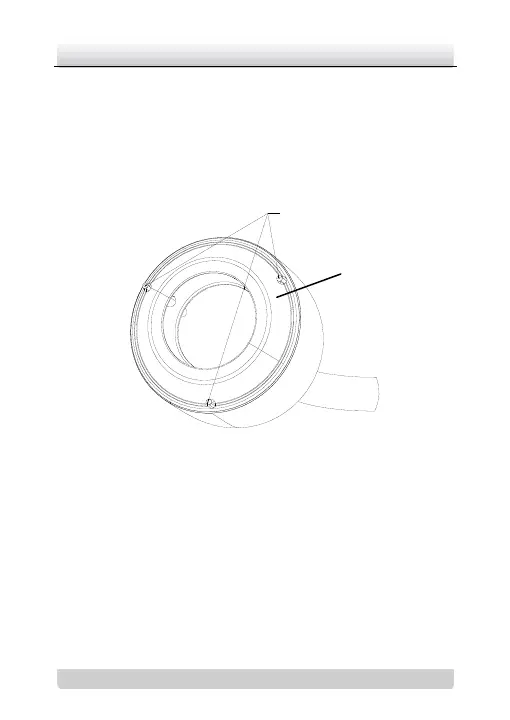
2. Loosen the three set screws on the edge of the front panel.
Remove the front panel.
Figure 2-13 Removing the Front Panel
3. Route the cables through the hole in the center of the wall
mount.
4. Align the camera with the wall mount.
5. Tighten the set screws to secure the camera with the wall
mount.
6. Connect the video output connector to the monitor. Connect
the power connector to the power supply.
Front Panel
Set Screws

Questions and Answers:

Question and Answer IconNeed help?

Do you have a question about the HIKVISION DS-2CC51A7N-VP and is the answer not in the manual?

HIKVISION DS-2CC51A7N-VP Specifications

General IconGeneral
BrandHIKVISION
ModelDS-2CC51A7N-VP
CategorySecurity Camera
LanguageEnglish

Related product manuals