User Manual of Network Camera
© Hikvision Digital Technology Co., Ltd. All Rights Reserved.
that has a time synchronization function, such as the server at the National Time
Center (IP Address: 210.72.145.44). If the camera is set in a customized network, NTP
software can be used to establish a NTP server for time synchronization.
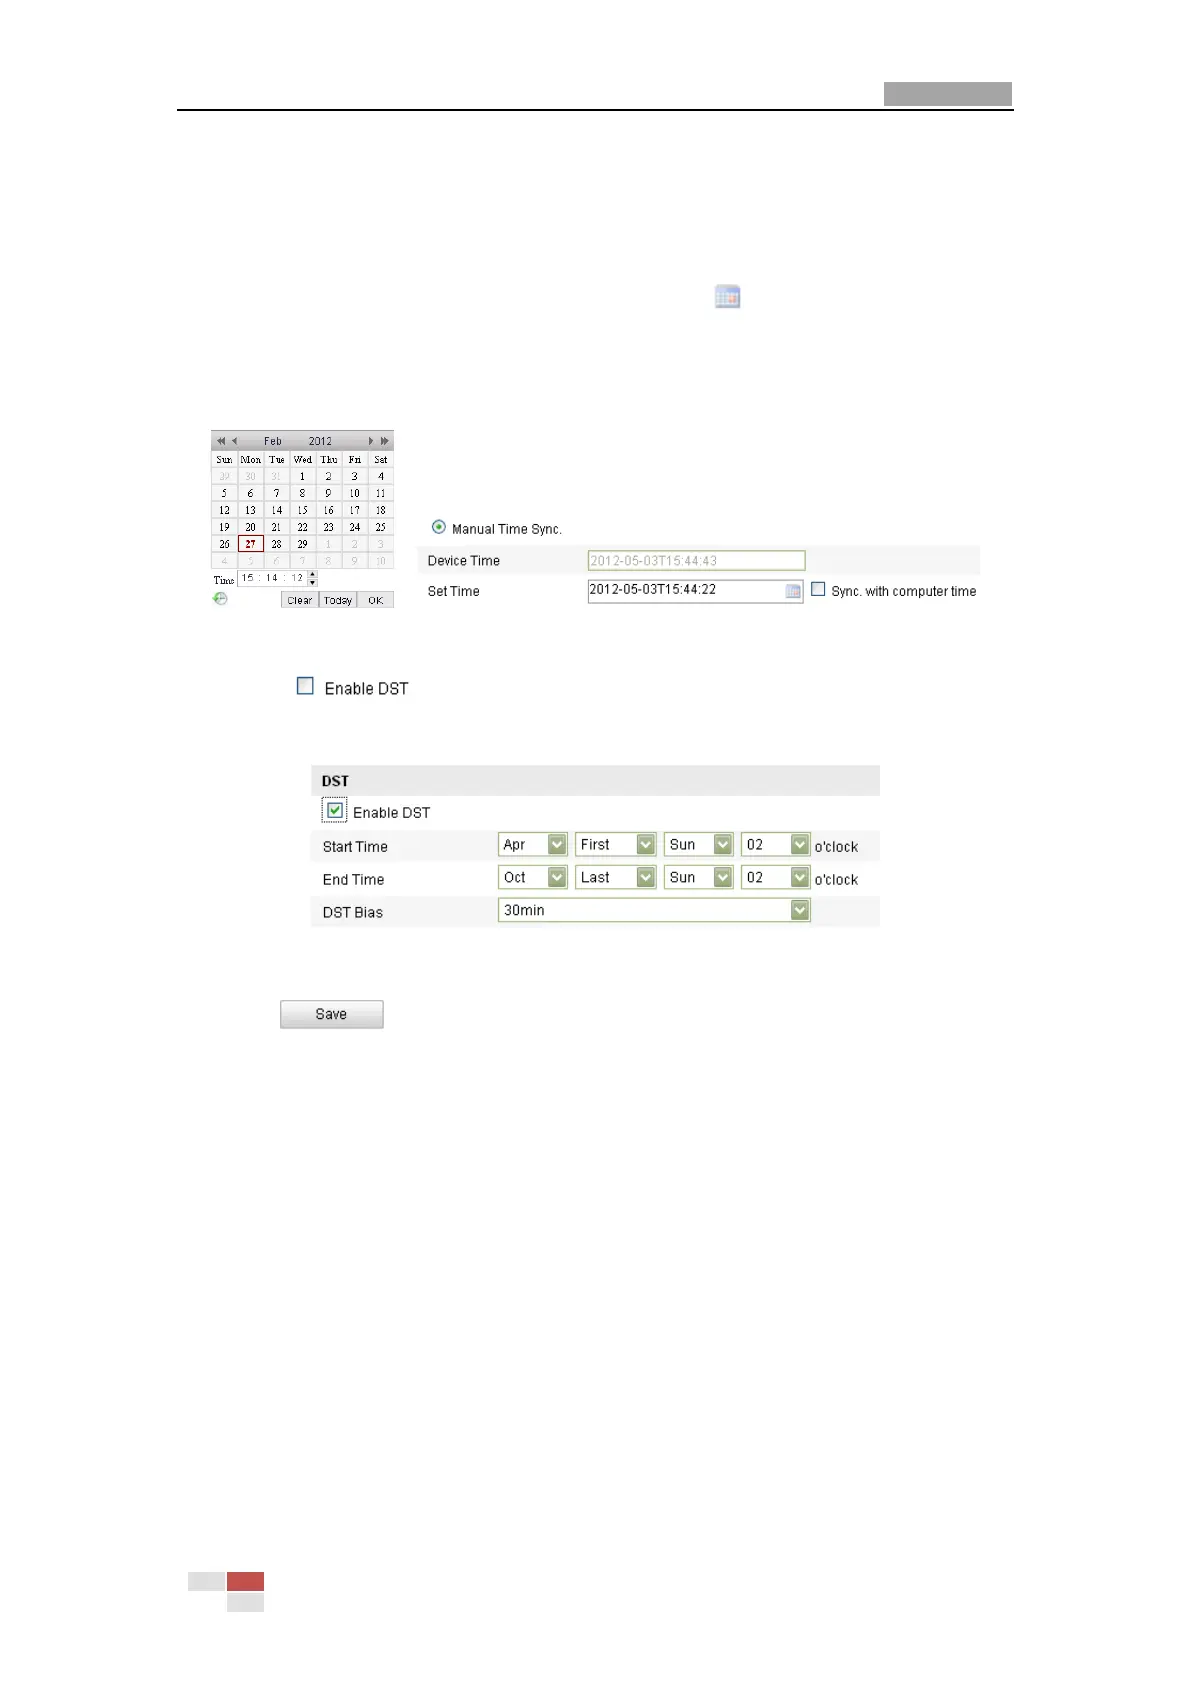
Configuring Time Synchronization Manually
Enable the Manual Time Sync function and then click to set the system time
from the pop-up calendar.
Note: You can also check the Sync with local time checkbox to synchronize the time
of the camera with the time of your computer.
Figure 5-5 Time Sync Manually
Check to enable the DST function and Set the date of the DST
period. (Optional, configure if necessary.)
Figure 5-6 DST Settings
2. Click to save the settings.
5.3 Configuring Network Settings
5.3.1 Configuring TCP/IP Settings
Purpose:
TCP/IP settings must be properly configured before you operate the camera over
network.
Steps:
1. Enter TCP/IP Settings interface:
Configuration > Basic Configuration > Network > TCP/IP
Or Configuration > Advanced Configuration > Network > TCP/IP
 Loading...