 Loading...
Do you have a question about the HIKVISION DS-2DE2A404IW-DE3 and is the answer not in the manual?
| Card reader integrated | Yes |
|---|---|
| Compatible memory cards | MicroSD (TransFlash), SDHC, SDXC |
| Maximum memory card size | 256 GB |
| Maximum resolution | 2560 x 1440 pixels |
| Video compression formats | H.264, H.264+, H.265, H.265+ |
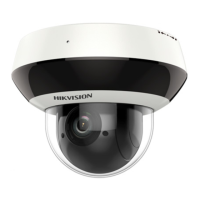
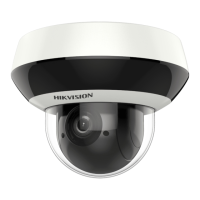
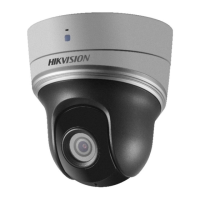
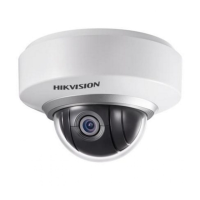
| Type | IP security camera |
| Placement supported | Outdoor |
| Sensor type | CMOS |
| Optical sensor size | 1/3 \ |
| Housing material | Aluminum |
| Voice codecs | G.711, G.722.1, G.726, MP2L2, PCM |
| Number of users | 32 user(s) |
| Supported network protocols | IPv4/IPv6, HTTP, HTTPS, Qos, FTP, SMTP, UPnP, SNMP, DNS, DDNS, NTP, RTSP, RTCP, RTP, TCP/IP, DHCP, PPPoE, Bonjour |
| Minimum illumination | 0 lx |