Network Video Recorder User Manual
66
5.2 Configuring Recording Schedule
Purpose:
Set the record schedule, and then the camera automatically starts/stops recording according to the configured
schedule.
In this chapter, we take the record schedule procedure as an example, and the same procedure can be applied to
configure schedule for both recording and capture. To schedule the automatic capture, you need to choose the
Capture tab in the Schedule interface.
Steps:
1. Enter the Record Schedule interface.
Menu > Record > Schedule
2. Configure Record Schedule
1) Select Record Schedule.
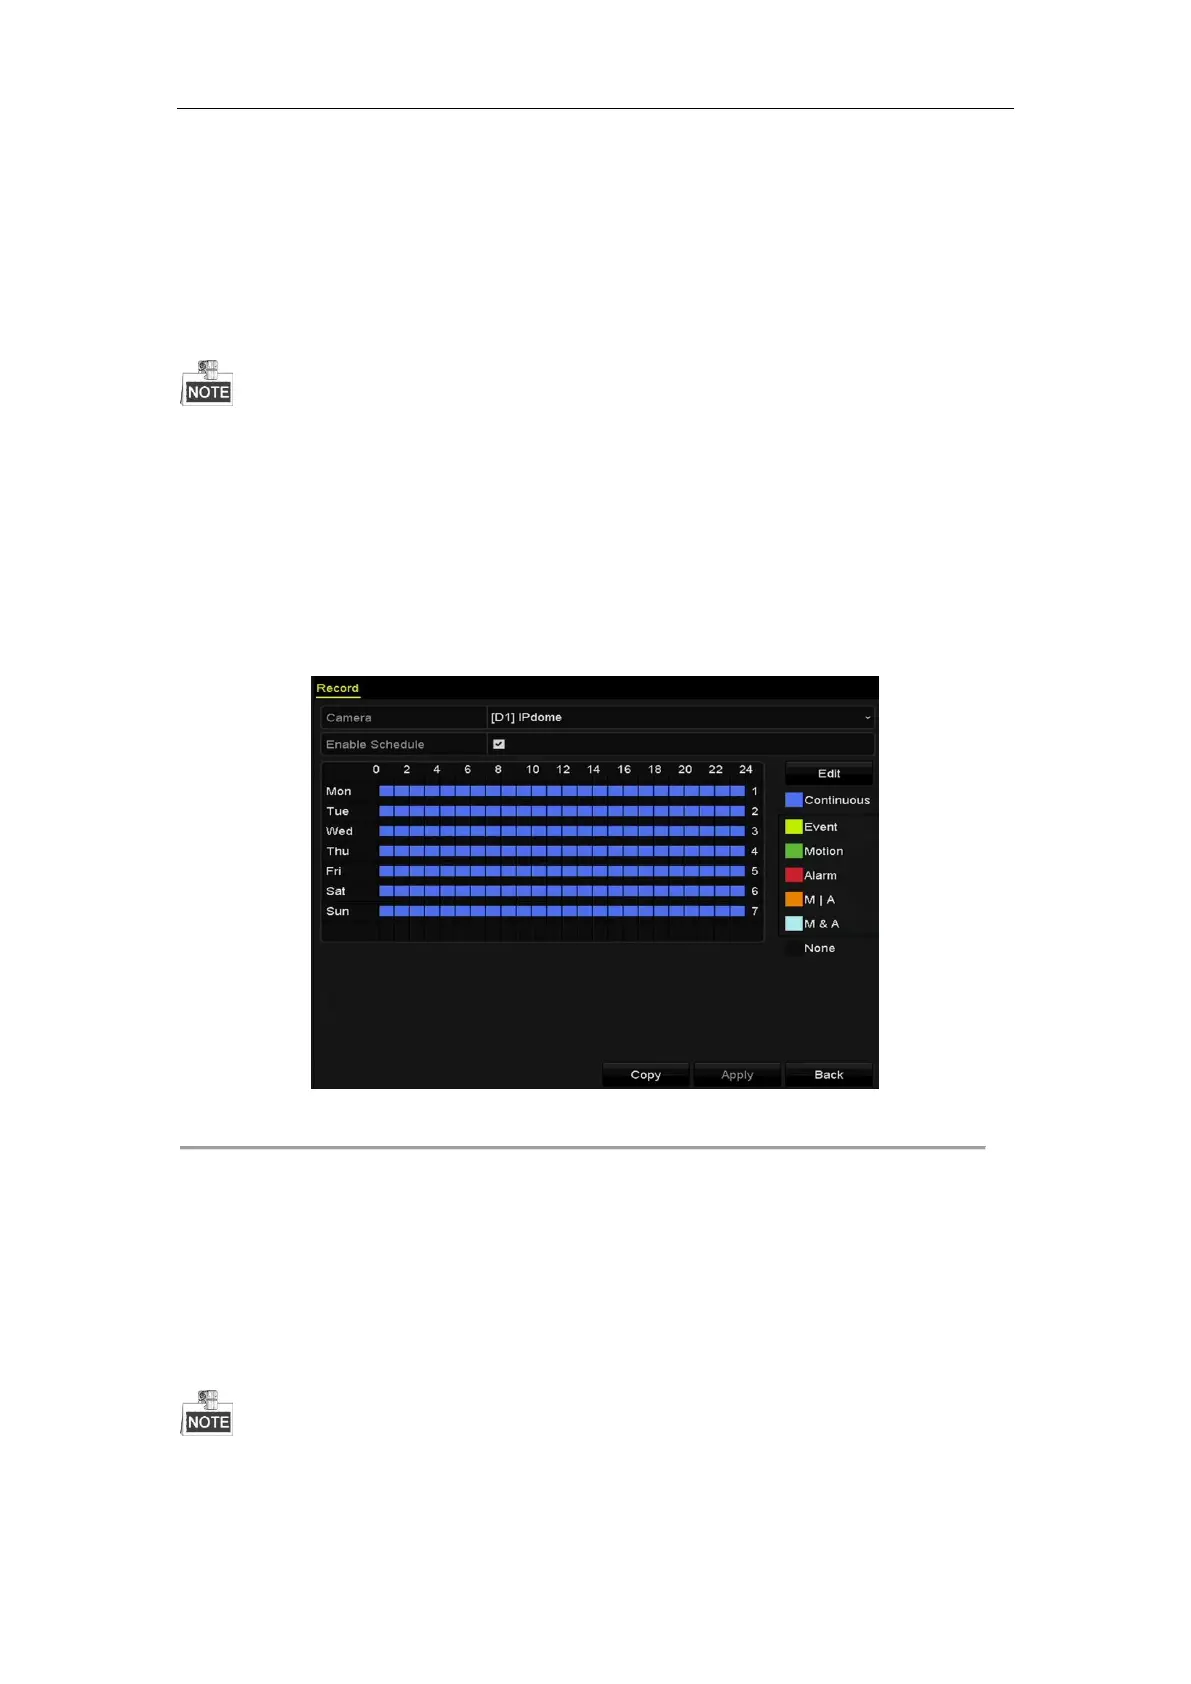
Figure 5. 6 Record Schedule
Different recording types are marked in different color icons.
Continuous: scheduled recording.
Event: recording triggered by all event triggered alarm.
Motion: recording triggered by motion detection.
Alarm: recording triggered by alarm.
M/A: recording triggered by either motion detection or alarm.
M&A: recording triggered by motion detection and alarm.
You can delete the set schedule by clicking the None icon.
2) Choose the camera you want to configure.
3) Select the check box after the Enable Schedule item.
 Loading...