LCD Monitor User Manual
14
Chapter 4 System Configuration
Input Source Selection 4.1
Turn on the display unit when the power supply is on and input source is confirmed.
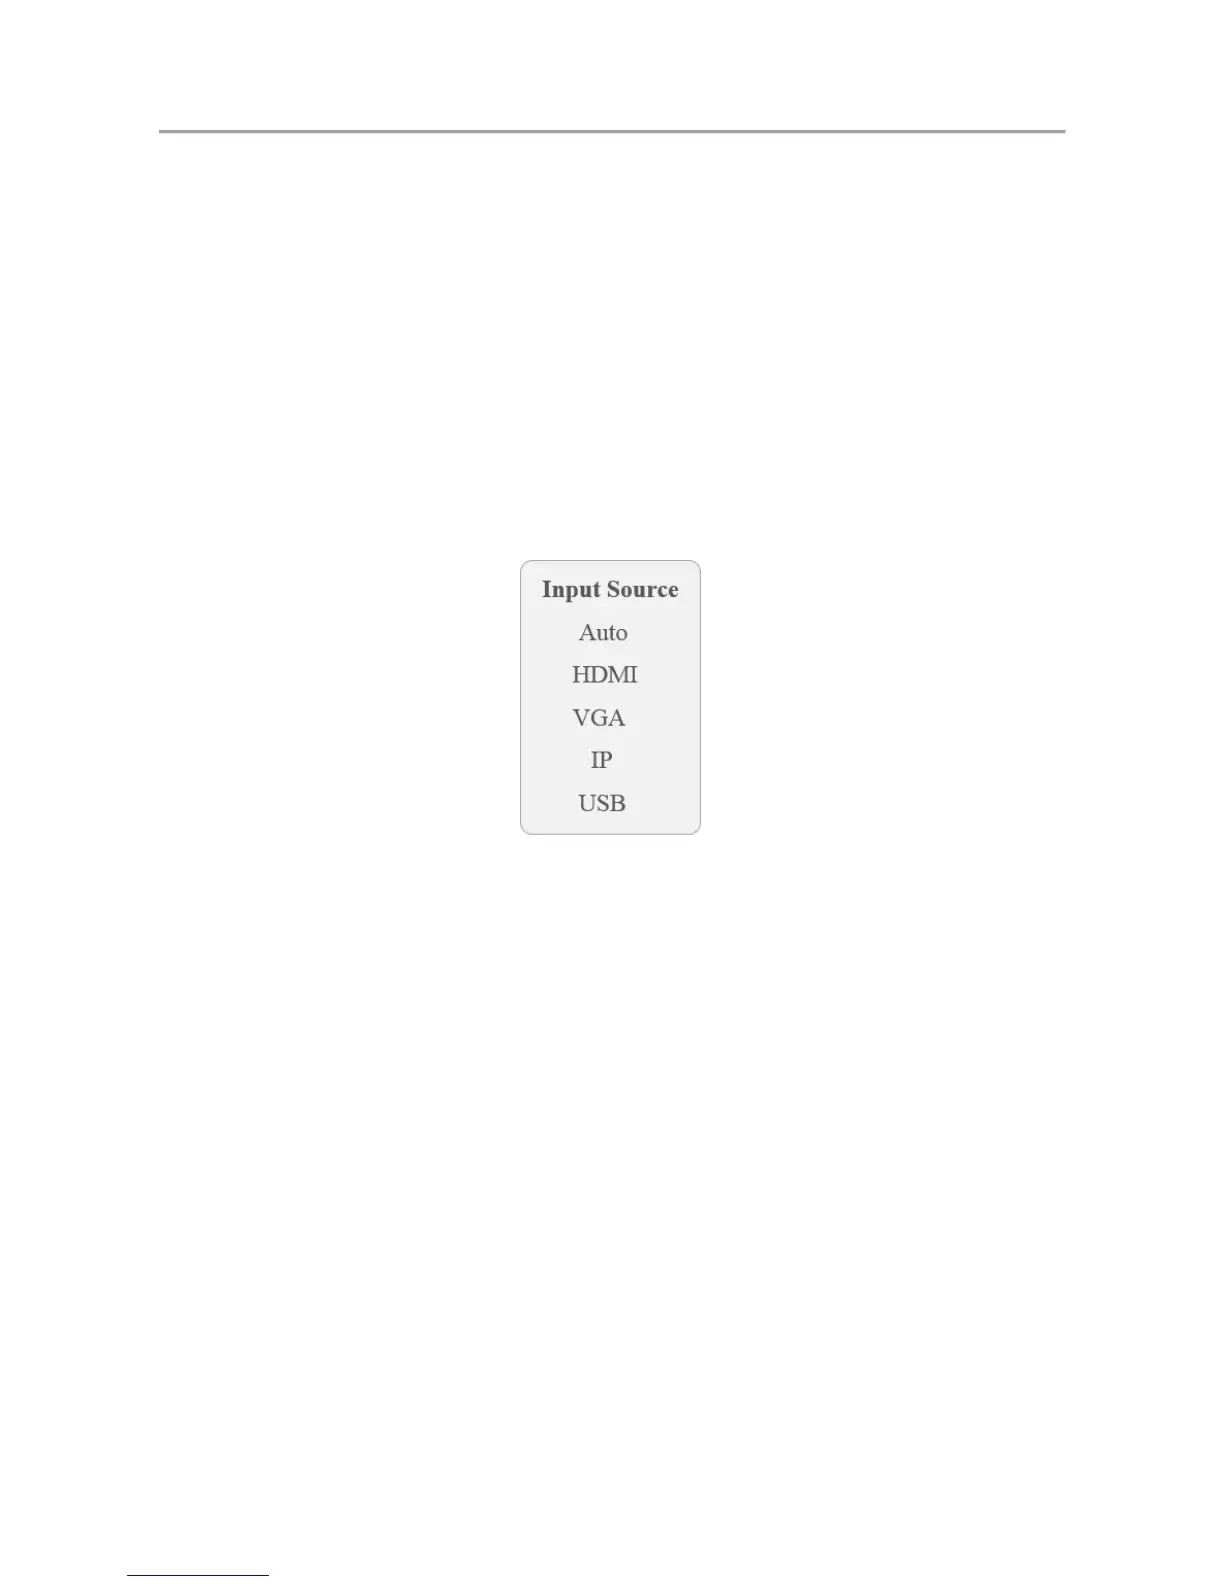
Press SOURCE on the remote controller to enter the menu as shown below. The LCD display Step 1
unit includes 4 input sources as Auto, HDMI, VGA, IP and USB signal.
Auto: The input signal source can be automatically detected by the device and switched to
the connected signal source on the screen.
IP: Switch to the IP signal of the built-in camera.
Press direction keys to select the input source. Step 2
Input Source Figure 4-1
Press OK. Step 3
Image Settings 4.2
Configuring Image Mode 4.2.1
You can adjust the image parameters by switching image modes and adjust the values of contrast,
brightness, color, sharpness and hue.
On the main menu, press the directional keys on the remote control to select the Image Step 1
Mode.
Press OK to enter the image mode settings interface. Step 2
 Loading...