2 Installation
Warning: Do not power the speed dome up until the installation is finished. To ensure the safety of
personnel and equipment, all the installation steps should be done with power supply off.
For details of the installation flow(described in the section 2.4), please refer to the following
sections.
2.1 Wall Mounting
2.1.1 Wall Mount Installation
Notes:
The speed dome can be installed to a thread interface or non-thread interface mount. The
non-thread mount is highly recommended.
When you select a thread mount, please install the pendent adapter(supplied) between the
mount and speed dome. Any mismatch problems shall be taken responsibility by the user.
The dimension of pendant adapter is G1
1
2
.
For cement wall, you need to use the expansion screw to fix the mount.
For wooden wall, you can just use the self-tapping screw to fix the mount.
Please make sure that the wall is strong enough to withstand at least 8 times the weight of the
dome and the mount.
The wall must be thick enough to mount the expansion screws.
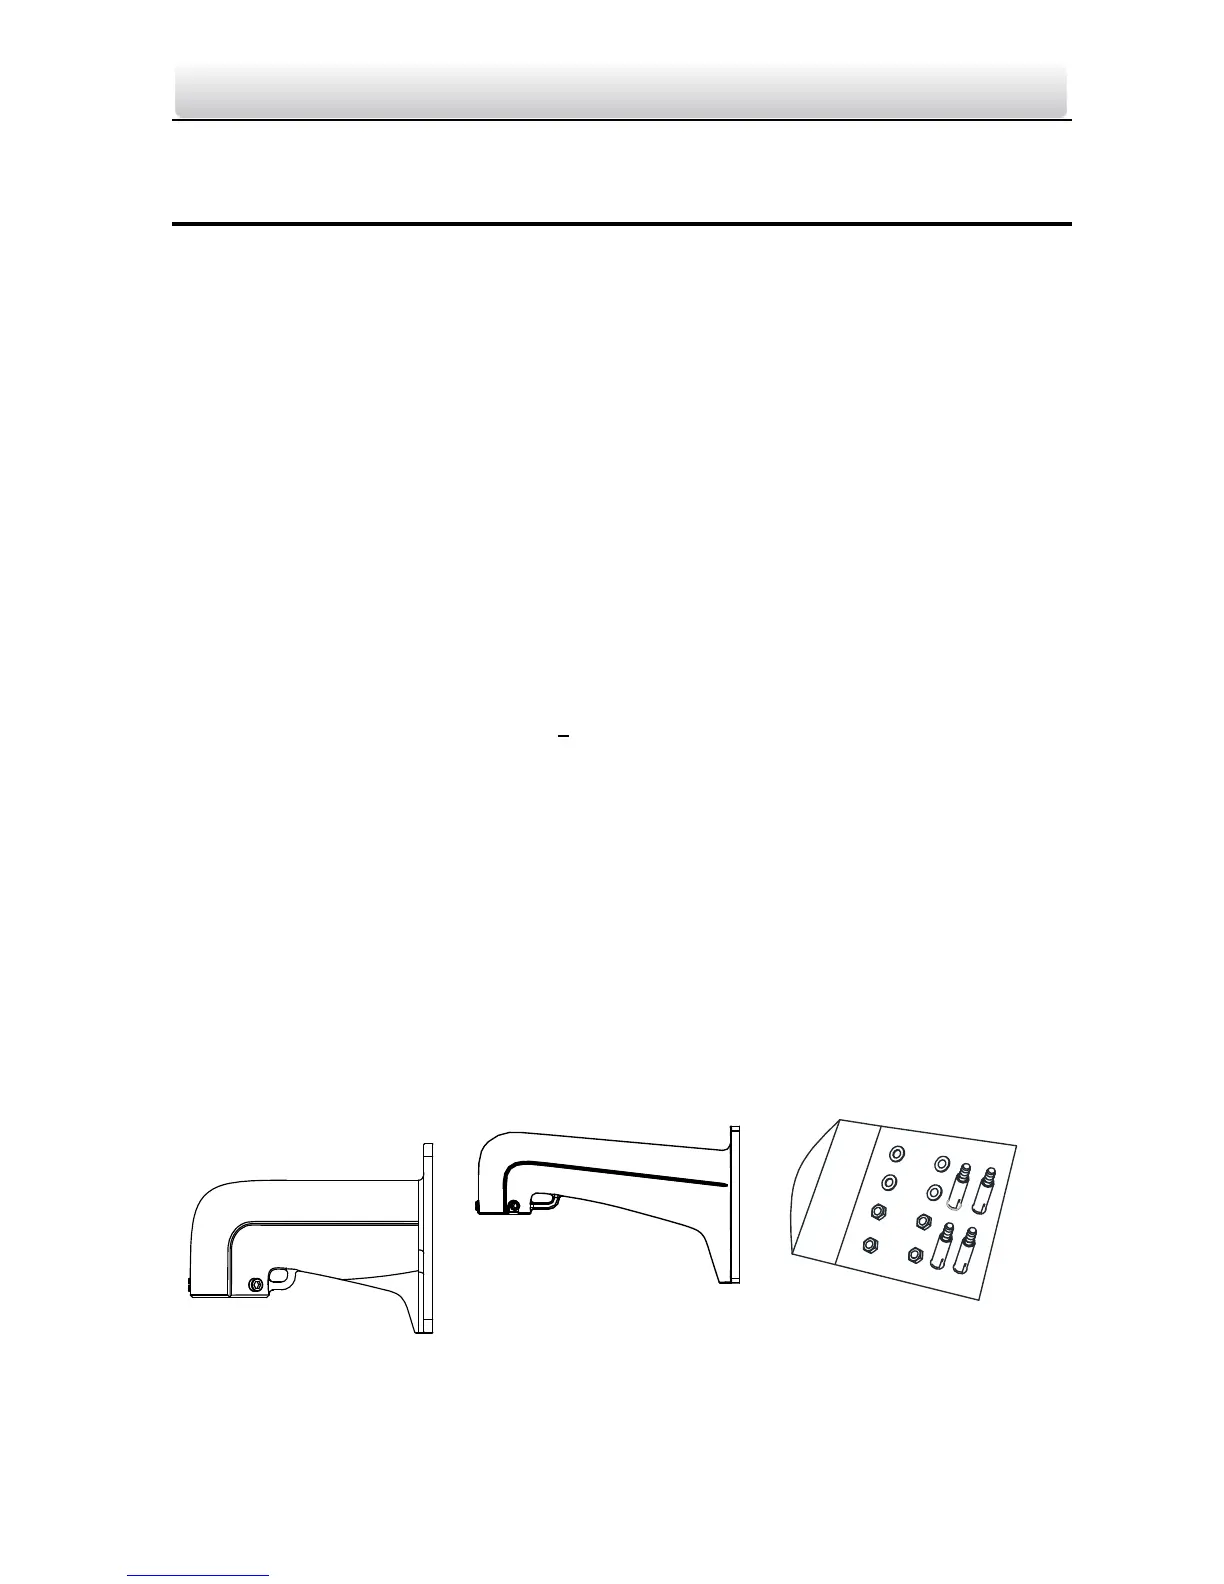
There are several ways to install the speed dome. In this section, the non-thread wall mount
installation is taken as an example. Refer to the following steps for details:
Steps:
1. Get the wall mount and screws from the packing box as shown follows.
 Loading...