EasyManuals Logo
Home>HIKVISION>Security Camera>E Series

HIKVISION E Series Quick Guide

HIKVISION E Series
40 pages
To Next Page IconTo Next Page
To Previous Page IconTo Previous Page
Page #8 background imageLoading...
Page #8 background image
E Series Network Speed Dome·Quick Guide
7
The cables of the 5-inch and IR speed dome:
RED AC
24
V
YELLOW
/
GREEN
BLACK AC
24
V
Red AC24V
Black AC24V
Yellow&Green GND
Purple AUDIO-IN
Black GND
Pink AUDIO-OUT
Yellow/Gray ALARM-IN6
Yellow/Red ALARM-IN7
Yellow/Black ALARM-GND
White/Black ALARM-COM1
White/Red ALARM-OUT1
Network
RED AC24V
YELLOW/GREEN
BLACK AC24V
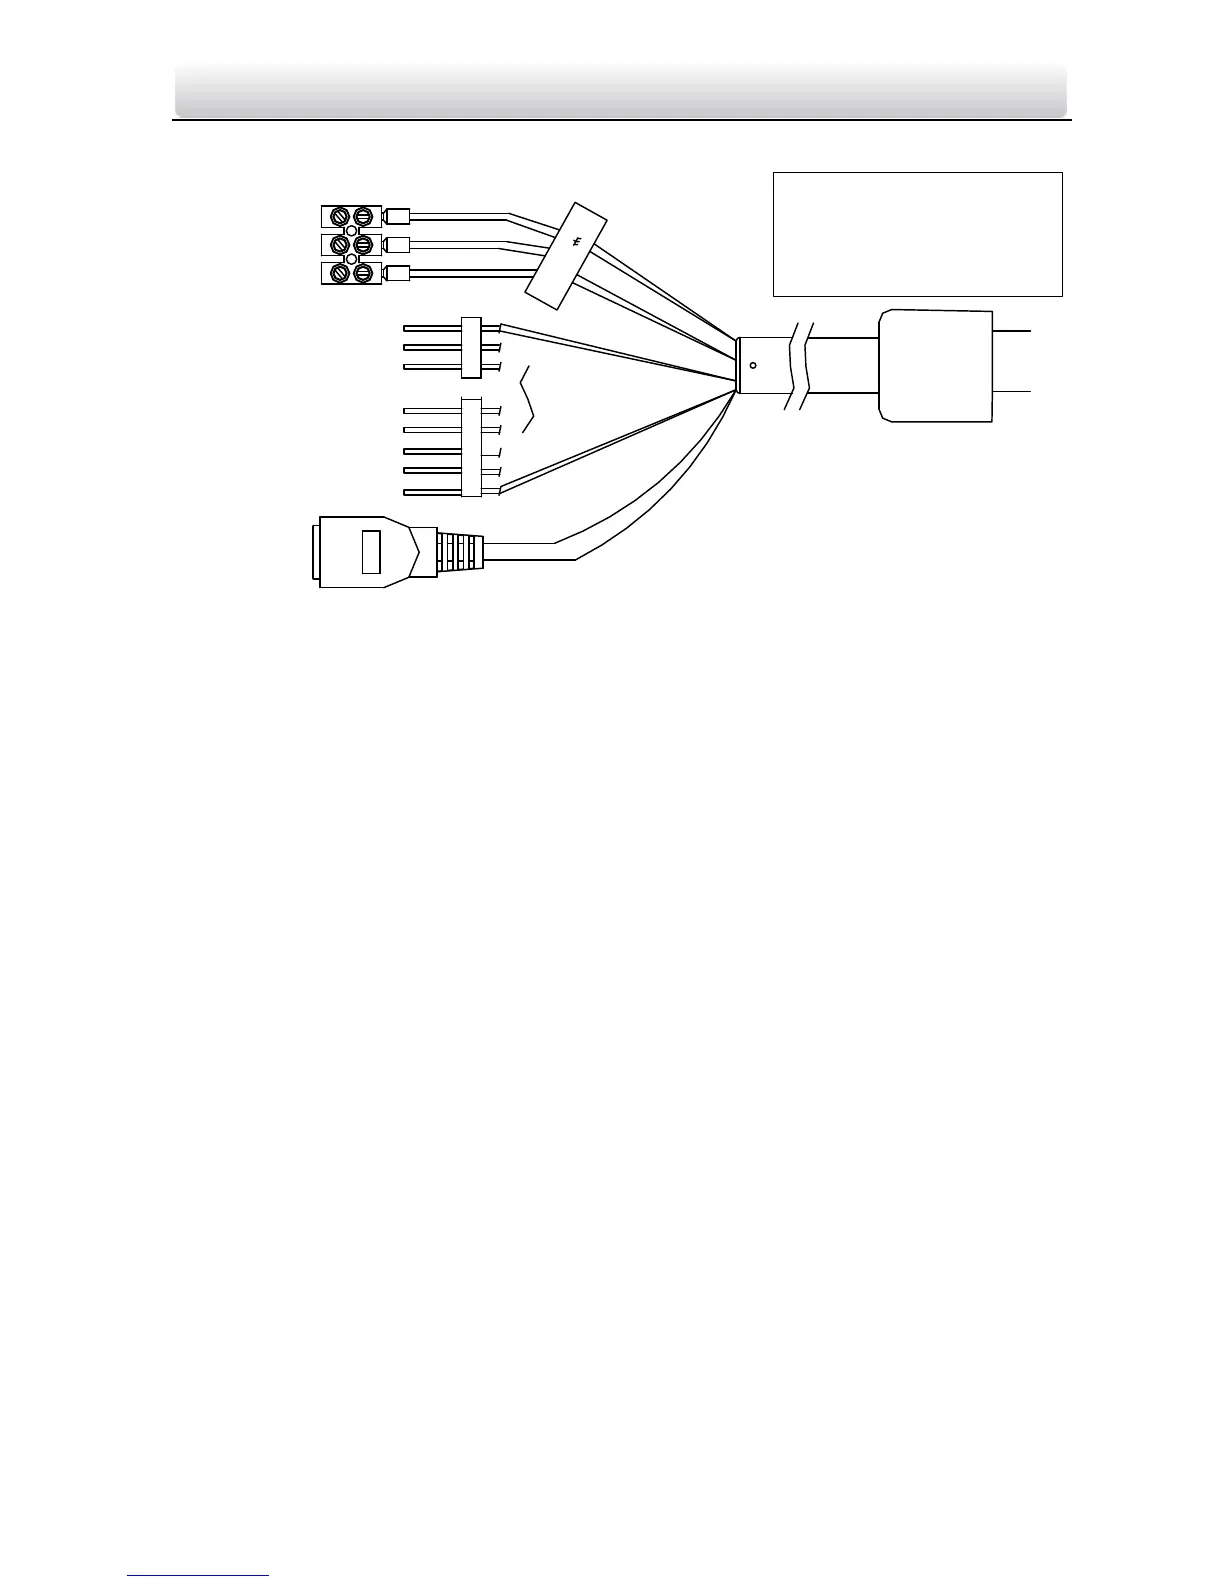
Figure 1-2 Cables of Network Speed Dome
1.3 Micro SD Card Instructions
Purpose:
The speed domes are with built-in micro SD card slots which are for local storage with micro SD
cards. There are four types of speed dome listed as follows.
Mini network speed dome: The micro SD card slots of mini network speed dome are shown
below.
Note: There are two locations of SD card slot for different models of mini network speed dome.
Please take the practicality as standard.
Refer to the following steps to install the micro SD card.
Steps:
1. Loosen the two lock screws on the edge of the lower dome and remove the lower dome.
2. Align the micro SD card with the micro SD card slot and insert it.
3. Remove the protective lens cover, foam and sticker.
4. Install the lower dome back and tighten the two lock screws.

Other manuals for HIKVISION E Series

Questions and Answers:

Question and Answer IconNeed help?

Do you have a question about the HIKVISION E Series and is the answer not in the manual?

HIKVISION E Series Specifications

General IconGeneral
BrandHIKVISION
ModelE Series
CategorySecurity Camera
LanguageEnglish

Related product manuals