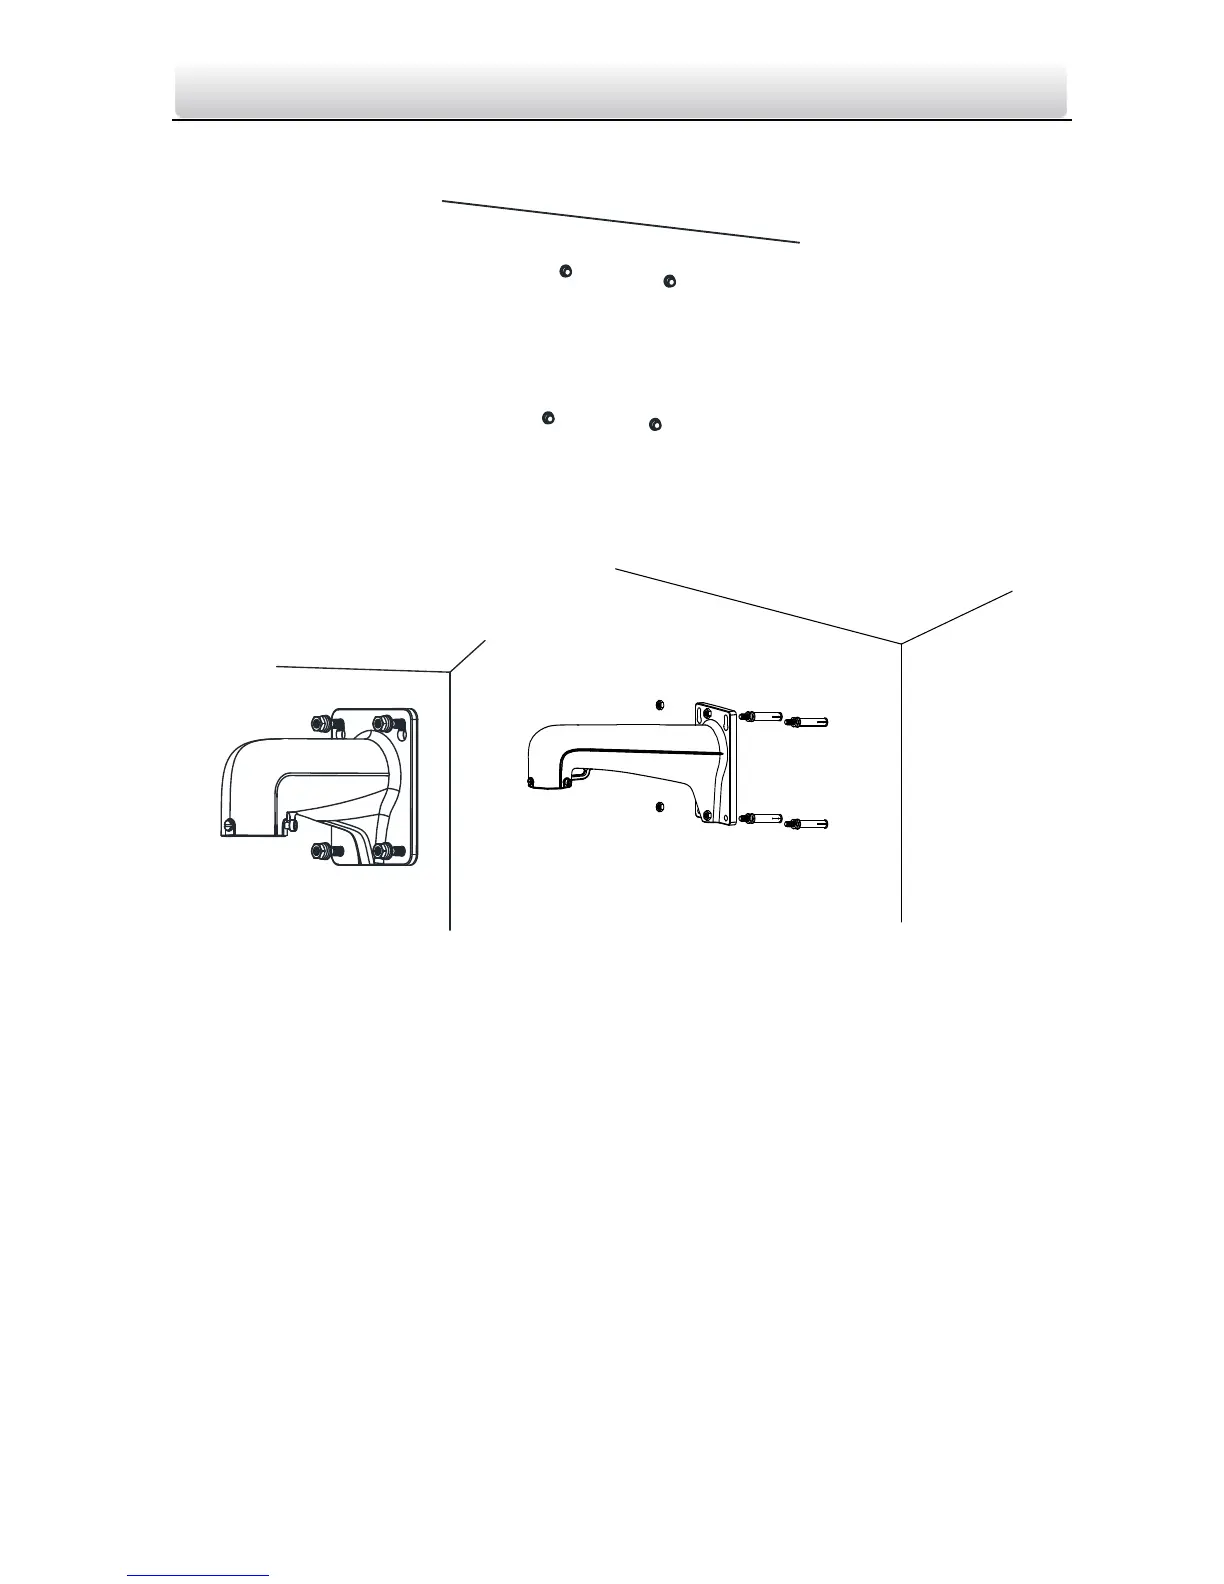
2. Drill 4 φ12 screw holes in the wall according to the hole locations of the mount, and then insert
M8 expansion screws into the screw holes.
Figure 2-2 Drill Screw Hole and Insert Expansion Screw
3. Secure the wall mount with 4 hex nuts and washers.
Figure 2-3 Drill Screw Holes
Note: Please take water-proof measures when installing outdoor speed domes.
2.1.2 Micro SD Card Installation
Please refer to the section 2.3 to install the micro SD card.
2.1.3 Speed Dome Installation
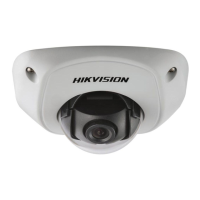
Mini Network Speed Dome Installation
Notes:
Please remove the protective film on the lower dome after the installation is finished.
Do not touch the bubble of the lower dome directly by hand. The image blurs otherwise.
Steps:
 Loading...