EasyManuals Logo

Honda PCX125 User Manual

Honda PCX125
142 pages
To Next Page IconTo Next Page
To Previous Page IconTo Previous Page
Page #106 background imageLoading...
Page #106 background image
-1109/10113
10,27,21
+
--ll
1.
Place
an
oil drain pan under the
crankcase. Remove the
oil
filler
cap/
dipstick,
oil
drain bolt
(I)
and sealing
washer (2).
2.
Check that the sealing washer
on
the
drain
bolt
is
in
good
condition
and
install
the
bolt.
Replace the sealing washer
every
other
time
the
oil
is
changed,
or
each time
if
necessary.
Oil
drain bolt torque:
24
N·m (2.4
kgf·m,
18Ibf·ft)
3,
Fill
the crankcase
with
the
recommended
grade
oil;
approximately:
0.8
~
(0.8 US
qt,
0.7
Imp
qt)
96
4.
Reinstall the
oil
filler capl dipstick.
5.
Start the engine and let
it
idle for
3-'
5
minutes.
6.
Stop
the engine
and
wait
2 -- 3 minutes.
Check that the
oil
level is
at
the upper
level
mark
on
the
oil
filler capl dipstick
with
the
scooter
upright
on
finn,
level
ground.
Make
sure
there
are
no
oil
leaks.
(I)
(2)
(1)
Oil
drain
bolt
(2)
Sealing
washer
11
__
+
Iii
Provided by http://www.hondapcx.org

Table of Contents

Questions and Answers:

Question and Answer IconNeed help?

Do you have a question about the Honda PCX125 and is the answer not in the manual?
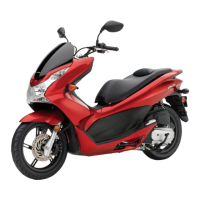
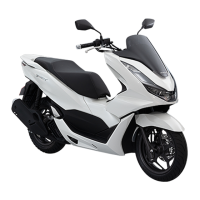
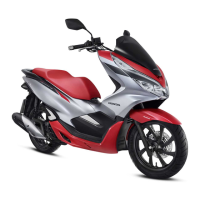
Honda PCX125 Specifications

General IconGeneral
Fuel SystemPGM-FI electronic fuel injection
Seat Height764 mm
StarterElectric
Wheelbase1, 315 mm
TransmissionAutomatic
Front SuspensionTelescopic fork
Front BrakeSingle disc
Rear BrakeDrum
Engine TypeSingle-cylinder, liquid-cooled, 4-stroke

Related product manuals