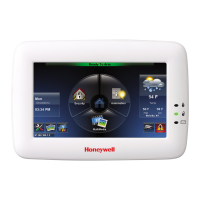
Multi-Media (cont’d)
26
Press Save when done. This will return you to the “Camera List” screen.
Press the Recording Settings Setup icon and select the camera to use for recording from the drop-
down list.
Press Save when done.
Creating a Scene for Camera Recording
To create a scene for camera recording, from the “Home” screen, press the Automation , Scene
Setup and Add Scene icons.
In the Trigger section, press the Edit icon to define the event Trigger type. Press Save when
done
In the Action section, press the Add icon to define the event Action type. Select the Recording
button. Select the camera(s) for recording; press Save when done.
Refer to the section “Creating Scenes” in the User Guide for further details. .
NOTES:
• In some cases, you may see the video playback for the duration of less than the full two
minutes. If this occurs, it is recommended that you lower the frame rate and resolution to 320
x 240 @ 5 FPS.
• Recorded video events are always in 24 hour format regardless of keypad time format.
• Removing the SD card during video recording and playback may cause SD card corruption and
loss of data. To ensure recording is not in progress, before removing the SD card, check the
video recording status by exiting the Video Event screen and checking the recording status
icon on the lower left side of the Home screen.
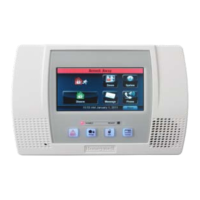
Manual Video Recording
The camera recording feature can also be used manually to record events to an SD Card (supplied).
To access the manual video recording feature, press the Camera Record icon.
Select the desired camera for recording and then press the Record icon to begin recording.
Press the Record icon again to stop the recording. Note the maximum recording duration is two
minutes.
 Loading...