3. Turn off the computer properly through the operating system, then turn off any external devices.
4. Disconnect the power cord from the power outlet and disconnect any external devices.
CAUTION: Regardless of the power-on state, voltage is always present on the system board as
long as the system is plugged into an active AC outlet. You must disconnect the power cord to
avoid damage to the internal components of the computer.
5. Place the computer face down on a soft flat surface. HP recommends that you set down a blanket,
towel, or other soft cloth to protect the screen surface from scratches or other damage.
6. Remove the center access panel (see
Removing the Center Access Panel on page 12).
7. Remove the port cover (see
Removing the Port Cover on page 15).
8. Disconnect all cables from the computer.
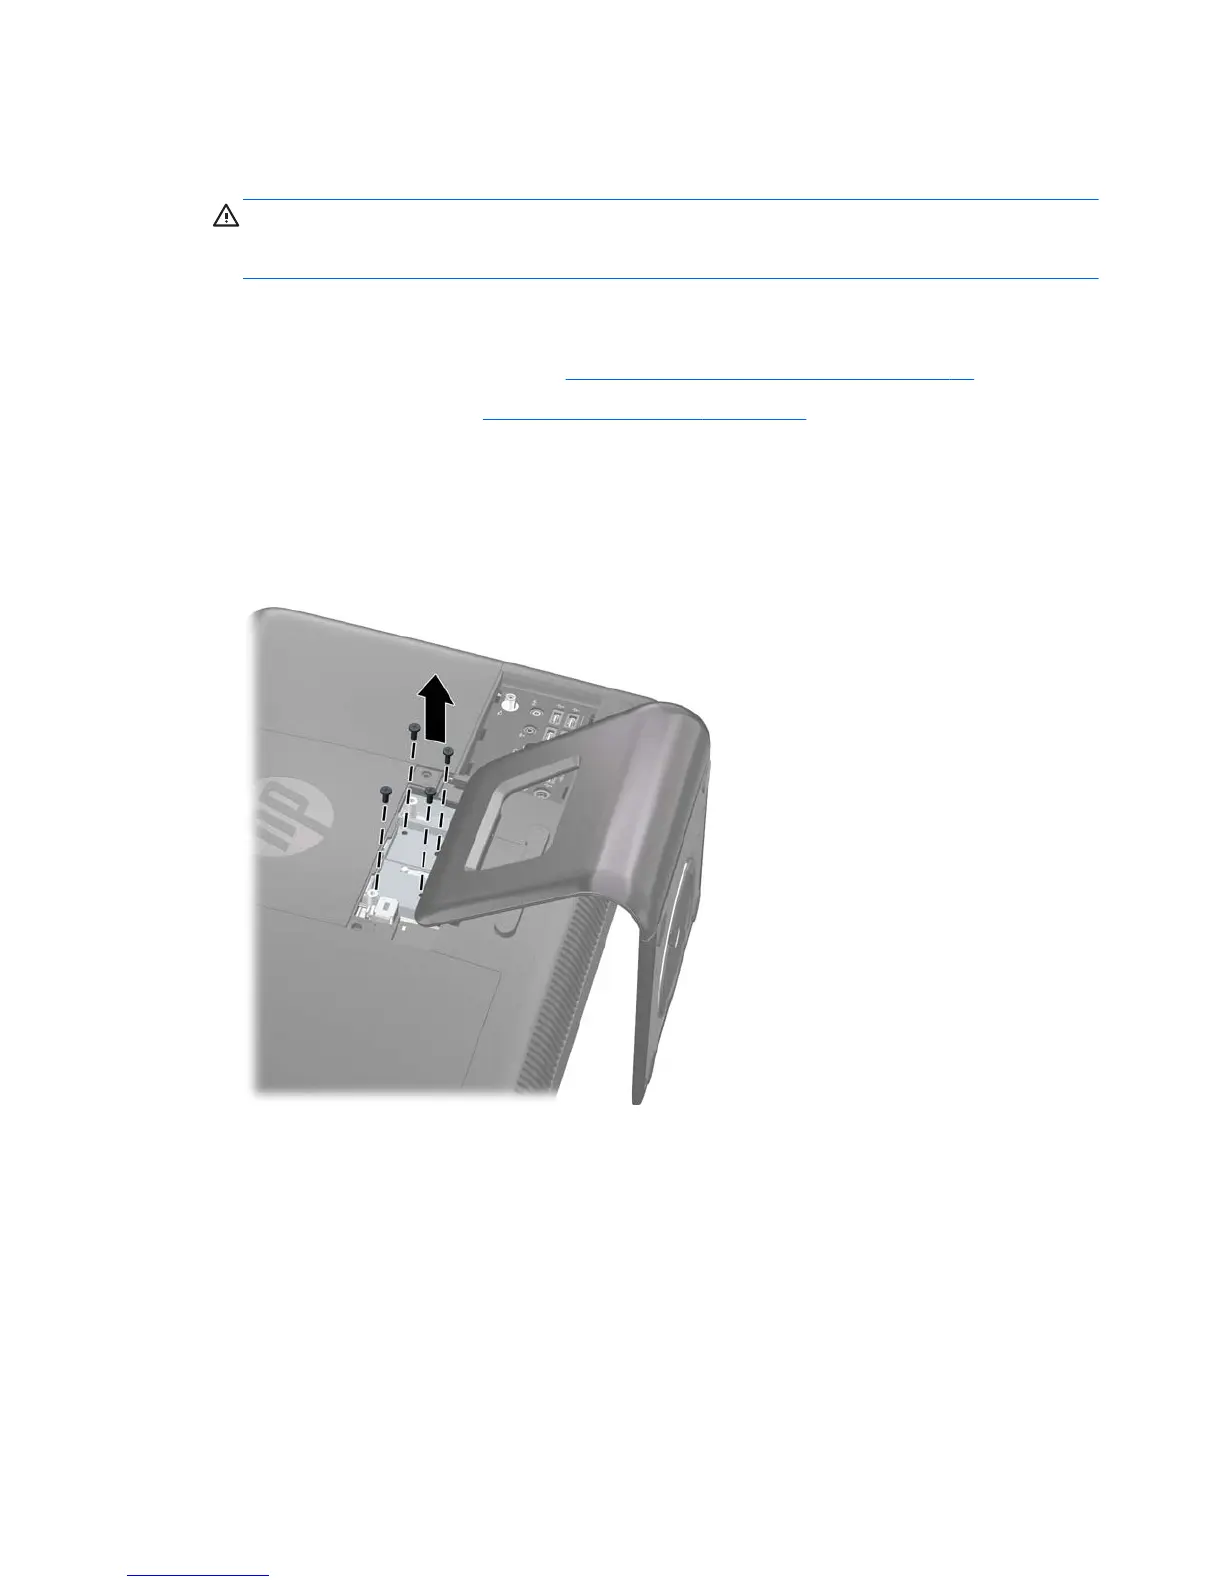
9. In the order indicated by the numbers stamped into the stand bracket, remove the four screws that
secure the stand to the computer.
Figure 2-28 Removing the Stand Screws
34 Chapter 2 Hardware Upgrades ENWW
 Loading...