4-2
Troubleshooting
Diagnosing with the LEDs
Diagnosing with the LEDs
When resetting the switch, or during a power-on self test (POST), LED patterns
on the switch may indicate a problem condition.
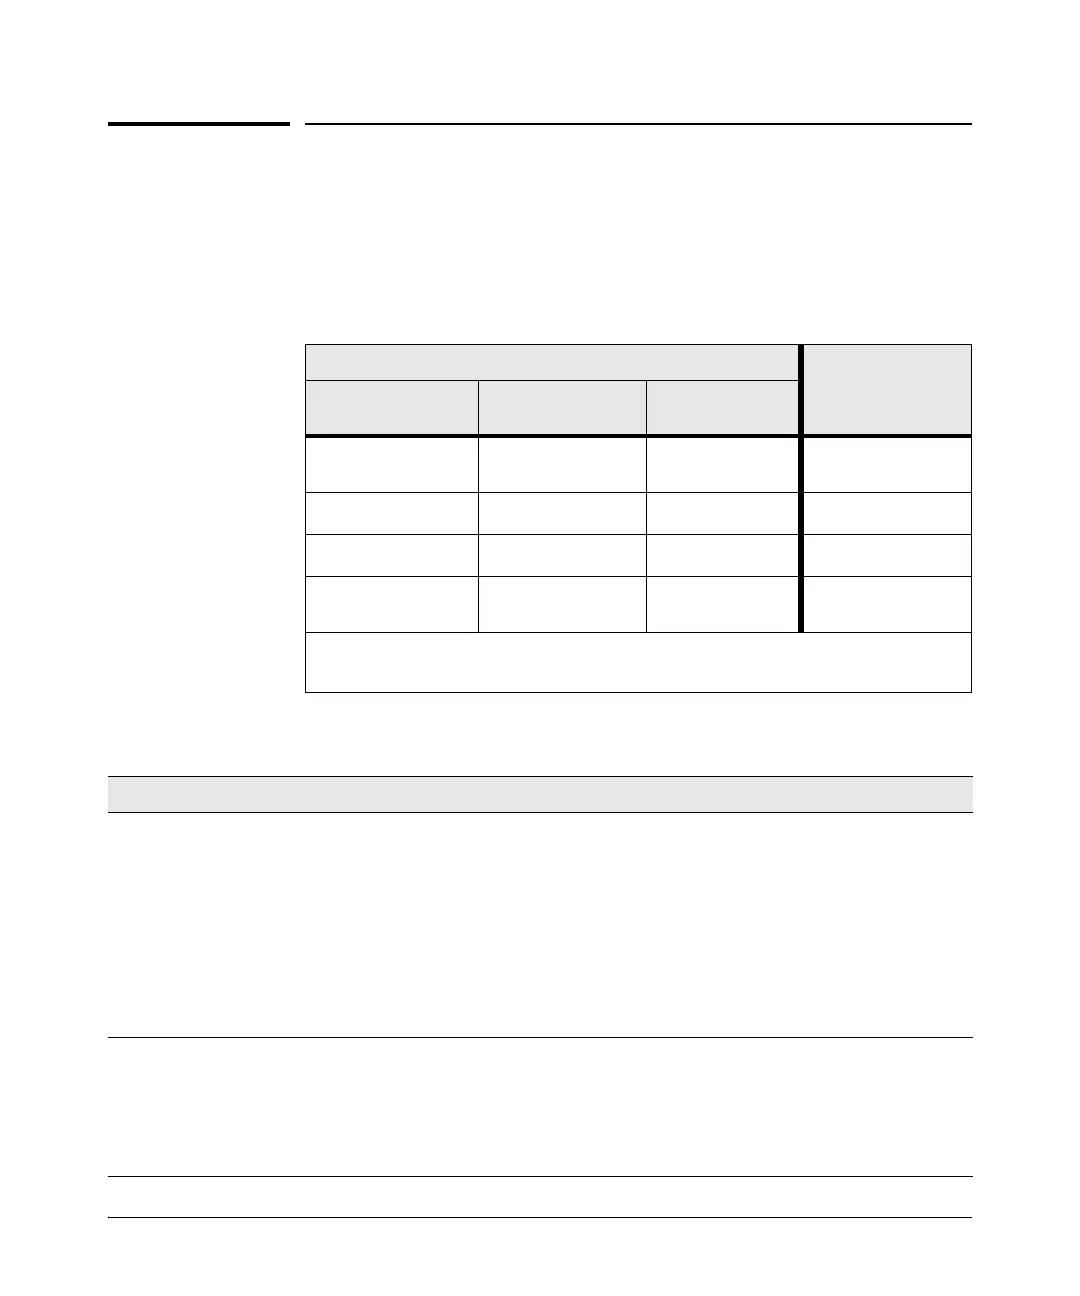
1. Check in the table below for the LED pattern you see on your switch.
2. Refer to the corresponding diagnostic tip on the next few pages.
Diagnostic Tips:
LED Pattern Indicating Problems
Diagnostic Tips
Power Fault
Port LED
(in Link view mode)
Off with power cord
plugged in
**
➊
On Blinking
†
*
➋
On Blinking
†
Blinking
†
➌
On Off Off with cable
connected
➍
* This LED is not important for the diagnosis.
†
The blinking behavior is an on/off cycle once every 1.6 seconds, approximately.
Tip Problem Solution
➊
The switch is not
plugged into an
active AC power
source, or the
switch’s power
supply may have
failed.
1. Verify the power cord is plugged into an active power source and to the switch. Make
sure these connections are snug.
2. Try power cycling the switch by unplugging and plugging the power cord back in.
3. If the Power LED is still not on, verify that the AC power source works by plugging
another device into the outlet. Or try plugging the switch into a different outlet or try a
different power cord.
If the power source and power cord are OK and this condition persists, the switch power
supply may have failed. Call your ProCurve Networking authorized network reseller, or
use the electronic support services from ProCurve Networking to get assistance. See the
Software License, Warranty and Support booklet for more information.
➋
The switch has
experienced a
hardware failure.
Try resetting the switch by pressing the Reset button on the front of the switch, or by
power cycling the switch.
If necessary to resolve the problem, contact your ProCurve Networking authorized
network reseller, or use the electronic support services from ProCurve Networking to get
assistance. See the Software License, Warranty and Support booklet for more
information.
 Loading...


