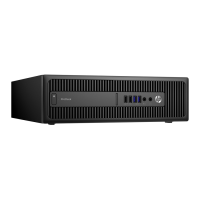
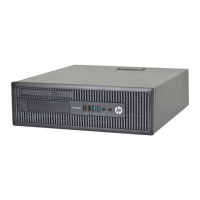
Installing a 3.5-inch device
1. Prepare the computer for disassembly (Preparation for disassembly on page 84).
2. Remove the access panel (
Access panel on page 85).
3. Remove the front bezel (
Front bezel on page 86). If you are installing a drive in a bay covered by
a bezel blank, remove the bezel blank. See
Bezel blanks on page 89 for more information.
4. Install 6-32 guide screws in the holes on each side of the drive.
NOTE: HP has supplied four extra 6-32 guide screws on top of the drive cage. Refer to Drives
on page 98 for an illustration of the extra guide screws location.
When replacing a drive, transfer the four 6-32 guide screws from the old drive to the new one.
5. Rotate the drive cage to its upright position.
102 Chapter 6 Removal and replacement procedures: Small Form Factor (SFF)
 Loading...


