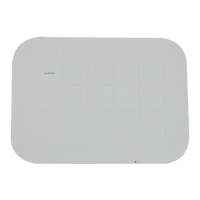
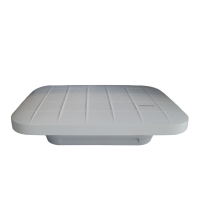
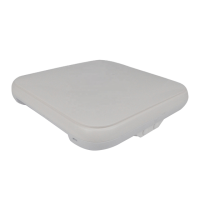
AP4050DN-HD
Hardware Installation and Maintenance Guide 2 AP Installation
Issue 01 (2016-04-15) Huawei Proprietary and Confidential
Copyright © Huawei Technologies Co., Ltd.
14
The angle-adjustable mounting bracket can adjust the AP's angle within ±60° at the vertical and
horizontal directions.
2.5.2 Installing the Device on a Ceiling
The AP4050DN-HD can be installed on a ceiling using an indoor fixed or angle-adjustable
mounting bracket.
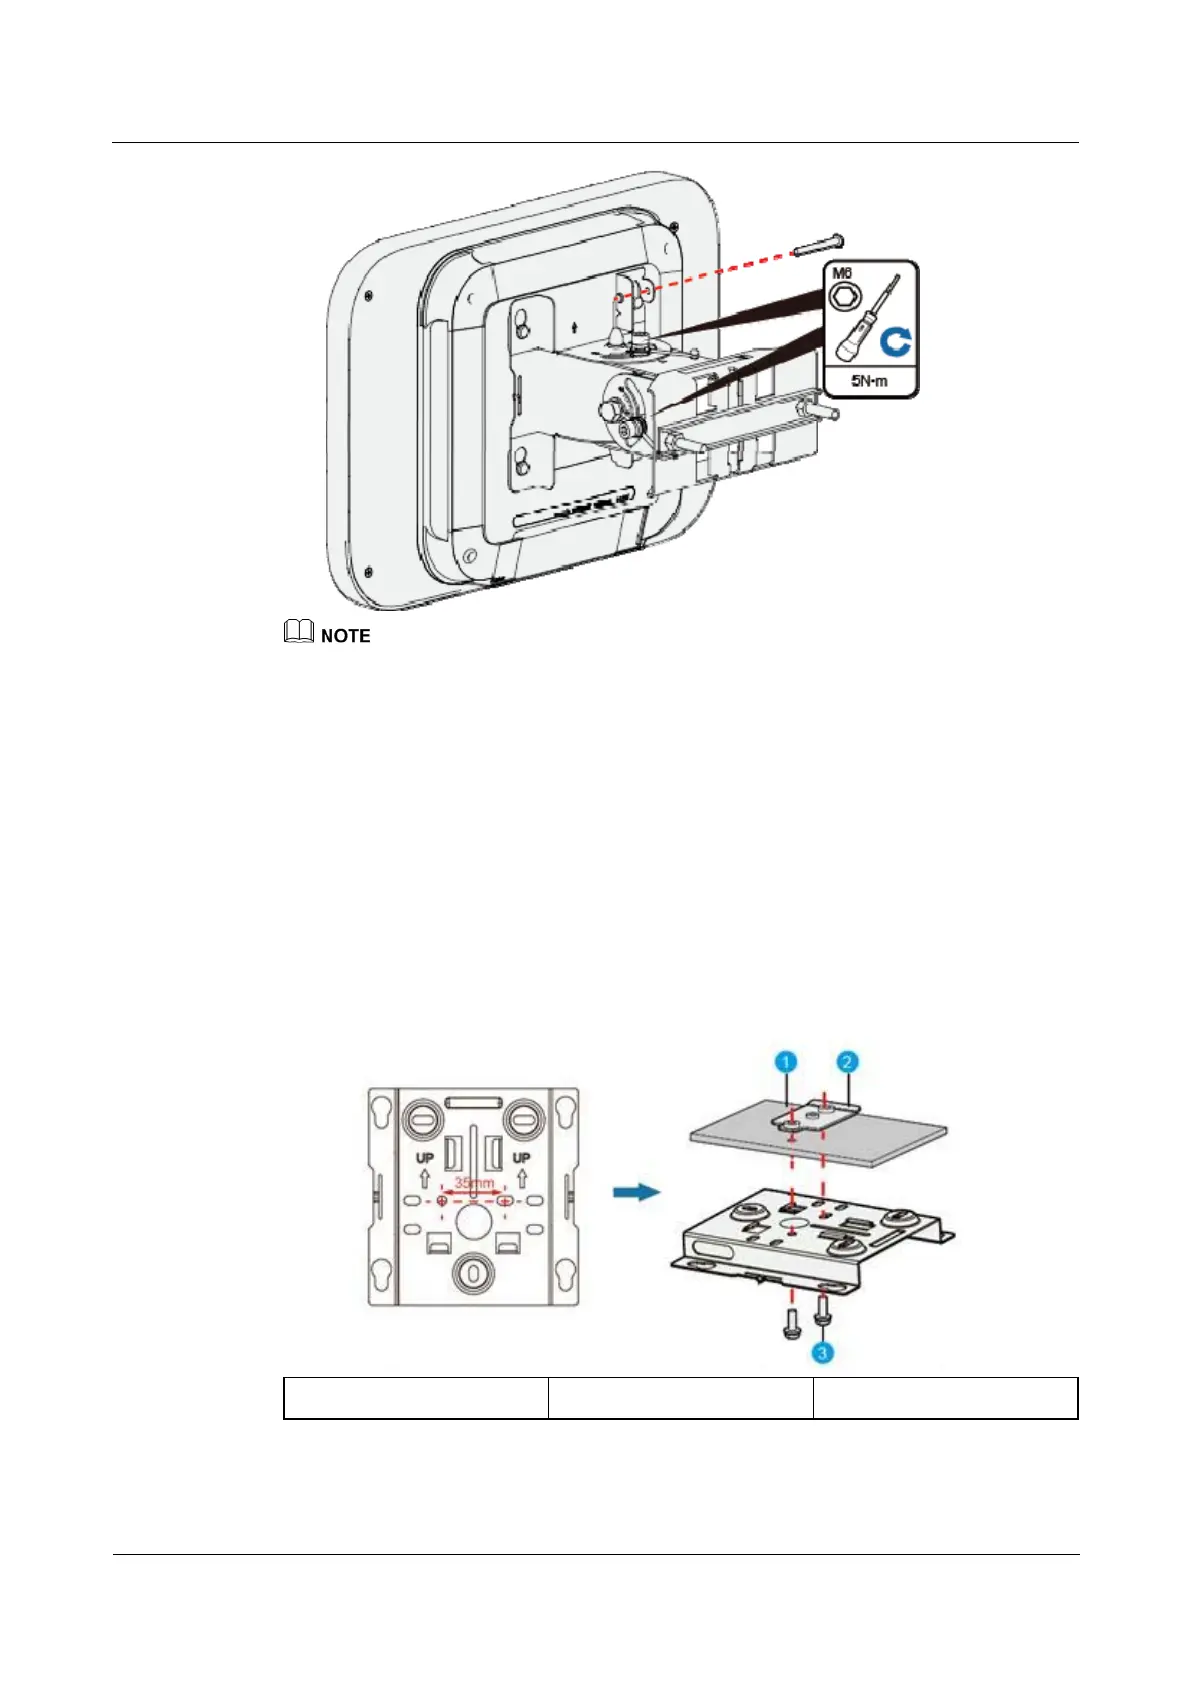
Indoor Fixed Mounting Bracket
1. Remove a ceiling tile, determine locations of mounting holes based on the distance
between two installation holes on the mounting bracket, use a hammer drill to drill holes
on the ceiling tile, and fix the mounting bracket to the ceiling tile.
The screws provided for ceiling-mounting of APs are 30 mm long and can be used to fix
an AP on a ceiling not thicker than 15 mm. To install APs on thicker ceilings, you need to
purchase longer screws.
1. Ceiling tile 2. Adjustable buckle 3. M4x30 screw
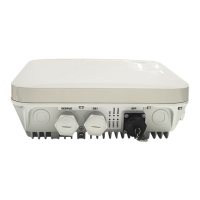
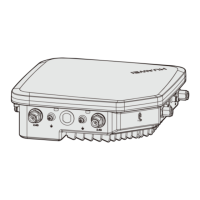
2. Connect the cables. For details, see 2.6 Cable Connection.