If you have other devices to install or remove, do so now. Otherwise, go to
“Completing the installation” on page 101.
Installing a USB embedded hypervisor flash device
To install a hypervisor flash device, complete the following steps:
1. Read the safety information that begins on page vii and “Installation guidelines”
on page 38.
2. Turn off the server and peripheral devices and disconnect the power cords.
3. Remove the cover (see “Removing the cover” on page 50).
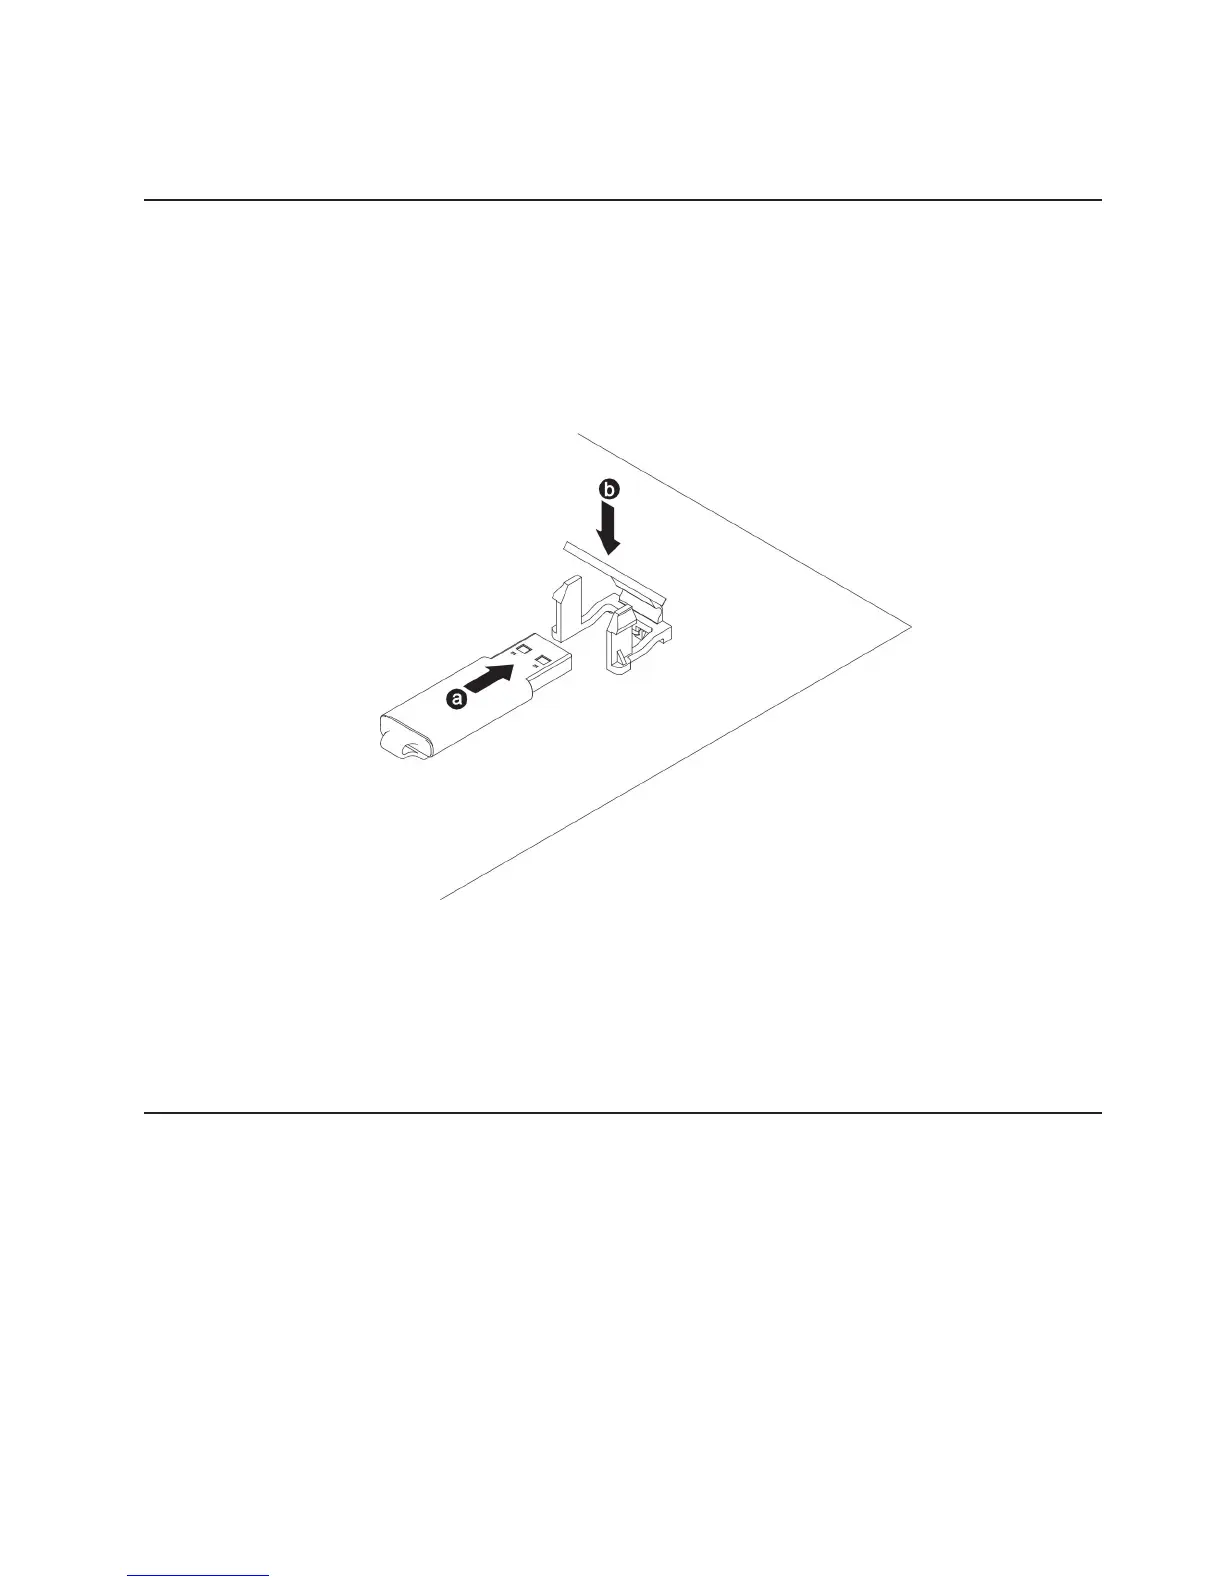
4. Install the flash device:
a. Align the flash device with the connector on the system board and push it
into the USB connector until it is firmly seated.
b. Press down on the retention latch to lock the flash device into the USB
connector.
If you have other devices to install or remove, do so now. Otherwise, go to
“Completing the installation” on page 101.
Installing a RAID adapter battery remotely in the server
When you install any RAID adapter that comes with batteries, it is sometimes
necessary to install the batteries in another location in the server to prevent the
batteries from overheating. Depending on your server model, a battery must be
installed remotely near the optical drive cage or the backplane. The 2.5-inch server
models support up to two batteries.
To install a RAID adapter battery in the server, complete the following steps:
1. Read the safety information that begins on page vii and “Installation guidelines”
on page 38.
2. Turn off the server and peripheral devices and disconnect all power cords and
external devices.
3. Remove the cover (see “Removing the cover” on page 50).
Chapter 2. Installing optional devices 99
 Loading...