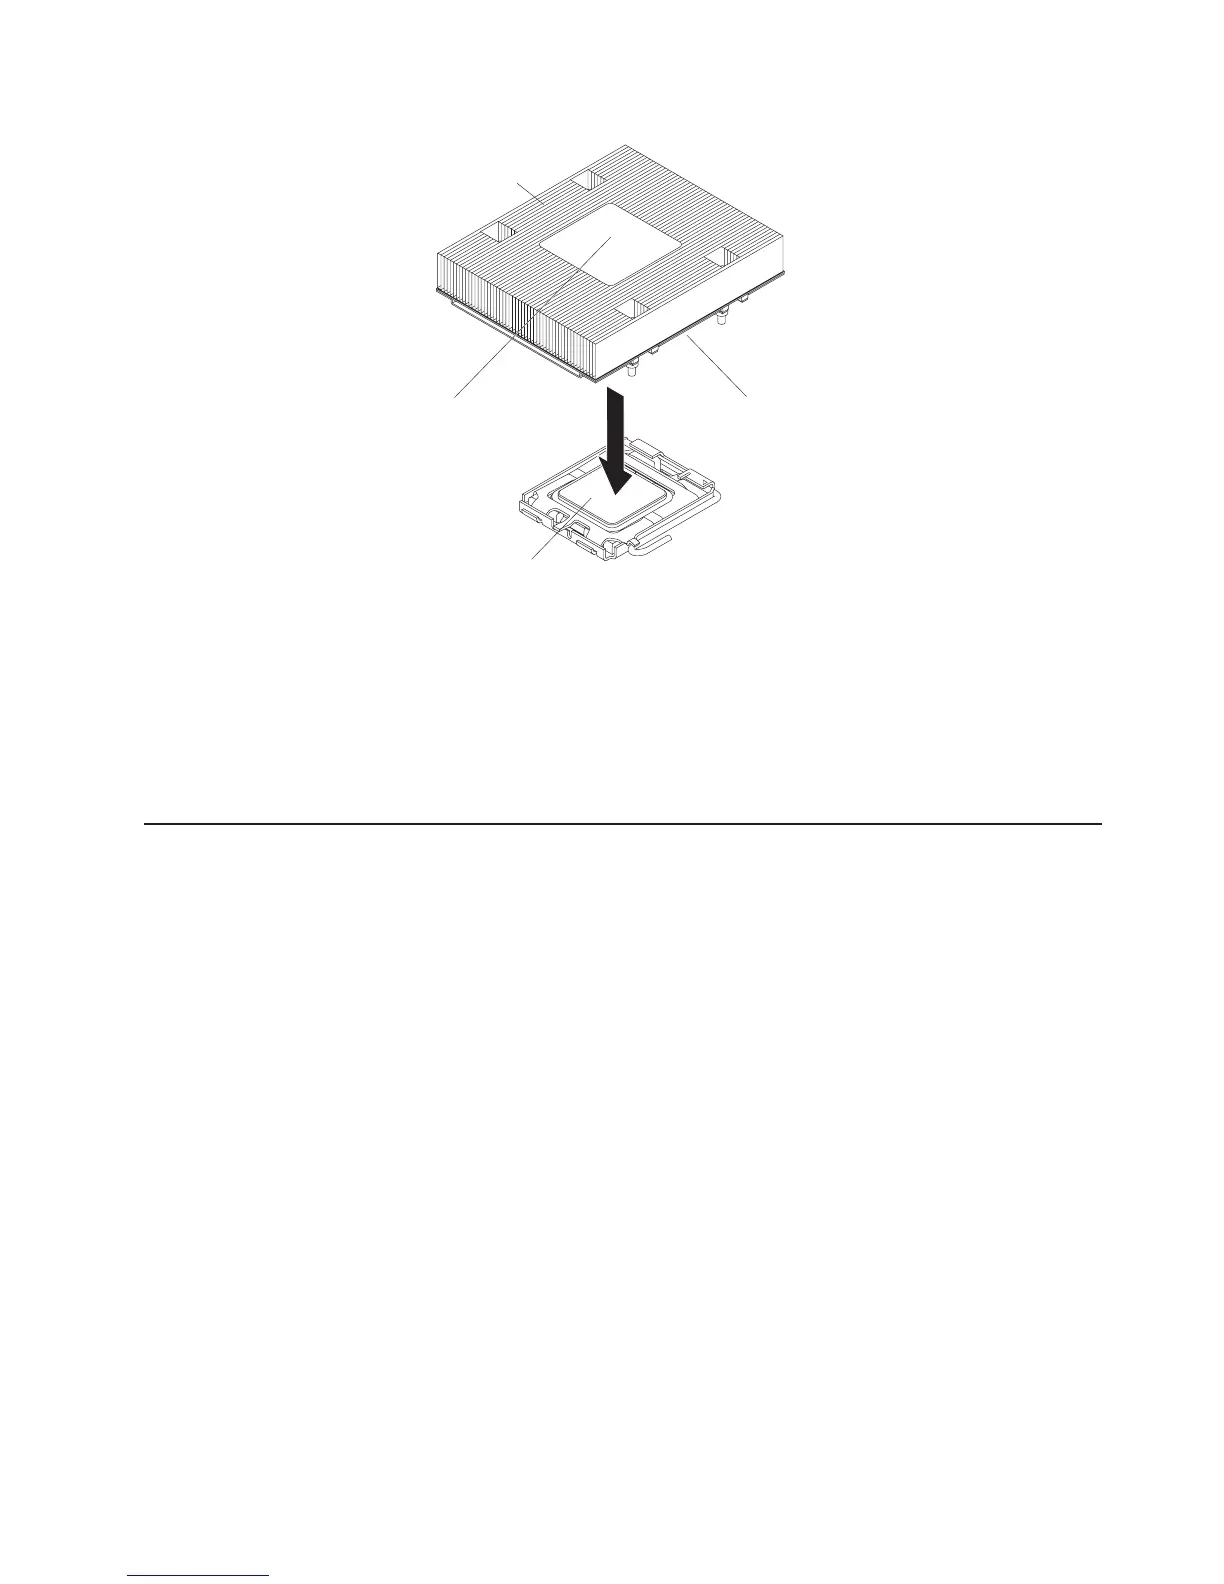
Heat sink
Heat-sink
installation
label
Microprocessor
Thermal grease
10. If you removed any air baffles, reinstall them now. See page 12 for more
information.
Attention: If you have to remove the heat sink after installing it, alternately loosen
the screws to help break the bond between the components without damaging
them.
If you have other options to install, do so now. Otherwise, go to “Completing the
installation” on page 26.
Installing a Remote Supervisor Adapter II SlimLine
An optional Remote Supervisor Adapter II SlimLine can be installed only in a
dedicated connector on the system board. After the Remote Supervisor Adapter II
SlimLine is installed, the systems-management Ethernet port on the rear of the
server is active.
To install a Remote Supervisor Adapter II SlimLine, complete the following steps:
1. Read the safety information that begins on page v and “Installation guidelines”
on page 9.
2. Turn off the server and peripheral devices and disconnect the power cords and
all external cables, if necessary. Remove the server cover.
3. Remove the riser-card assembly in slot 2 and put it in a safe place. See
“Replacing a riser-card assembly” on page 15 for more information.
4. Put the protective plastic cover on the Remote Supervisor Adapter II SlimLine.
5. Turn the Remote Supervisor Adapter II SlimLine so that the tabs on the
connector align correctly with the connector on the system board.
Chapter 2. Installing options 25
 Loading...