Classic SE FF - Installation & Servicing
15
INSTALLATION
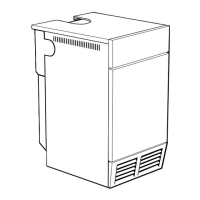
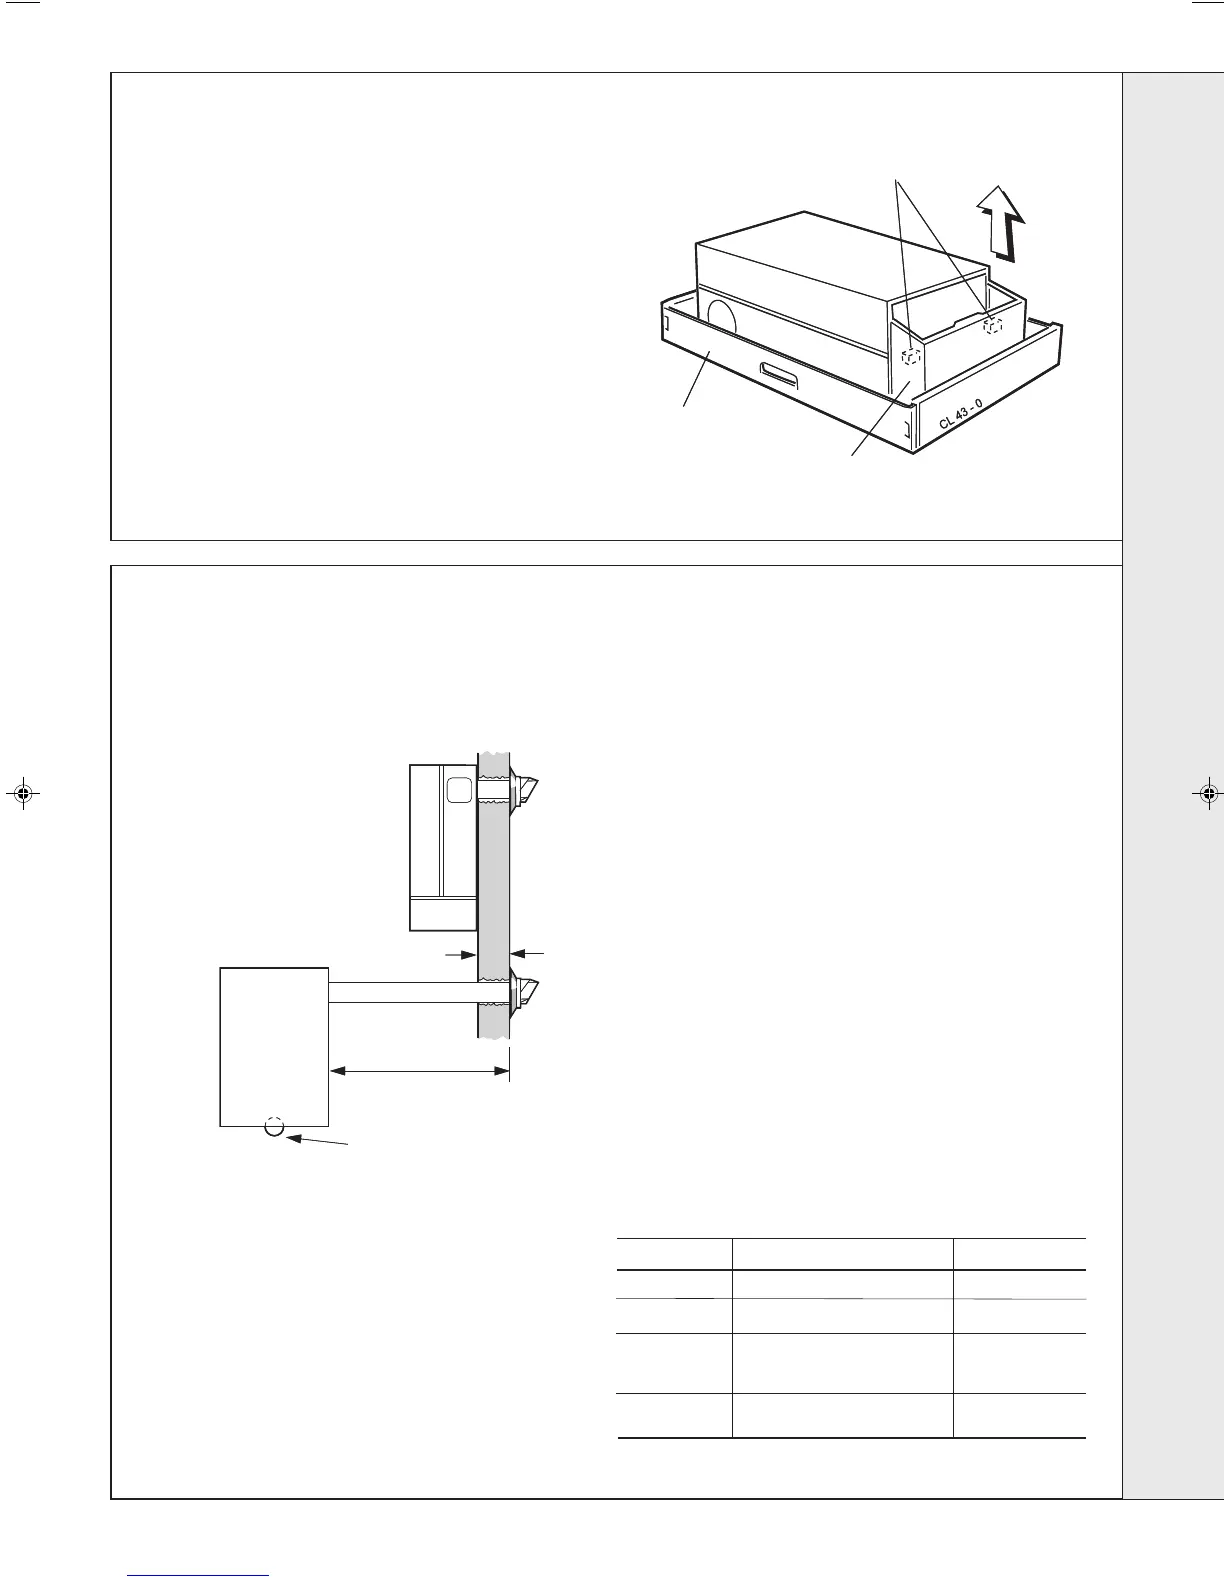
Flue length
for rear
Flue length for side
Jacking screw for
boiler alignment
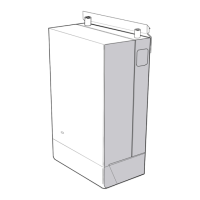
1. Unpack the boiler.
2. Remove the casing as follows and place to one side to
avoid damage.
a. Undo the 2 casing retaining screws (a) retaining the
casing to the back panel.
b. Swing the bottom of the boiler casing up until the
controls pod casing has cleared the controls then
unhook the top from the back panel.
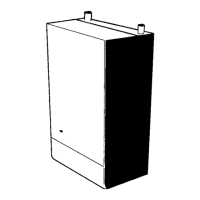
3. Remove the boiler from its packaging base. The boiler
may now be stood upright on its controls support
protection frame to ease handling and installation.
4. Unpack the boiler terminal box and, if applicable, the
extension flue box(es).
9
PACKAGING AND CASING REMOVAL
SIDE FLUE
INSTALLATION
REAR FLUE
INSTALLATION
FLUE KITS
Pack B: supplied as standard.
Pack D*: optional extension kit for side flue or rear
flue outlet. Refer to Frame 33.
1. A maximum of 2 extension ducts (plus the
standard flue duct) may be used together.
2. Flue extensions of greater than 1m (39")
should be supported with the bracket provided.
If the stand-off brackets have been used it is
necessary, in order to keep the flue aligned, to
use the spacer bracket with the support
bracket.
It is MOST IMPORTANT that the boiler is installed
in a vertical position.
(a) Casing retaining
screws, 2 off
Packing base
Controls pod casing
10
DETERMINING THE FLUE LENGTH
* Not for SE30 FF model
Flue length
mm
Accessories Product No.
Up to 600 B Pack 1 off 150308
600 to 1550* B Pack 1 off + D Pack, 1 off 150308+153883
1550 to 2500* B Pack 1 off + D Pack, 2 off 150308+
153883, 2 off
2500 to 3000* B Pack 1 off + D Pack, 3 off 150308+
153883, 3 off
Note.
Vertex and roof flue kits are available as optional
extras for vertical flue installation, supplied with
separate fitting instructions.
g nut, 3 off
plate, 1 off
2 Hx. Hd. screw, 1 off
INSTALLATION
200544-5.pmd 20/02/2008, 13:2615
 Loading...