English – 37
Repair instructions
Carburettor – pressure testing
Pressure testing should be carried out with the car-
burettor fully assembled. Testing should always be
carried out after the carburettor has been repaired,
but can also be performed for troubleshooting
before dismantling.
Carry out the test as follows:
• Screw in the high and low speed jet screws and
back them off one turn.
• Connect pressure tester 502 50 38-01 to the
carburettor fuel inlet.
• Lower the carburettor into a beaker of water.
• Pump up the pressure to 50 kPa (0.5 bar) and
clamp the pump tube.
• There should be no leakage. If leakage occurs,
refer to the table below.
Leakage Fault lies in
Diffuser jets Needle valve
In impulse tube Pump diaphragm
Ventilation hole above
metering unit Control diaphragm
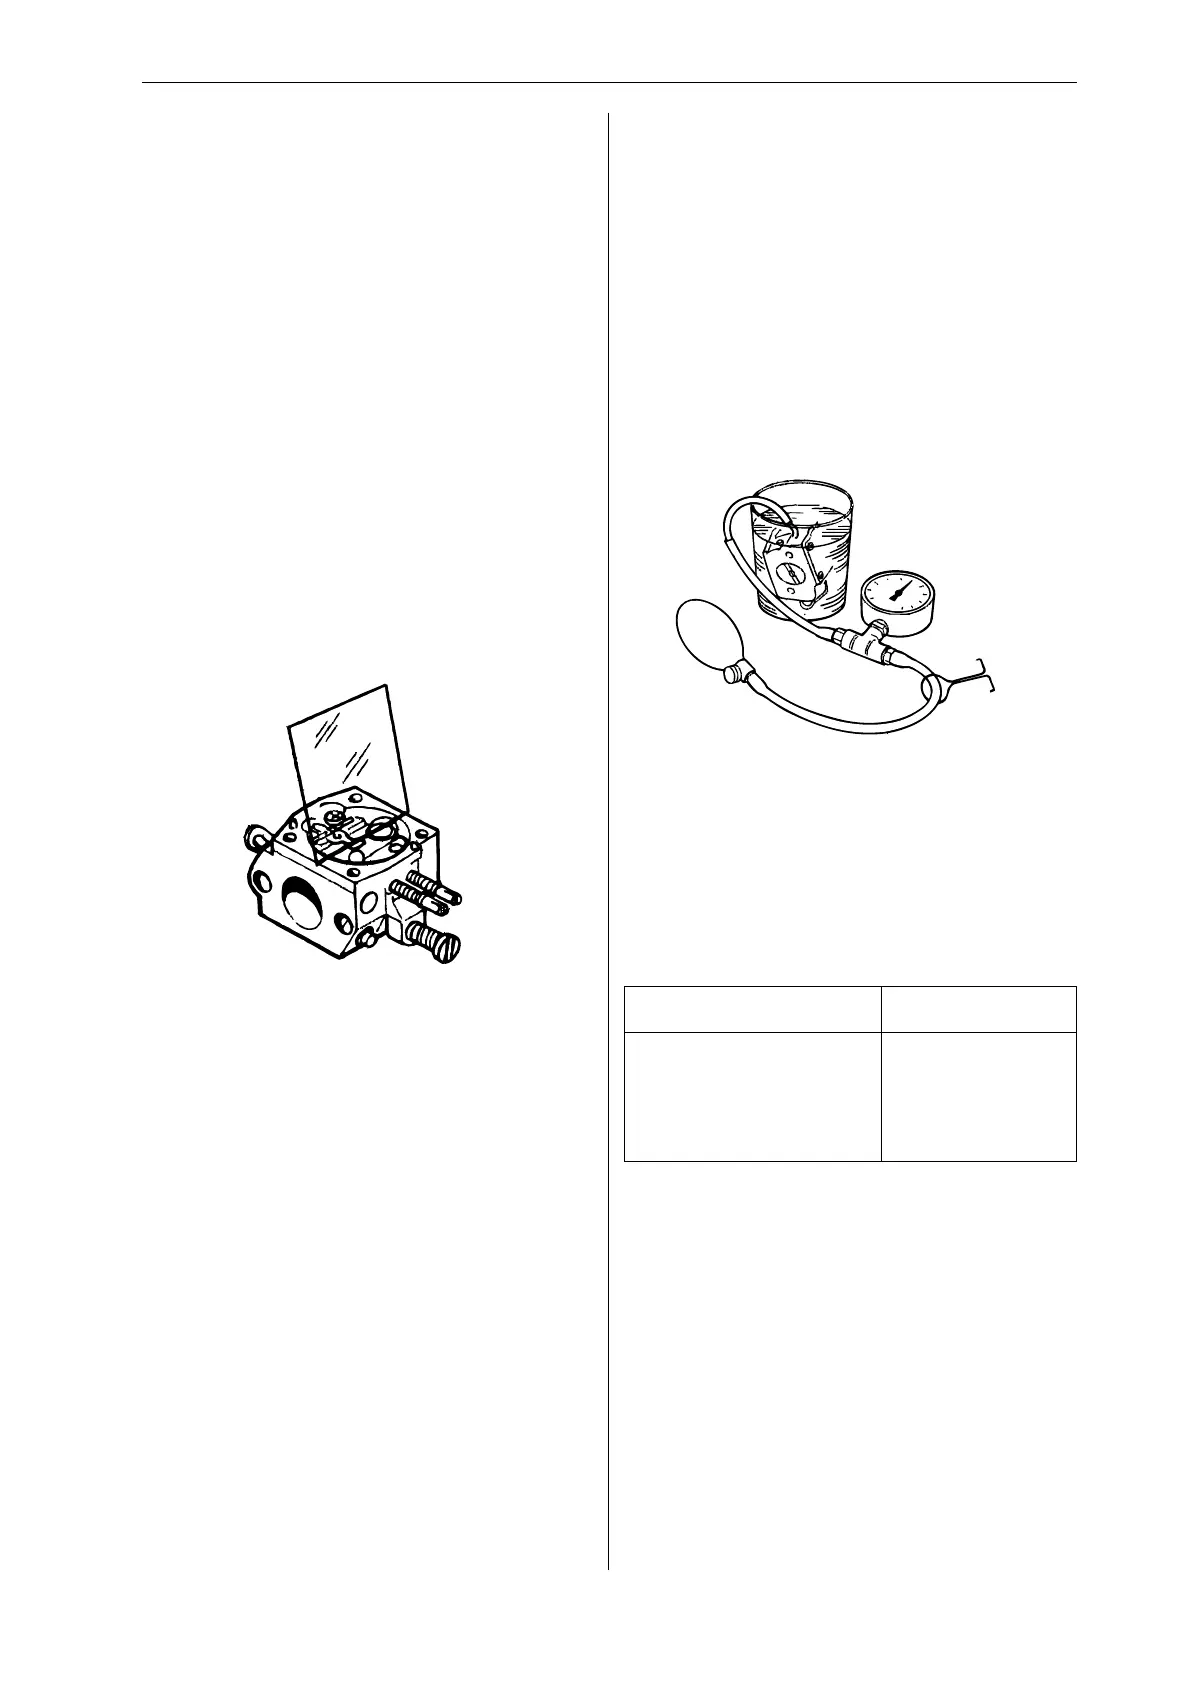
Fit the needle valve with lever arm, spindle and
spring and tighten the screw.
Use a rule to check that the lever arm is level with
the cover face. If necessary, the lever arm can be
bent slightly.
7
Fit the metering diaphragm with its gasket and refi t
the cover to the metering unit.
8
Carry out pressure testing.
1
If the throttle and choke butterfl ies and their
spindles were removed, these must be refi tted.
Lubricate the spindle bearings with light oil.
2
Insert the plug in the hole with the convex side
upwards and expand it by pressing downwards
with a drift.
3
Refi t the high and low speed jet screws and
springs, plus the idling screw. Fit the plastic caps
over the high and low speed screws.
4
Fit the fuel fi lter, using the handle of a small screw-
driver.
5
Fit the pump diaphragm, gasket and cover to the
pump unit.
6
 Loading...