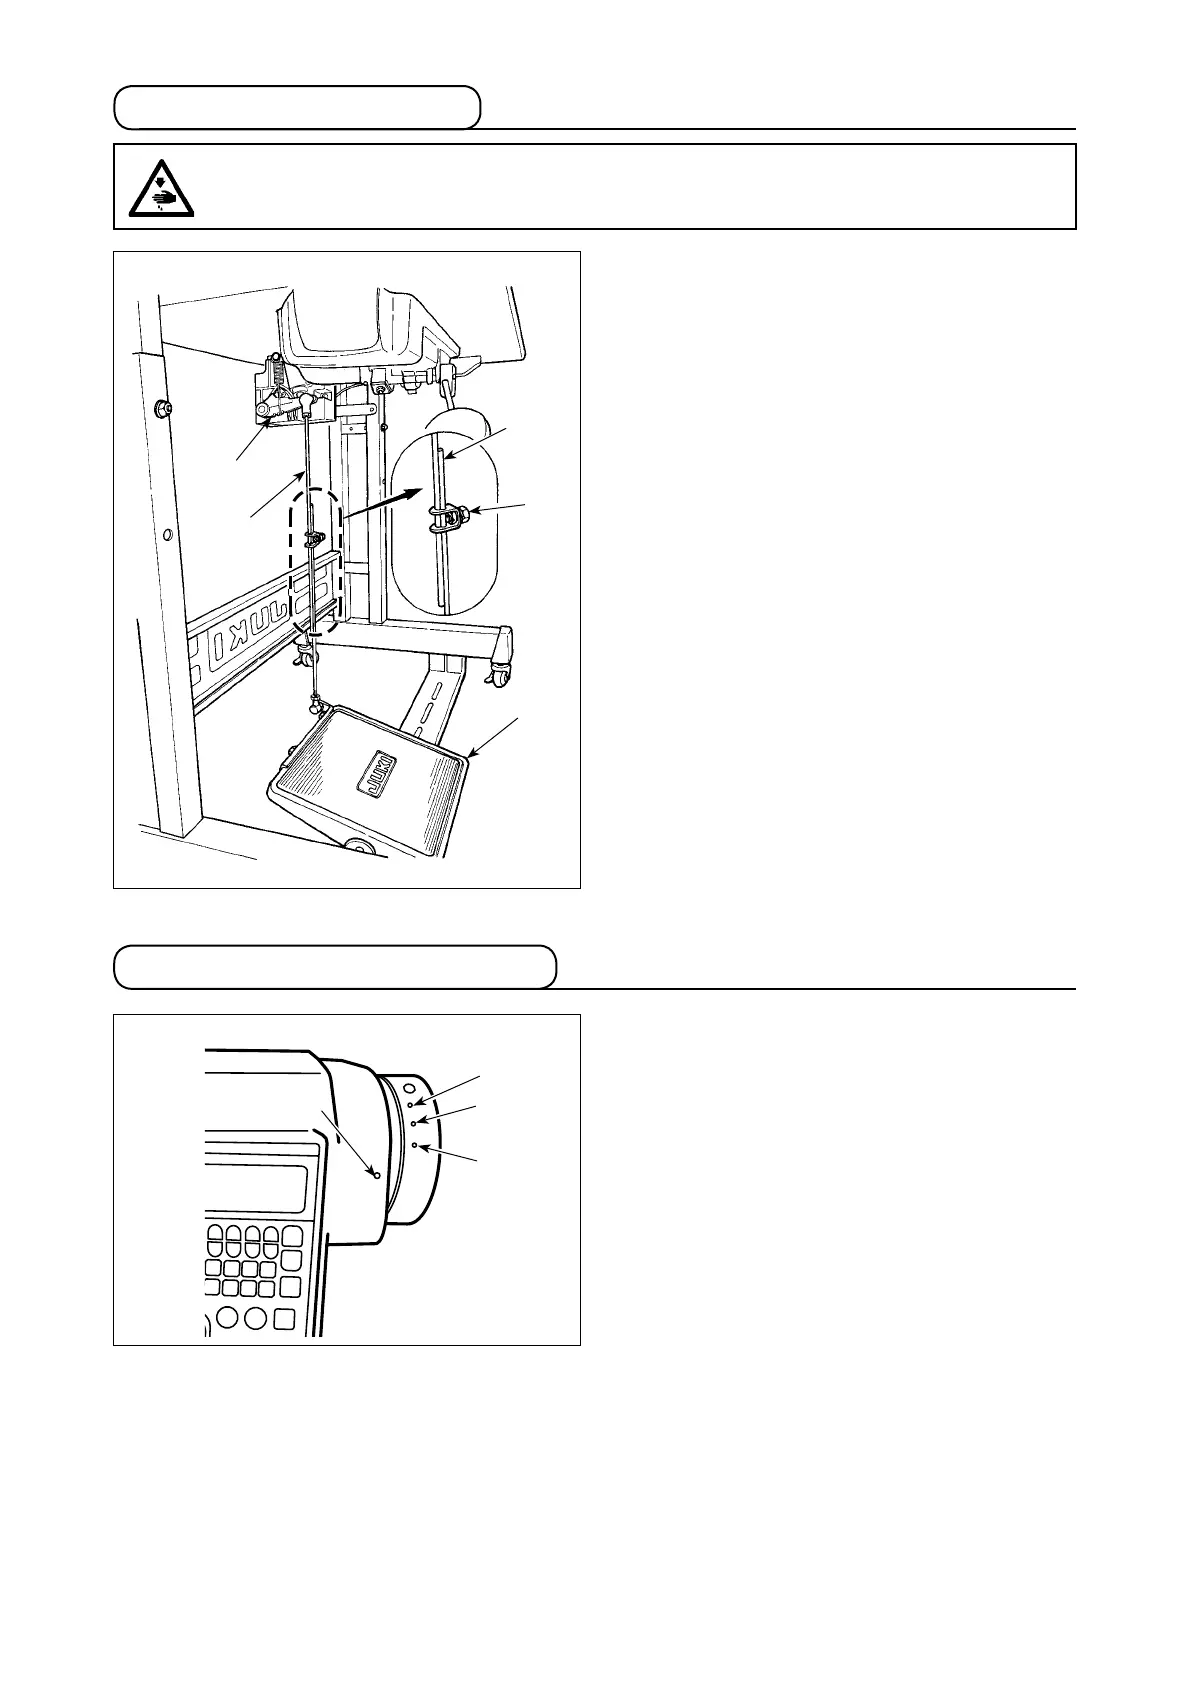
(1) Installing the connecting rod
1) Move pedal
to the right or left as illustrated by
the arrows so that motor control lever
and con-
necting rod
are straightened.
(2) Adjusting the pedal angle
1) The pedal tilt can be freely adjusted by changing
the length of the connecting rod.
2) Loosen adjust screw
, and adjust the length of
connecting rod
.
26. Adjustment of the pedal
WARNING :
Be sure to turn the power OFF before the following work in order to prevent personal injury due to
unintentional starting of the sewing machine.
27. Marker dots on the handwheel
The upper stop position of the needle bar is the po-
sition at which marker dot
on the cover is aligned
with white marker dot
on the handwheel.
With respect to the operating timing of the thread
trimming cam, the thread trimming cam operates at
the time when marker dot
on the cover is aligned
with green marker dot
on the handwheel.
(White)
(Red)
(Green)
– 16 –
 Loading...