12
1
2
4
3
6
5
9
5
9
1
2
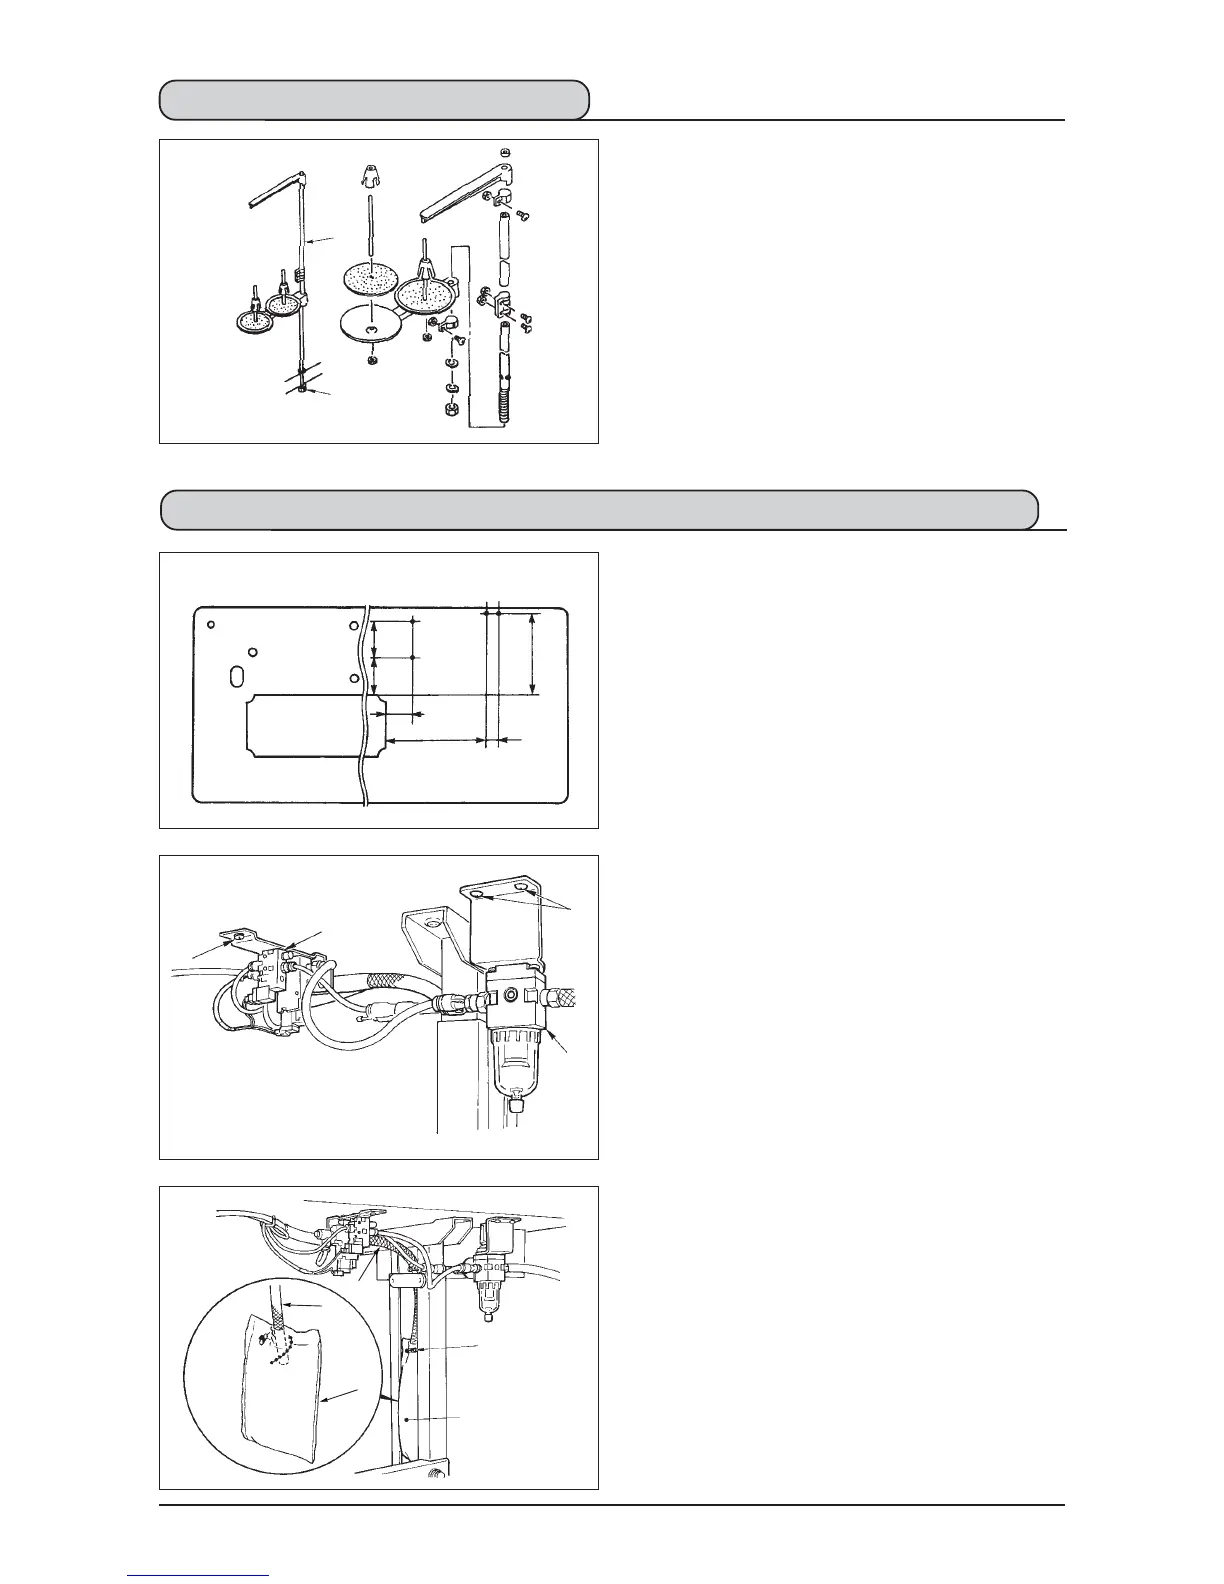
4-11. Installing the thread stand
1) Assemble the thread stand unit, and insert it in the
hole in the machine table.
2) Tighten locknut 1 to fix the thread stand.
3) For ceiling wiring, pass the power cord through spool
rest rod 2.
1) Punch dots on the positions of the setscrews of
solenoid valve (asm.) and regulator (asm.) on the
bottom surface of the machine table.
Besides, awling is performed on JUKI genuine table.
2) Fix solenoid valve (asm.) 1 with wood screw 2
supplied with the sewing machine as accessories.
3) Fix regulator (total asm.) 3 with wood screw 4
supplied with the sewing machine as accessories.
4) Connect 6 and 8 hoses attached to regulator (total
asm.) 3 to the respective solenoid valves.
5) Insert dust bag 5 into the top end of hose 4 for
dust bag and fix it with band 6 supplied with the
sewing machine as accessories.
4-12. Installing the bird’s nest prevention (CB) type sewing machine
(bottom surface of the machine table)
75
291
34
233
106107
(mm)
 Loading...


