– 47 –
Procedures of assembling and adjustment procedures
1. Push the needle thread clamp device
3
in the direction of A and x it with the four set screws
2
.
Tighten the hinge screw
1
.
2. Turn on the power supply and press the
key twice so that the needle thread clamp support
plate complete
4
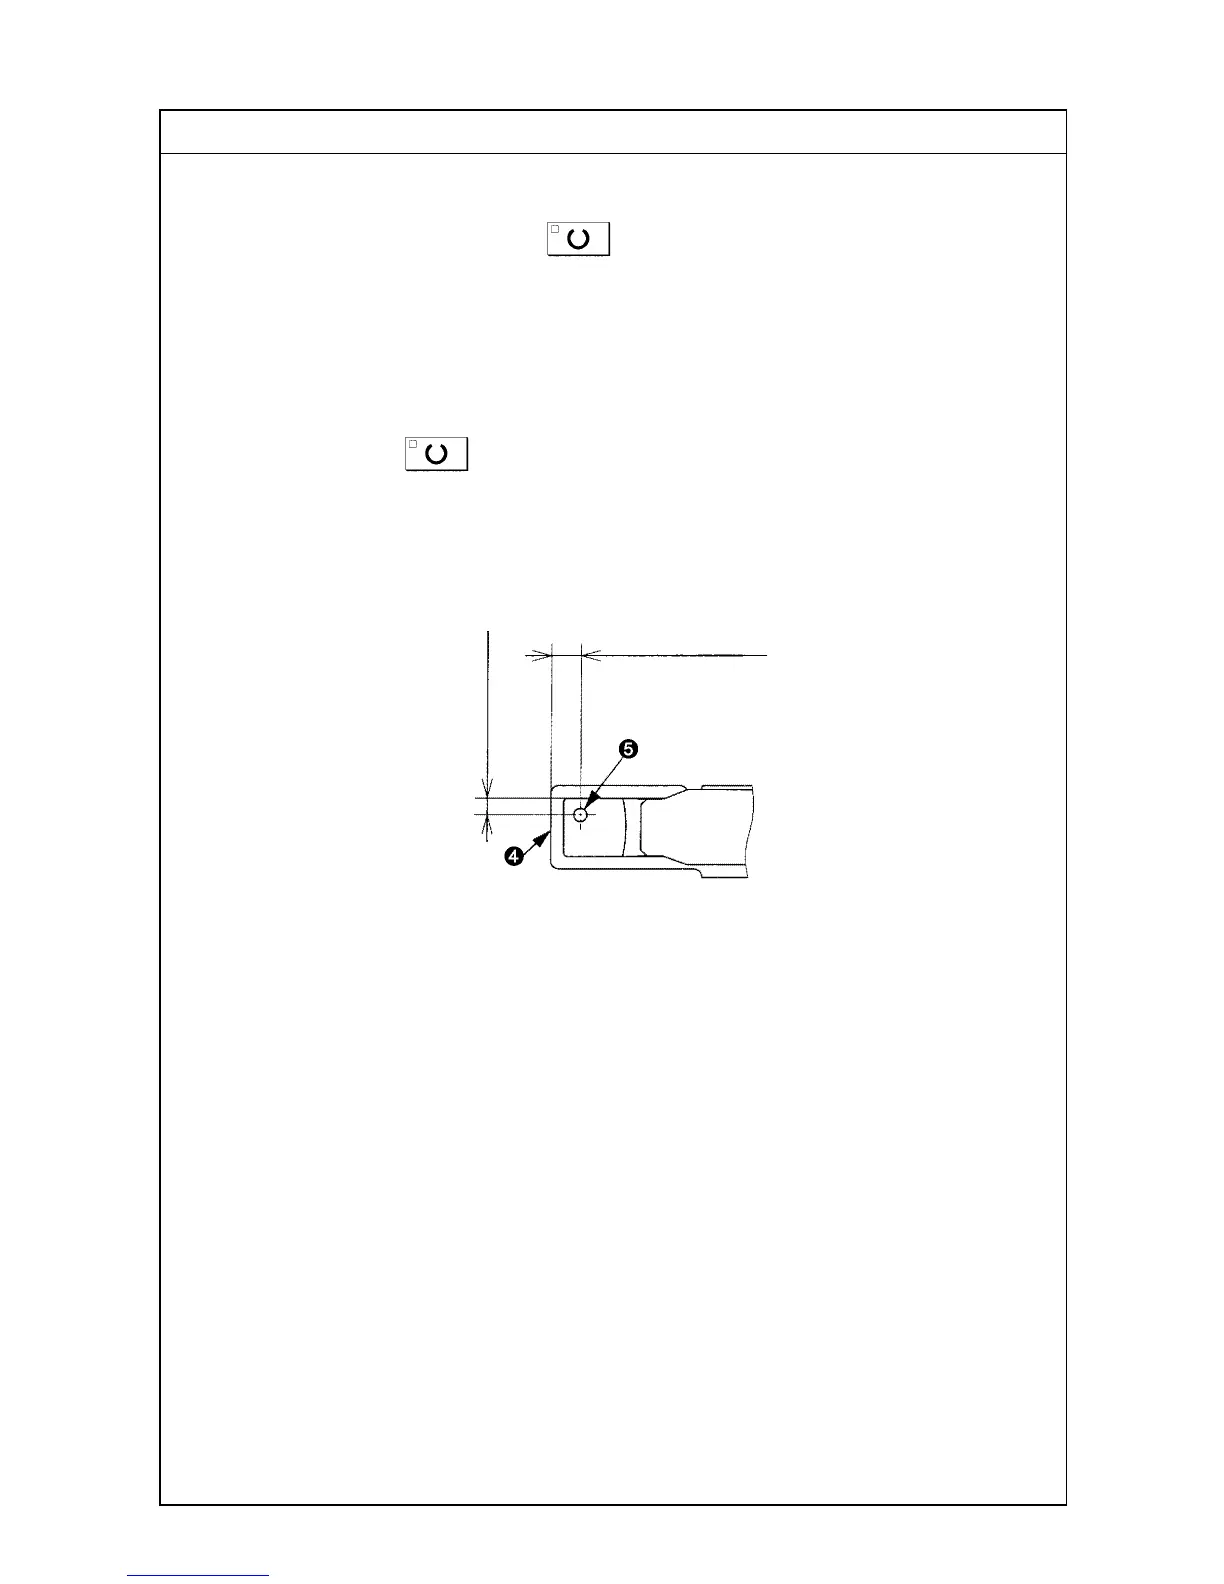
is positioned at the far advanced end.
Conrm that the distance between the needle thread clamp support plate complete
4
and the needle
5
is 3.3 to 3.7 mm and 1.7 to 2.3 mm, respectively.
3. If the distance seems to be inadequate, loosen the four set screws
2
and move the needle thread
clamp device
3
for adjustment.
(Caution) For the prevention of injury, the distance should be checked only if the sewing LED is
unlit. (Press the key twice after the power supply has been turned on.)
4. After the completion of the above-mentioned reassembly, make adjustments according to "(37) Ad
-
justing the needle thread clamp sensor."
1.7 to 2.3 mm
3.3 to 3.7 mm

 Loading...


