− 14 −
(4) When you want to advance the setting No., press
switch 2 to advance the setting No.
When you want to return the setting No., press
switch 1 to return the setting No.
(Caution) 1. When switch 1 (switch 2) is held
pressing, the setting No. will return
(will advance) continuously.
2. When the setting No. is advanced
(returned), the contents which are
before by one (after by one) will be
determined. So, be careful when
changing the contents (up/down
switch is touched).
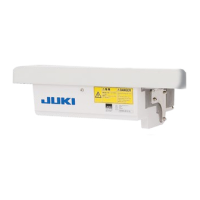
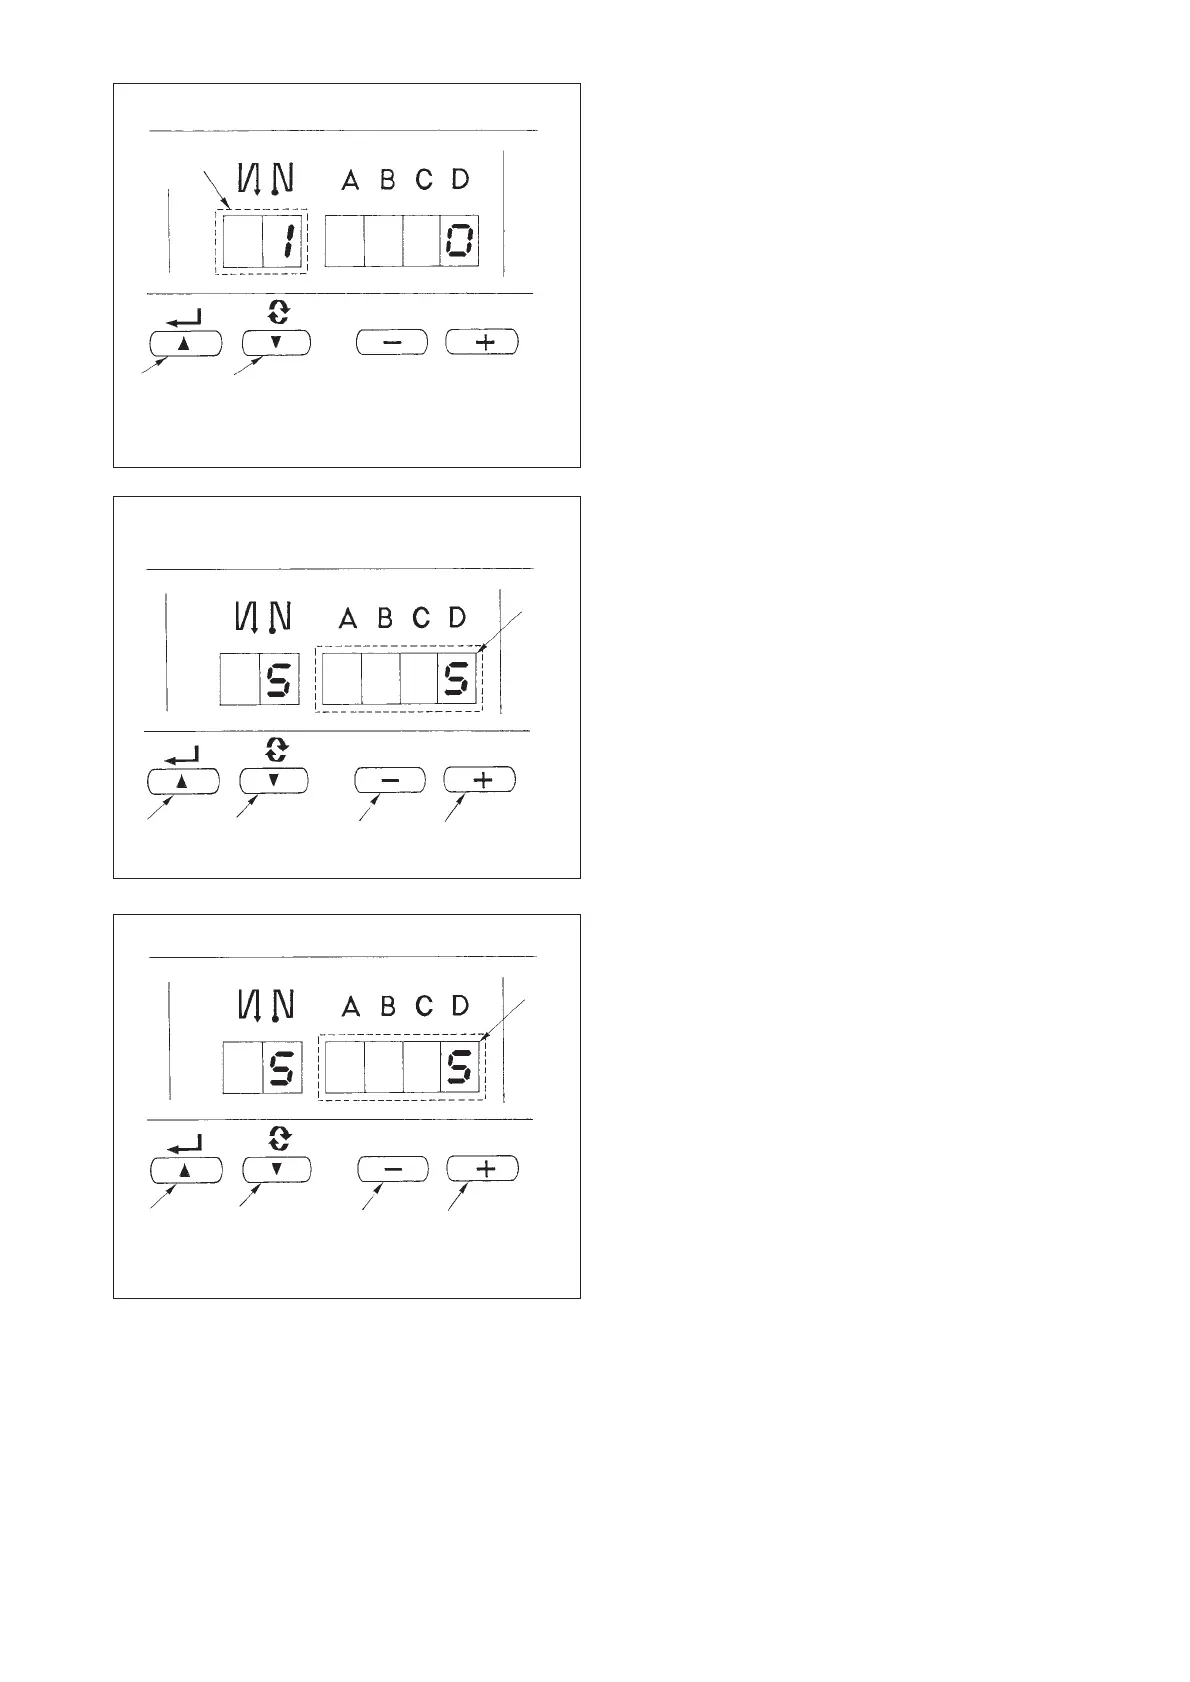
EXAMPLE) CHANGING THE FLICKER
REDUCING FUNCTION (SETTING No. 5)
Press switch 2 five times to set the setting No. to “5”.
Press switch 4 five times to change the set No. to “5”
since the current set value is displayed on LED 5.
(Standard : “0”)
(Caution) Keep pressing switch 4 or switch 3,
and the setting vaue can be changed
continuously.
(5) When the change has been completed, press
switch 1 or 2 to specify the changed value.
(Caution)
1. When turning OFF the power before
performing this work, the contents
which have been changed are not
updated.
2. Press switch 1, and screen display will
change to the contents of the setting No.
which is before by one.
3. Press switch 2, and screen display will
change to the contents of next setting
No. After completing the operation, turn
OFF the power and turn ON the power
again to return to the normal operation.
After completing the operation, turn OFF the power
and turn ON the power again to return to the normal
operation.
2
1
2
1
4
3
5
2
1
4
3
5
Specified
No.
 Loading...