Setup
63English
Display & Button Setup
1
Press the [HOME]/[ ] button.
2
Touch [ ].
3
Touch [SETUP].
SETUP Menu screen appears.
4
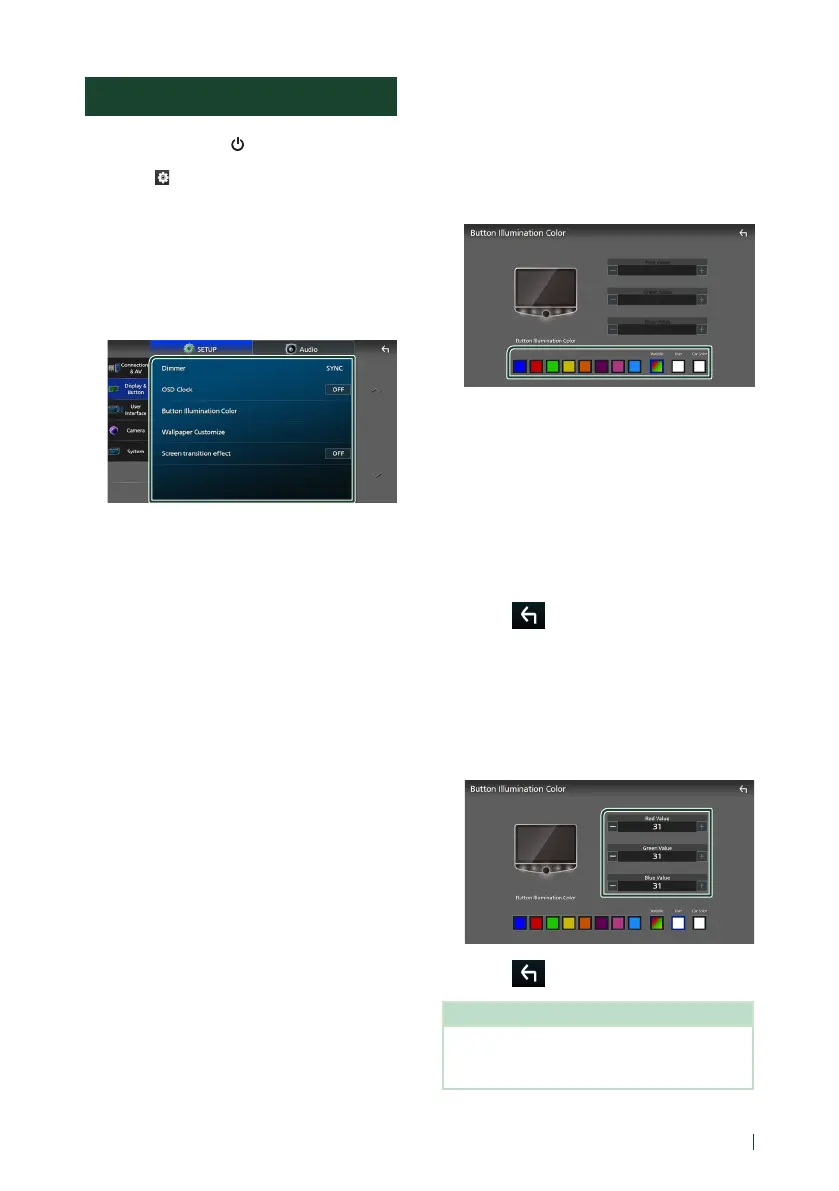
Touch [Display & Button].
Display & Button setting menu appears.
5
Set each parameter as follows.
■ [Dimmer]
Select the dimmer mode.
[OFF]: Does not dim the display and buttons.
[ON]: Dims the display and buttons.
[SYNC] (Default): Turns the dimmer function
on or off when the vehicle light control
switch is turned on or off.
■ [OSD Clock]
Select if you want to display the clock while
the screen is off, or while watching video files
on USB, etc.
"ON" (Default)/"OFF"
■ [Button Illumination Color]
You can set the button illumination color.
(P.63)
■ [Wallpaper Customize]
You can change the wallpaper image or
color. (P.64)
■ [Screen transition effect]
Select whether to use the screen transition
effect when the source control screen is
switched to the Home screen.
"ON" (Default)/"OFF"
Ñ Customizing the button color
You can set the button illumination color.
1
Touch [Button Illumination Color] in the
Display & Button setting menu.
2
Touch the desired color.
■ [Variable]
You can set the button color to continuously
scan through the color spectrum.
■ [User]
You can set the color created with the RGB
color mixer.
■ [Car Color]
This can be selected when the iDatalink
(commercially available) is connected.
3
Touch [ ].
To register an original color
You can register your original color.
1
Touch [User] on the Button Illumination
Color screen.
2
Use [-] and [+] to adjust each color value.
3
Touch [ ].
NOTE
• You can create a color based on a preset color.
Touch the preset color instead of [User], and
adjust the color value.
 Loading...