E-9
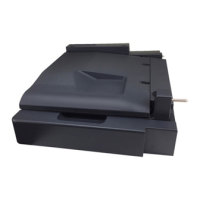
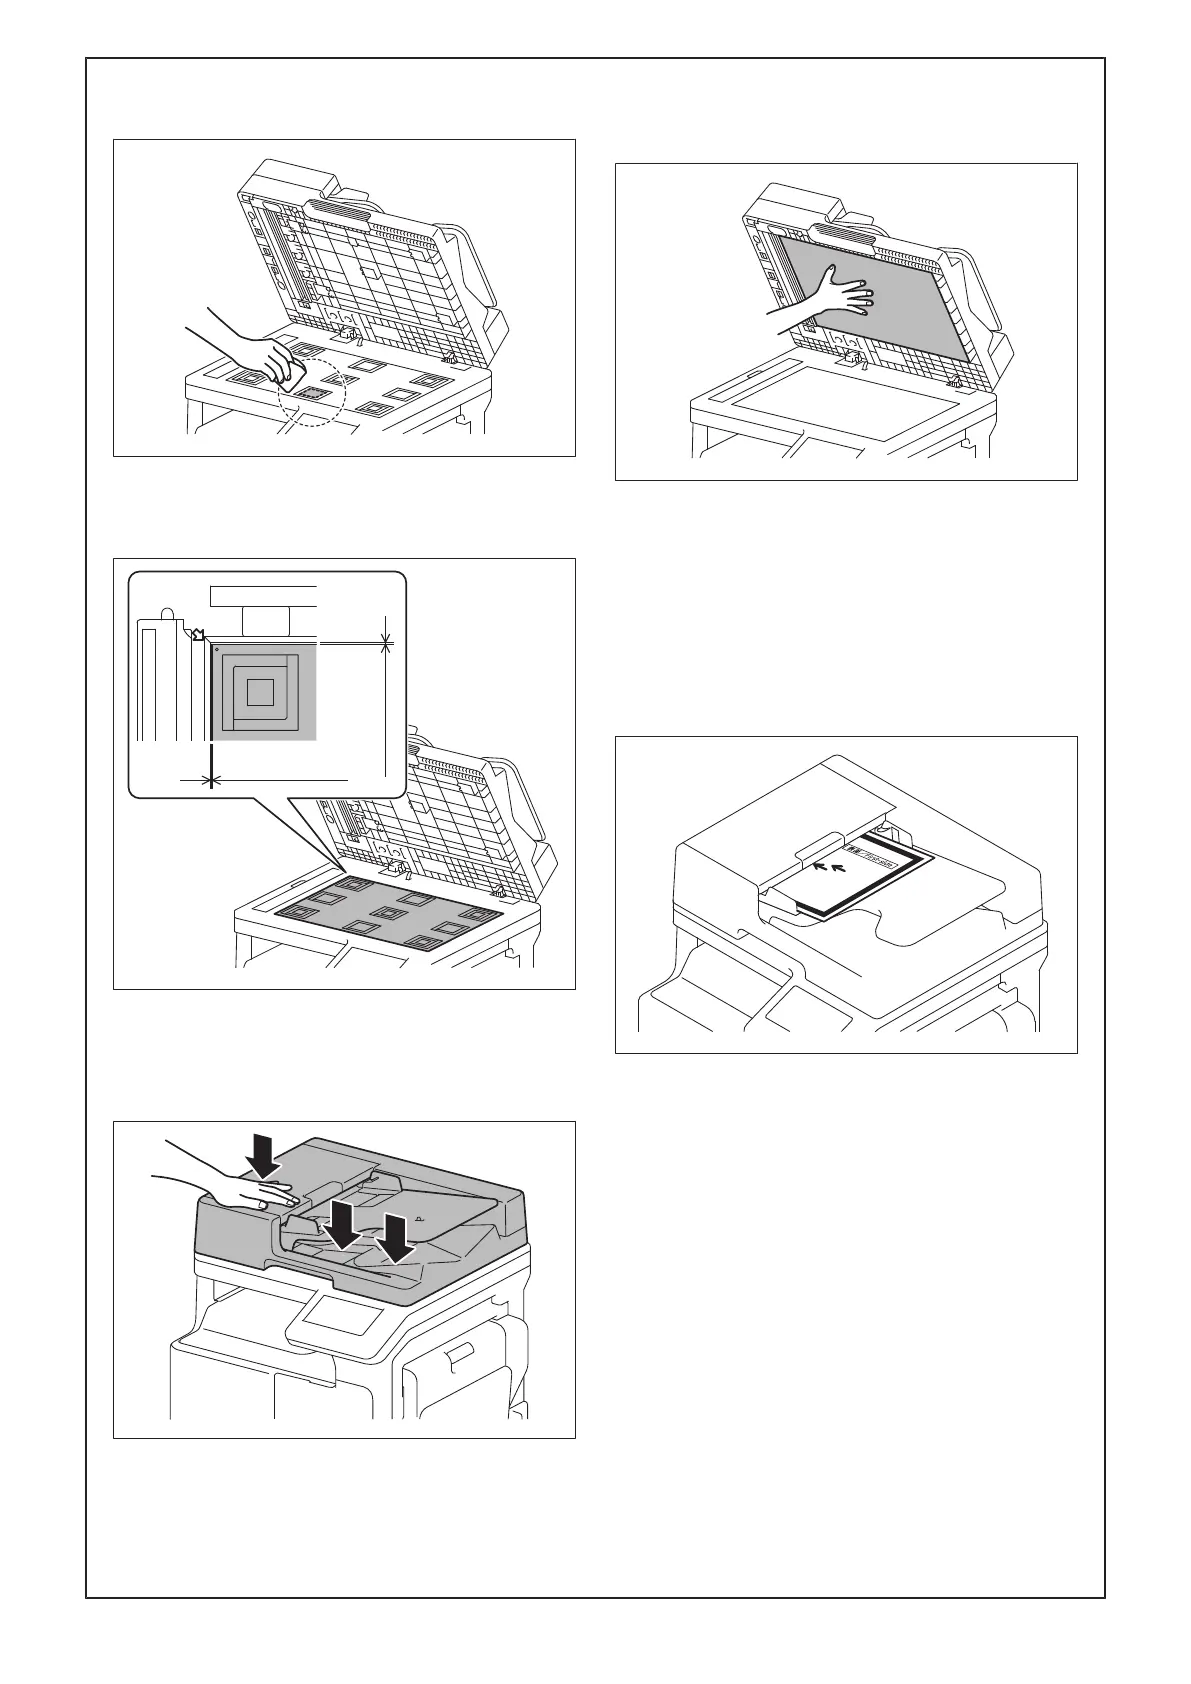
(4) Clean the indicated location on the original mat
with the cleaning pad soaked with alcohol.
(5) Align the original mat with its rear edge being
0.5 to 1.0 mm away from both FD and CD
scales.
0.5 to 1.0 mm
0.5 to 1.0 mm
(6) Close the DF, then press down gently.
Note:
Be careful not to misalign the original mat when
closing the DF.
(7) Gently raise the DF and press the original mat
up against the DF by hand so that it is affixed
in position.
(8) Close the DF.
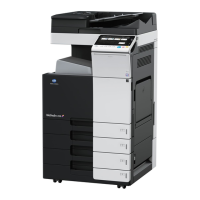
■ Auto stop position adjustment
(Only for models 266i/246i/226i)
(1) Touch “Sub Scanning.”
(2) Place the chart in the document feeding tray.
(Set the chart with the front side facing up, and
the arrow pointing to the left when viewing from
the front.)
(3) Press the Start key.
(4) Touch “Apply.”
(5) Touch “Main Scanning.”
 Loading...