
L
Laurie HowellAug 18, 2025
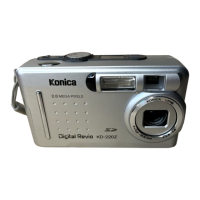
What to do if my Konica Minolta Konica Digital Revio KD-400Z can’t take a picture?
- CCalvin OrtizAug 18, 2025
If your Konica Minolta Digital Camera won’t take a picture, first ensure the power is on. Check if the SD Memory Card or Memory Stick is write-protected and remove write protection if it is. If the maximum number of pictures has been reached, erase unwanted ones. Also, verify that the camera is not set to the Self-Timer mode, and if the flash is charging, wait for it to complete.