38
- Selecting different shooting modes enables you to create the best shooting
condition for your subject.
- Once a mode is set (apart from the self-timer), you can shoot continuously.
It is recommended that the mode should be returned to AUTO mode (no
display) after shooting.
- The self-timer mode cancels the mode after each picture is taken.
- Also, when you turn the camera OFF, the shooting mode you set is canceled
and the camera automatically returns to AUTO-mode shooting operation
(no display). But the flash-mode setting remains in effect even if you switch
the power OFF and back ON.
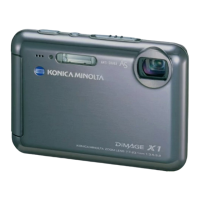
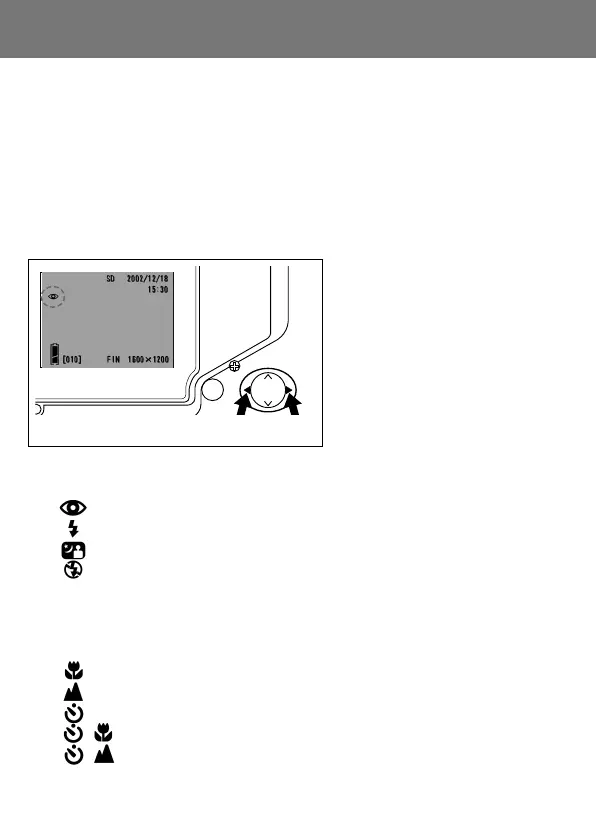
Selecting the Shooting Mode
1. Turn the power on so that the
LCD monitor is lit.
2. By pressing 왗 or 왘, bring up
the desired shooting mode
symbol on the LCD monitor.
Pressing 왘 enables the selection of the following modes.
1) AUTO (Automatic Flash) (p.39)
2) Red Eye Reduction (p.39)
3) Fill-In (p.40)
4) Slow Sync (p.40)
5) Off (Flash Override) (p.40)
• Every time 왘 is pressed, the mode symbol will be displayed one by one, through
the list.
Pressing 왗 enables the selection of the following modes.
1) AUTO mode (no display)
2) Macro-photo mode (p.41)
3) Distant View mode (p.41)
4) Self-Timer mode (p.41)
5) Self-Timer + Macro-photo mode
6) Self-Timer + Distant View mode
• Every time 왗 is pressed, the mode symbol will be displayed one by one, through
the list.

 Loading...