9 Clear CMOS /Recovery jumper
10 M.2 solid-state drive slot
11 Memory slot (DIMM 2) 12 Memory slot (DIMM 1)
Removing and installing hardware
This section provides instructions on how to remove and install hardware for your computer. You can expand
the capabilities of your computer and maintain your computer by removing or installing hardware.
Attention: Do not open your computer or attempt any repair before reading and understanding the Chapter
1 “Important safety information” on page 1.
External options
You can connect external options to your computer, such as external speakers, a printer, or a scanner. For
some external options, you must install additional software in addition to making the physical connection.
When installing an external option, see Chapter 3 “Product overview” on page 29 to identify the required
connector. Then, use the instructions that come with the option to help you make the connection and install
any required software or device drivers.
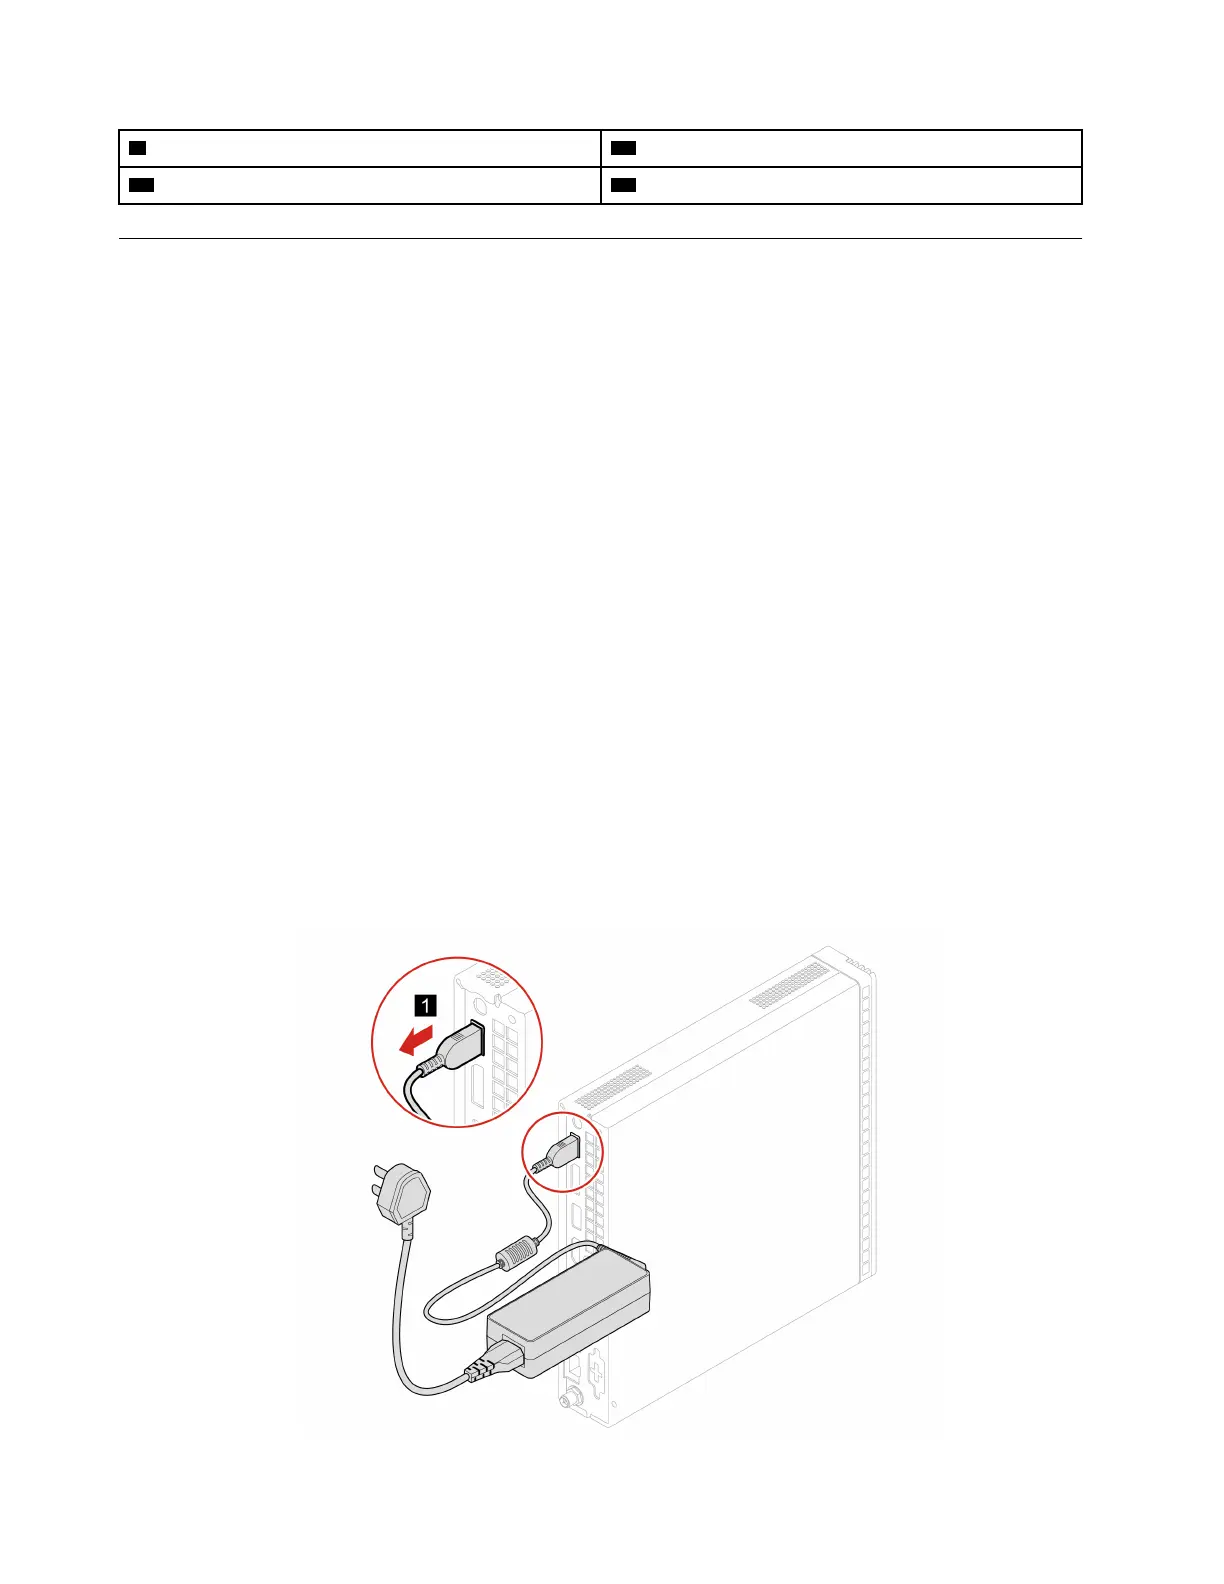
Power cord and power adapter
Prerequisite
Before you start, read Chapter 1 “Important safety information” on page 1 and print the following
instructions.
Replacement procedure
1. Remove any media from the drives and turn off all connected devices and the computer.
2. Disconnect the power cord from the electrical outlet and disconnect all cables from the computer.
3. Replace the power adapter.
46 M70q and M80q Hardware Maintenance Manual
 Loading...