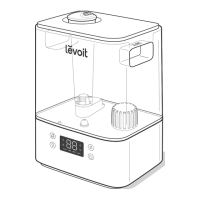
Figure 1.10
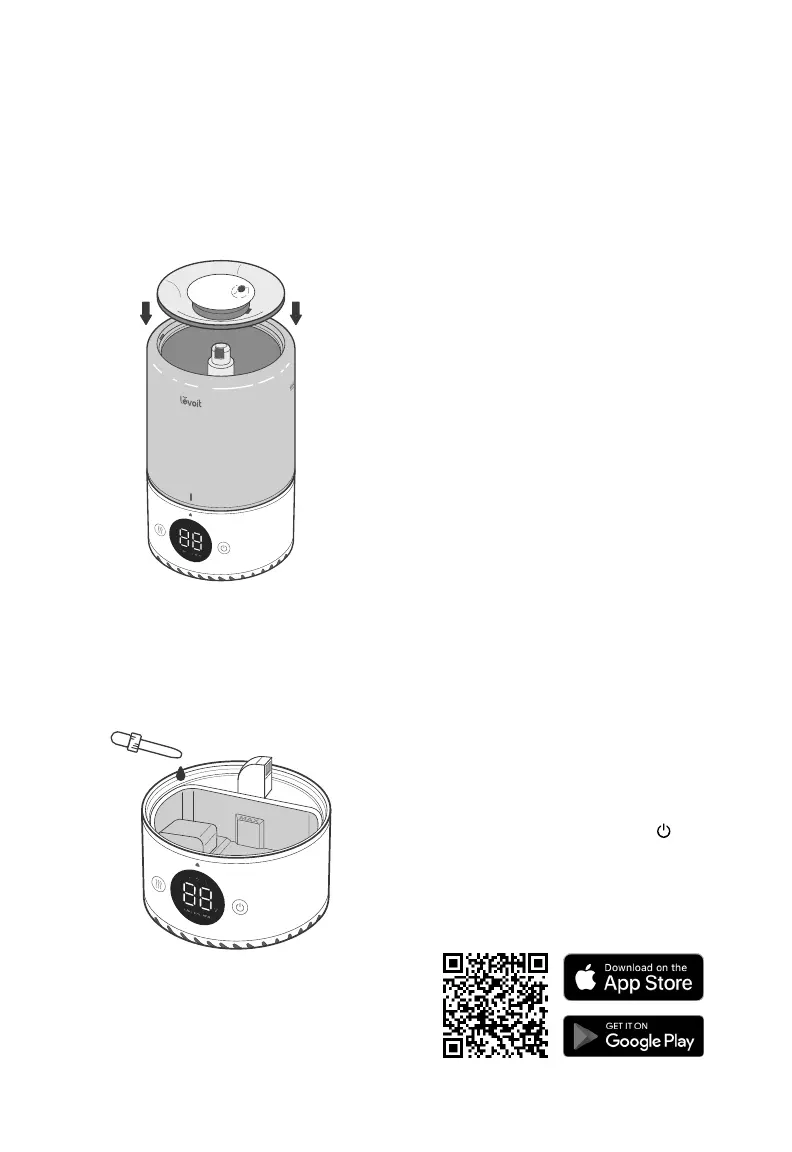
Figure 1.11
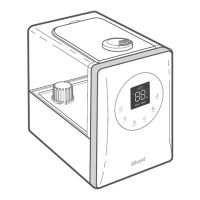
Figure 1.12
Note: Due to ongoing updates and improvements,
the VeSync app may be slightly dierent than
shown in the manual. In case of any dierences,
follow the in-app instructions.
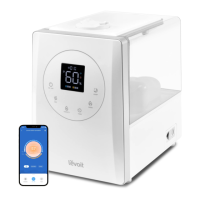
Note:
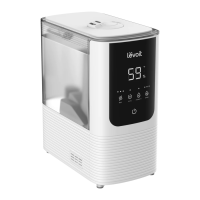
Make sure the nozzle on the water
tank cover is placed over the mist tube,
or the humidifier may not work correctly.
Figure 1.10
Note:
For best results, we recommend using
pure essential oil.
Note: For Android™ users, choose “Allow” to use VeSync.
Note:
You must create your own VeSync account
to use third-party services and products. These
will not work with a guest account. With a VeSync
account, you can also allow your family and
friends to control your smart humidifier.
1. To download the VeSync app, scan
the QR code or search “VeSync” in the
Apple App Store® or Google Play Store.
Figure 1.12
VESYNC APP SETUP
2. Open the VeSync app. If you already
have an account, tap Log In. To create a
new account, tap Sign Up.
3. Follow the in-app instructions to set up
your smart humidifier.
Filling & Refilling (cont.)
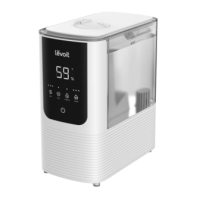
3. Replace the water tank cover.
Wi-Fi Connection:
• To disconnect Wi-Fi, press and hold for
15 seconds until the Wi-Fi indicator turns o.
This will restore the smart humidifier’s default
settings and disconnect it from the VeSync app.
• To reconnect, please follow the instructions in
the VeSync app for adding a device.
4. Optionally, add 10–15 drops of
essential oil into the base chamber for
aromatherapy. Figure 1.11
Note:
• You can use the VeSync app to connect your
smart humidifier to Amazon Alexa or Google
Assistant™. Follow the in-app instructions to
connect VeSync to your voice assistant.
• Your phone must have Location turned
on while your phone is connecting to your
smart humidifier. This is required to establish
the Bluetooth® connection. You can turn
Location o after your smart humidifier is
finished connecting to the VeSync app.
EN
11
 Loading...